Premium Only Content

How To Assemble AN Lines - 840 Customs
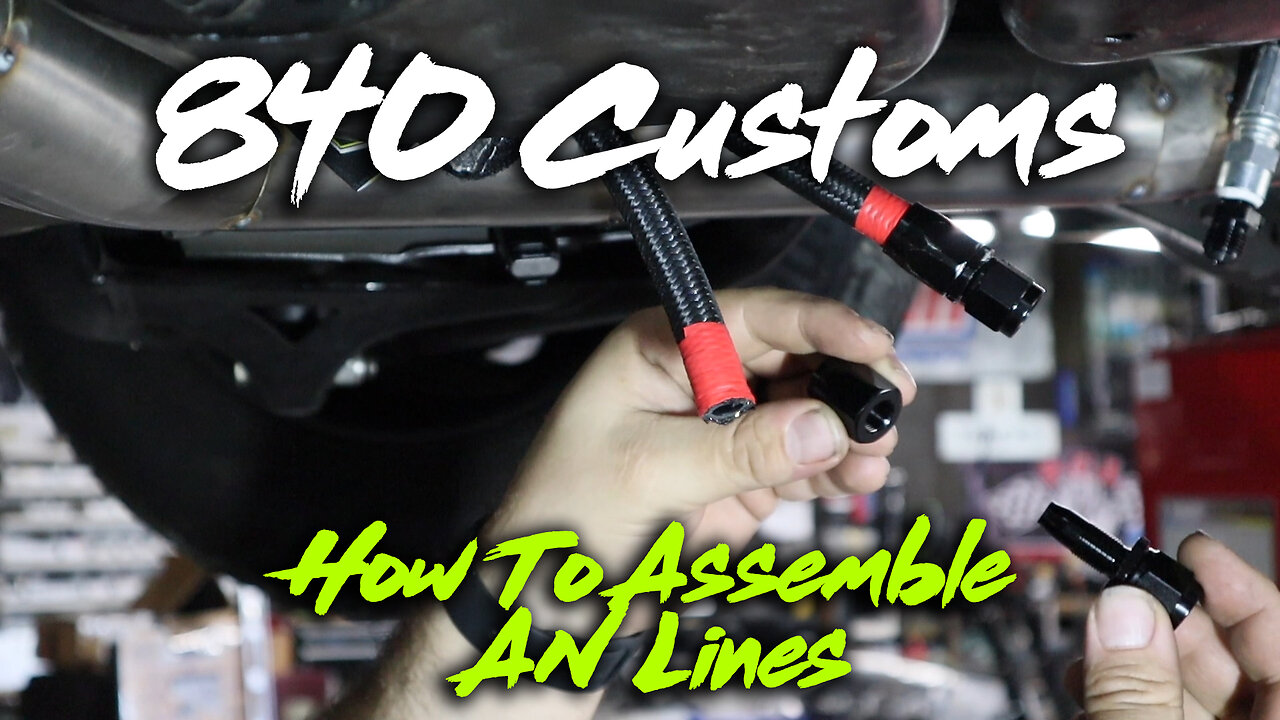
Brandon from 840 Customs walks through the assembly of AN lines for the Buick's transmission cooler.
Step 1: Determine how long the lines need to be and mark the line with some electrical tape. We like to use red electrical tape to signify transmission cooler lines since transmission fluid is red.
Step 2: Use sharp bolt cutters or a cutoff wheel to trim the line in the center of the electrical tape. Some people like to take the electrical tape off before moving to the next step but we're fans of leaving it on. It helps keep the end of the hose from fraying during assembly. We haven't noticed it causing any issues like leaks or premature failure.
Step 3: Thread the nut onto the end of the hose. Remember the threads are reversed. The hose must sit on the seat inside the nut right before the threaded area.
Step 4: Thread the fitting into the nut. It's not easy, push hard to start engaging the threads.
Step 5: Tighten the fitting all the way into the nut until it is seated. We like to align the flats on the fitting and nut to make a cleaner look.
-
 8:10
8:10
Nate The Lawyer
2 days ago $0.13 earnedNY AG Letitia James Pattern | All 3 Mortgages Have False Statements
4089 -
 17:35
17:35
Actual Justice Warrior
1 day agoDMV Workers CAUGHT Selling CDL Tests To Migrants
1.47K17 -
 13:24
13:24
Dr Disrespect
3 days agoFirst Day of Battlefield 6 with DrDisrespect
46K23 -
 2:54:42
Side Scrollers Podcast
18 hours agoEA BANNING “MAGA” Usernames? + Roblox CP Situation Gets WORSE+ CollarGate + More | Side Scrollers
34.5K40 -
 15:09
15:09
GritsGG
14 hours agoSolo Warzone Victory! Shadow Banned!
6.63K -
 LIVE
LIVE
Lofi Girl
3 years agolofi hip hop radio 📚 - beats to relax/study to
206 watching -
 12:19
12:19
BlabberingCollector
1 day agoPotter Fans In Frenzy, Keira Knightly Responds To Potter Involvement Backlash | Wizarding World News
6.17K -
 2:56:20
FreshandFit
12 hours agoThe Price Is Right! Fresh&Fit After Hours Edition
193K69 -
 6:45
6:45
The Power of Connection
2 days agoThe Power of Connection : Networking vs. Connecting
7.82K4 -
 28:53
28:53
Afshin Rattansi's Going Underground
3 days agoTrump Has Surrounded Himself With Neocons AGAIN, War After War is Coming! (James Carden)
16.9K20