Step by Step Guide on DHCP Part 44
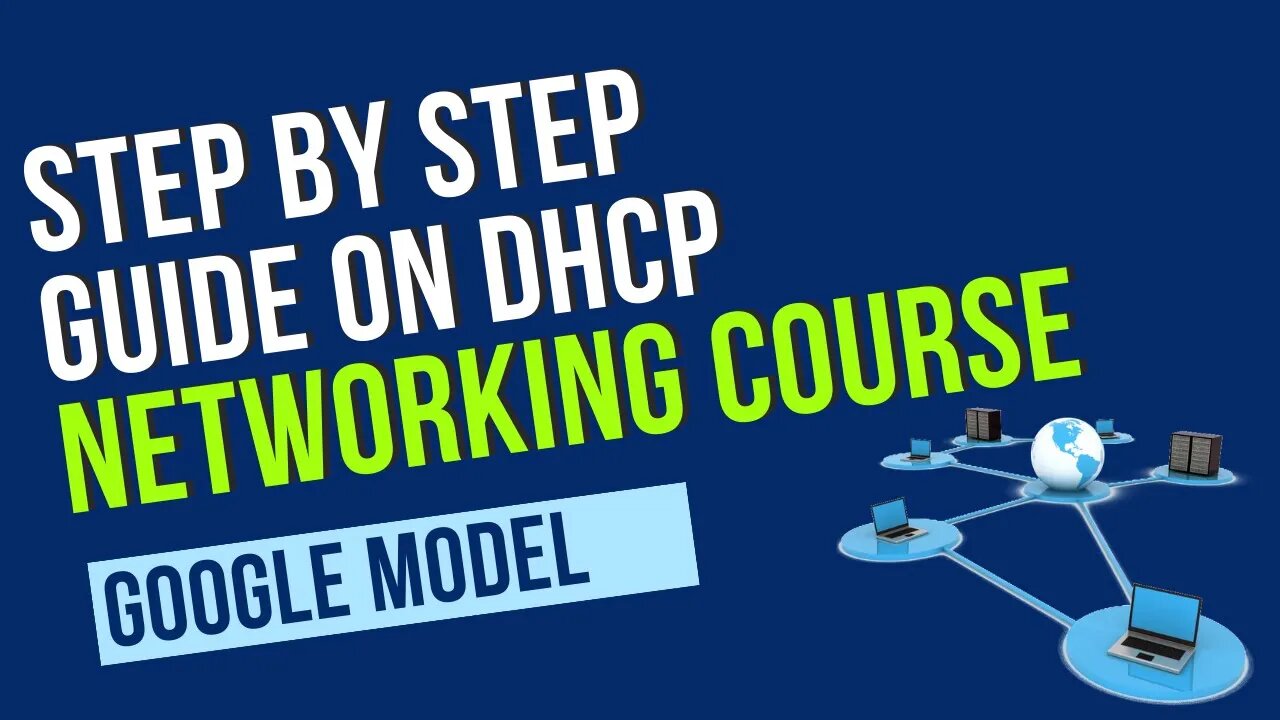
Step by Step Guide on DHCP
Step 1: Understand DHCP
DHCP stands for Dynamic Host Configuration Protocol, which is a network management protocol used to assign IP addresses and other network configuration parameters to devices on a network automatically.
Step 2: Configure DHCP Server
To set up a DHCP server, you need a device or computer running DHCP server software. Popular options include Windows Server, Linux distributions with DHCP server packages (such as ISC DHCP or dnsmasq), or dedicated DHCP appliances. Install and configure the DHCP server software according to its documentation.
Step 3: Define DHCP Scope
A DHCP scope defines the range of IP addresses that the DHCP server can assign to devices. Determine the IP address range, subnet mask, default gateway, DNS server addresses, and other options that you want to provide to clients.
Step 4: Configure DHCP Scope
Within the DHCP server software, define the DHCP scope using the determined parameters. Specify the IP address range, subnet mask, default gateway, DNS server addresses, lease duration (how long an IP address lease lasts), and any other required options.
Step 5: Enable DHCP Server
Activate the DHCP server on the network interface or interfaces connected to the network where you want to provide IP addresses. Ensure that the DHCP server is running and ready to lease IP addresses.
Step 6: DHCP Discover
When a client device connects to the network and requests an IP address, it sends a DHCP Discover message, broadcasting it to the network.
Step 7: DHCP Offer
The DHCP server receives the DHCP Discover message and responds with a DHCP Offer message. The Offer contains an available IP address from the defined DHCP scope, along with other configuration parameters.
Step 8: DHCP Request
The client receives the DHCP Offer message and sends a DHCP Request message, indicating its acceptance of the offered IP address.
Step 9: DHCP Acknowledge
The DHCP server receives the DHCP Request message and sends a DHCP Acknowledge message to the client, confirming the assignment of the IP address. The client then configures its network interface with the provided IP address and other parameters.
Step 10: IP Lease Renewal
After a certain period (specified by the lease duration), the client will attempt to renew its IP lease with the DHCP server. If the lease is still valid, the DHCP server renews it. If not, the client goes back to Step 6 to obtain a new IP address.
By following these steps, you can successfully configure and use DHCP to automatically assign IP addresses and network configuration to devices on your network.
Keyword
step by step guide on dhcp
dynamic host configuration protocol
dhcp server
dhcp
dhcp server configuration
how to configure dhcp
how to create dhcp scope
dhcp scope
install dhcp 2019
how to assign ip address automatically on windows 10
configure dhcp in windows server
dhcp server 2019
#DHCP
#DynamicHostConfigurationProtocol
#IPAddressManagement
#NetworkConfiguration
#NetworkManagement
#IPAllocation
#DHCPserver
#IPLease
#DHCPClient
#NetworkInfrastructure
#AutomatedNetworking
#IPConfig
#DHCPDiscover
#DHCPOffer
#DHCPRequest
#DHCPAcknowledge
#IPRenewal
#IPLeaseDuration
#DHCPScope
#DHCPConfiguration
-
 9:06
9:06
Colion Noir
10 hours agoKid With Gun Shoots & Kills 2 Armed Robbers During Home Invasion
16.9K3 -
 54:28
54:28
LFA TV
1 day agoUnjust Man | TRUMPET DAILY 2.27.25 7PM
19.7K2 -
 DVR
DVR
CatfishedOnline
7 hours ago $1.19 earnedGoing Live With Allen Weekly Recap
21.8K -
 20:10
20:10
CartierFamily
7 hours agoAndrew Schulz DESTROYS Charlamagne’s WOKE Meltdown on DOGE & Elon Musk!
36.8K45 -
 1:36:39
Redacted News
5 hours agoBOMBSHELL EPSTEIN SH*T SHOW JUST DROPPED ON WASHINGTON, WHAT IS THIS? | Redacted w Clayton Morris
145K242 -
 2:03:31
Revenge of the Cis
6 hours agoEpisode 1453: Fat & Fit
48.6K8 -
 2:38:12
The White House
7 hours agoPresident Trump Holds a Press Conference with Prime Minister Keir Starmer of the United Kingdom
160K60 -
 1:01:04
In The Litter Box w/ Jewels & Catturd
1 day agoDrain the Swamp! | In the Litter Box w/ Jewels & Catturd – Ep. 751 – 2/27/2025
91.7K35 -
 1:11:24
Dr. Drew
8 hours agoNEW: Cardiac Arrest In Healthy Young People After mRNA w/ Nicolas Hulscher – Ask Dr. Drew
72.7K31 -
 4:24:53
Right Side Broadcasting Network
12 hours agoLIVE REPLAY: President Trump and UK Prime Minister Starmer Meet and Hold a Press Conference 2/27/25
166K47