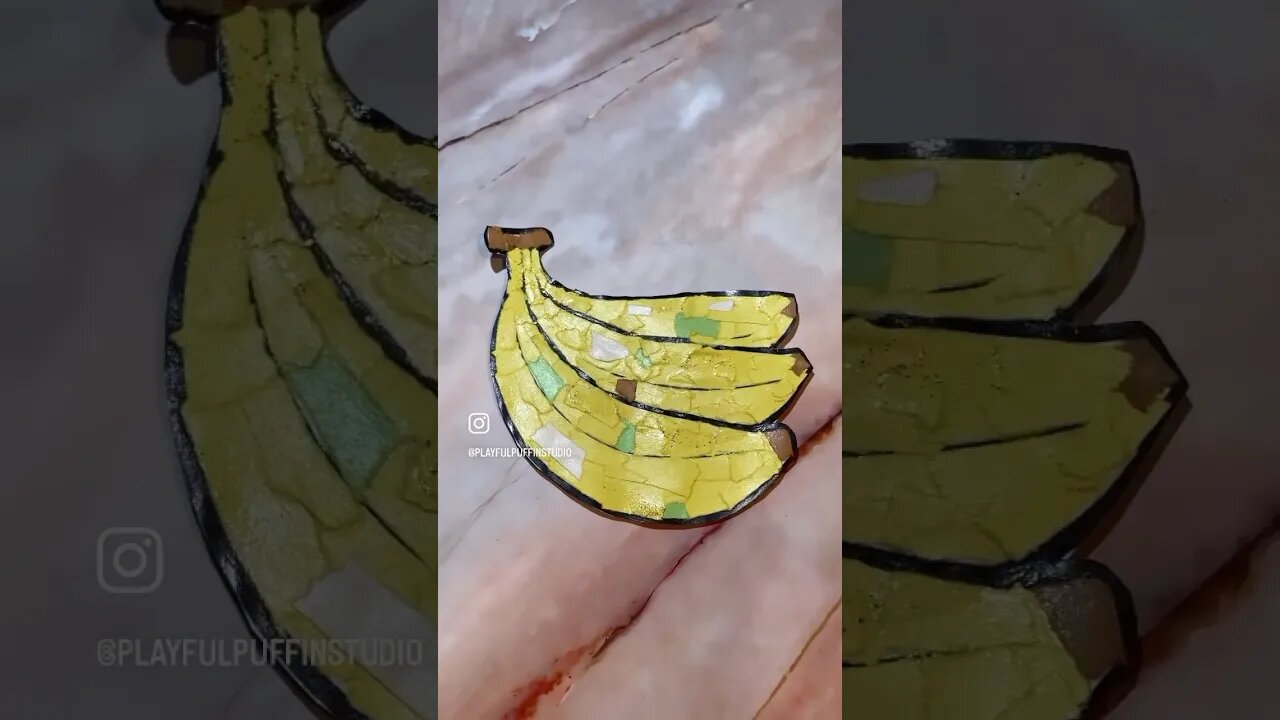
🍌 Colour by paper! I’ve taught this craft to so many people!
This craft technique holds a special place in my heart. I came up with this messy mosaic method (woowee- alliteration lol 😂) when I was littleand I have since gone on to teach others how to do it too. It’s like collage meets colouring. Now I doubt I’m the only person to ever do this. All I know is I didn’t learn it from anyone anywhere. When I was a kid there was no computer so no Youtube, etc. Just me in my room creating. So if you’ve done this before let me know 🙂
I do know from experience that this is a great activity to do with little kids but of course any age can do it too. It’s an excellent lesson on patience and persistence. The more patient you are, the more you fill your page and the nicer the result.
If this craft interests you for your own kids, students or maybe you just want to try something new and brighten up your sketchbook here are the simple steps (save for future reference):
1- Find a simple colouring page.
If you are working with younger children, I suggest a simple design with a thick outline to make it easier for them to fill in and maybe cut out. A simple google search will yield free colouring page options.
2- Identify the colours you need to gather up coloured paper.
This can be left over construction paper, scrapbook paper, magazines, card stock etc. Rip up the colours, now remember you need a variety of sizes to create your mosaic style.
3- Get a glue stick and white glue.
I highly recommend using a glue stick to glue down your pieces. First of all the paper would warp with liquid glue first, the glue stick gives you more control. You can either put glue on the paper and place the bit over the sticky parts or glue each piece one by one. It’s a question of preference. When you’re done cover your artwork with a layer of white glue, covering everything. This will cause there to be a clear hard coat as well as keeping everything down.
4- Optional: After your piece dries it’s time to cut! Only do this step if you are planning to put it in a sketchbook, a display board or on a scrapbook or sketchbook page. Otherwise you may choose to leave it or decorate the background of the computer paper.
Tag me if you try!
#arttip #arttips #arttipsandtricks #kidfriendly #artsandcrafts #arttutorial #artteacherideas #artteachertips #artreels #artreel #artreelsvideo #artshortvideo #artshort #artshorts #artshortsvideo #artchannel #artchannelshorts #artistlife #artist
-
 LIVE
LIVE
LFA TV
1 hour agoLFA TV ALL DAY STREAM - WEDNESDAY 8/27/25
6,750 watching -
 LIVE
LIVE
JULIE GREEN MINISTRIES
1 hour agoLIVE WITH JULIE
15,736 watching -
 LIVE
LIVE
Game On!
16 hours agoBREAKING NFL NEWS: Taylor Swift and Travis Kelce Are Engaged!
6,380 watching -
 1:02:09
The Confessionals
20 hours agoThe Supernatural Proof You Can’t Ignore (When Angels and Demons Showed Up) | Lee Strobel
20.7K12 -
 15:24
15:24
Degenerate Jay
20 hours ago $0.11 earned5 Best Moments In Batman: Arkham Asylum
2.64K -
 12:24
12:24
The Shannon Joy Show
14 hours ago🔥From Flock Cameras to Palantir: America’s Expanding Digital Cage🔥
4.52K2 -
 LIVE
LIVE
BEK TV
23 hours agoTrent Loos in the Morning - 8/27/2025
276 watching -
 LIVE
LIVE
The Bubba Army
22 hours agoTaylor Swift & Travis Kelce ENGAGED! - Bubba the Love Sponge® Show | 8/27/25
2,054 watching -
 40:14
40:14
Uncommon Sense In Current Times
17 hours ago $1.70 earnedThe Dating Crisis in America | J.P. De Gance on the Church’s Role in Restoring Family & Faith
36.2K3 -
 12:35
12:35
Red Pill MMA
19 hours agoNow We Know The Truth.. Hero Who Stopped Raja Jackson Speaks Out
10.4K7