How To Make Cardboard Wall Shelf | Cardboard Wall Decor |Home Wall Decorating Ideas |Cardboard art
Introduction:
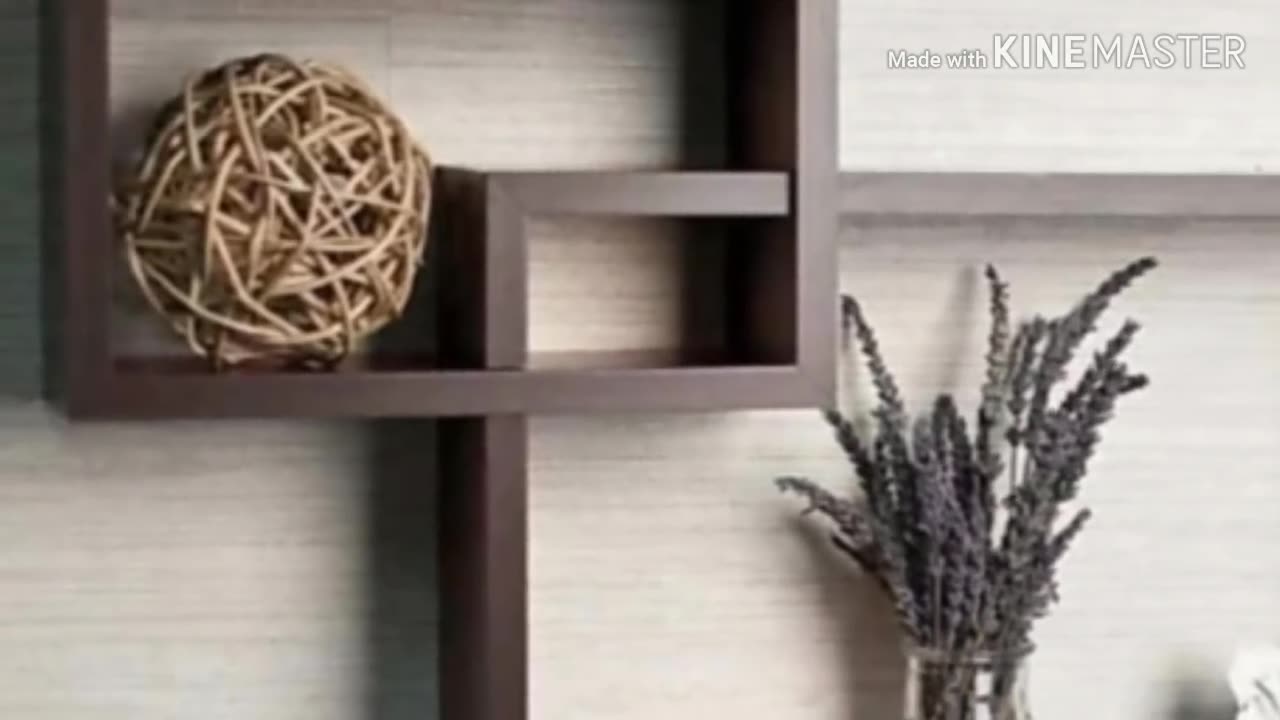
Looking for a unique and budget-friendly way to decorate your walls? Creating a cardboard wall shelf is a fantastic DIY project that combines functionality with creativity. Cardboard, a readily available and versatile material, can be transformed into a stylish and practical shelf, adding a touch of charm to any room. In this guide, we will walk you through the step-by-step process of making a cardboard wall shelf, providing you with a fun and rewarding home decor project.
Materials Needed:
Cardboard sheets
Ruler or measuring tape
Pencil or pen
Box cutter or utility knife
Adhesive (strong glue or hot glue gun)
Paint or decorative paper (optional)
Paintbrushes (if painting)
Mounting hardware (such as brackets or picture hanging hooks)
Level
Step 1: Designing and Measuring
Begin by sketching your desired shelf design on a piece of cardboard. Consider the dimensions and shape of the shelf, keeping in mind the space where it will be mounted. Measure and mark the dimensions accurately to ensure a precise build.
Step 2: Cutting the Cardboard
Using a ruler and a box cutter or utility knife, carefully cut out the cardboard pieces according to your design. Take your time to make clean and straight cuts, as they will contribute to the overall appearance and stability of the shelf.
Step 3: Assembling the Shelf
Lay out the cardboard pieces according to your design. Apply adhesive along the edges where the pieces will join, and press them firmly together. Allow the adhesive to dry completely before moving on to the next step.
Step 4: Reinforcing the Shelf
To enhance the strength and durability of the shelf, consider adding additional cardboard strips or layers to the bottom and back of the structure. This reinforcement will provide stability and ensure that the shelf can hold the desired weight.
Step 5: Decorate (optional)
If you wish to add a decorative touch to your cardboard wall shelf, you can paint it or cover it with decorative paper. Use acrylic paints or spray paints for a vibrant and long-lasting finish. Alternatively, choose decorative paper or patterned contact paper that complements your room's aesthetic. Apply the paint or paper carefully, allowing it to dry or adhere fully before handling the shelf.
Step 6: Mounting the Shelf
Before mounting the shelf, decide on its placement on the wall. Use a level to ensure it will be straight. Attach the appropriate mounting hardware, such as brackets or picture hanging hooks, to the back of the shelf. Ensure that the hardware is securely attached and properly aligned.
Step 7: Hanging the Shelf
Position the shelf on the wall, aligning it with the mounting hardware. Carefully hang the shelf, making sure it is level. Double-check that the shelf is securely attached and capable of supporting the desired weight.
-
 LIVE
LIVE
FyrBorne
20 hours ago🔴Warzone M&K Sniping: Warzone's Heavy Hitters
7,528 watching -
 20:16
20:16
DeVory Darkins
10 hours ago $5.93 earnedTulsi Gabbard shocking update regarding russia hoax against President Trump
7.6K48 -
 2:04:33
"What Is Money?" Show
18 hours agoThe Dollar is Rotten: A Winemakers Journey to Bitcoin w/ Ben Justman
17.2K7 -
 5:30
5:30
Michael Knowles
18 hours agoCBS Cancels Stephen Colbert’s Late Show
31.5K36 -
 11:49
11:49
Nikko Ortiz
17 hours agoCrazy Instant Karma Clips
22.8K18 -
 LIVE
LIVE
MrR4ger
2 hours agoSOLO DOLO QUESTING - ESCAPE FROM TARKOV PVE IS FUN??? *NEW R4GER RIFFS MONDAY!!**
161 watching -
 LIVE
LIVE
Anvilight
5 hours agoWorld of Warcraft | Returning to Scotland AND Azeroth! | Scotsman Unites The American Clans
80 watching -
 16:21
16:21
Actual Justice Warrior
23 hours agoSuper Mayor Replacement SCAMS Voters
24K15 -

Sacred Sage
3 hours ago $0.46 earnedClair Obscur: Expedition 33: How MASSIVE Is This Map?!
8.17K -
 LIVE
LIVE
The Goon Room
5 hours agoConan Exiles Restart
78 watching