LTEM-PA/LTEM-PV: Install PROWIFI or PROWIFIZW
In this video, Julia from Alarm Grid shows users how to install the PROWFI or PROWIFIZW into an LTEM-PA or LTEM-PV communicator. The first thing you should do is power the system down by unplugging the DC power adapter and then removing the cover and unplugging the battery.
To remove the cover, use a small screwdriver to press in the locking tabs on the bottom edge of the LTEM-P communicator, and then pull the cover up, or forward and lift it out of the way. Now you can unplug the positive lead for the battery to power the device completely down. All of the LEDs on the unit should be off.
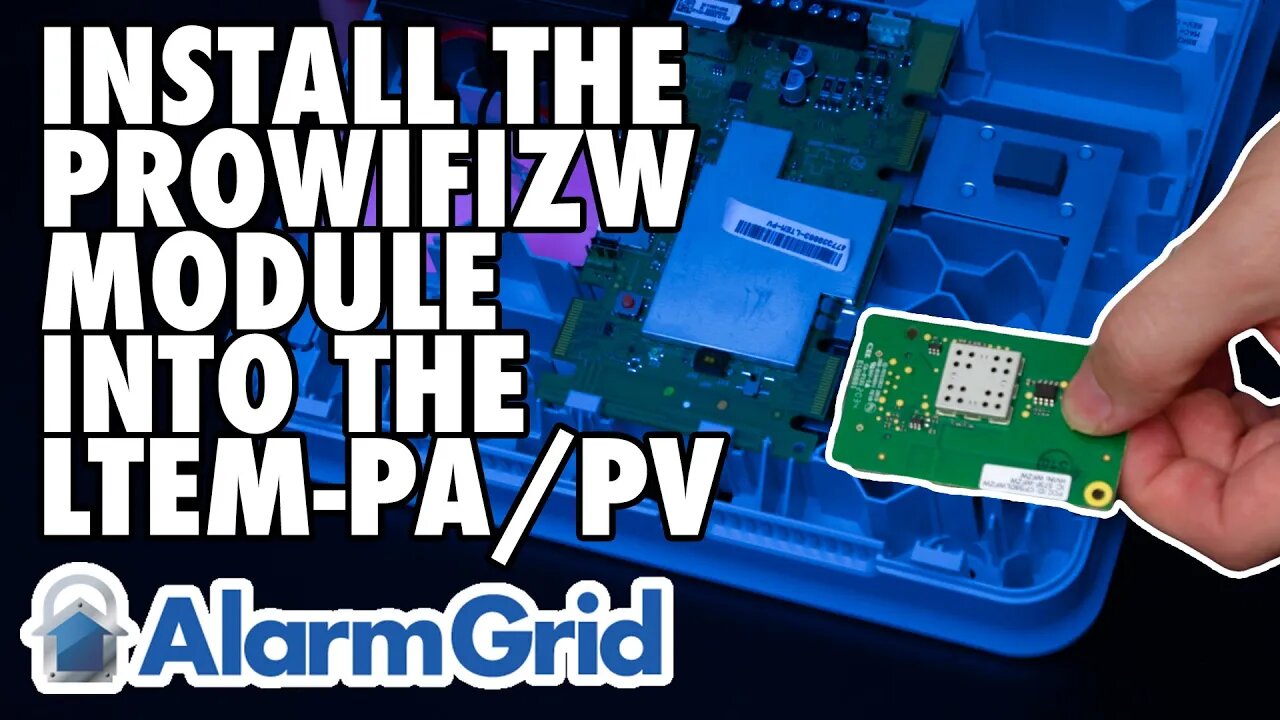
The PROWIFI or PROWIFIZW installs in the upper left corner of the main communicator board. There is a piece of foam tape on the back of the communicator. Be sure to leave this in place. If the LTEM-P series communicator has a piece of foam on the plastic, one that will be located beneath the PROWIFI or PROWIFIZW after it's installed, this piece of foam should be removed.
Line the edge connector of the LTEM-PA or LTEM-PV up with the port on the back of the PROWIFI or PROWIFIZW. There is a plastic locking tab located on the LTEM-P communicator that the board of the PROWIFI will snap under when it's installed correctly. Once the board is lined up with the connector, slide it forward until it snaps into place on the edge connector. The PROWIFI or PROWIFIZW will be held in place by the connector on the back, and by the plastic locking tab at the top.
Plug in the DC power adapter, plug in the battery, and replace the communicator's cover. The communicator should power up and be ready to activate.
https://www.alarmgrid.com/faq/how-do-i-install-the-prowifizw-in-a-ltem-pa-or-ltem-pv
-
 10:19
10:19
Alarm Grid Home Security DIY Videos
1 year agoPROA7 or PROA7PLUS: Awareness Zone Types
32 -
 25:49
25:49
GritsGG
12 hours agoRank 1 Player Crushes Solo Lobby!
19.1K3 -
 35:14
35:14
The Pascal Show
13 hours ago $3.25 earnedHE'S GONNA SUE COLDPLAY?! Astronomer HR Resigns & Ex-CEO Set To Sue Coldplay Over Kiss Cam Drama
18.1K6 -
 LIVE
LIVE
Lofi Girl
2 years agoSynthwave Radio 🌌 - beats to chill/game to
427 watching -
 19:18
19:18
DeVory Darkins
9 hours ago $26.54 earnedDemocrat non-profit SCAM EXPOSED as Trump OBLITERATES Newsom
49.3K95 -
 23:58
23:58
Stephen Gardner
10 hours ago🔥Obama THROWS Adam Schiff under the bus to obstruct Trump!
40.3K137 -
 38:44
38:44
The Why Files
4 days agoProject Ancient Arrow | The NSA's Secret War Against Our Future
77.5K81 -
 2:36:06
Barry Cunningham
12 hours agoPRESIDENT TRUMP IS TRULY USHERING IN THE GOLDEN AGE OF AMERICA! CAN YOU FEEL IT?
127K49 -
 3:47:25
SynthTrax & DJ Cheezus Livestreams
3 days agoFriday Night Synthwave 80s 90s Electronica and more DJ MIX Livestream 2K Celebration SPECIAL EDITION 530pm PST / 830pm EST
63.3K8 -
 2:21:54
VapinGamers
9 hours ago $4.34 earnedDestiny 2 - Edge of Fate Legendary Run Part 3 - !rumbot !music
35.8K