Node Academy: Chapter 1A - Setting up your own Lightning Node with your own hardware
In this lesson, we will guide you through the entire process of setting up your own Lightning Network node at home or in the office. We start by helping you select an appropriate device. This could be a used laptop, a refurbished desktop computer, a mini-PC or even a Raspberry Pi, though availability of the latter may vary.
Next, we delve into the system requirements. While the minimum requirements include 2GB of RAM, a 1 GHz quad core, and 20GB of storage, we recommend having at least 4GB of RAM, a 2 GHz six core, and a 256GB SSD for improved performance. We also stress the importance of being able to access the BIOS for installing Linux.
Moving forward, we recommend running your node on a Linux-based operating system, particularly Ubuntu or Debian. We guide you through the process of installing Ubuntu on your device using a live USB, which includes accessing the BIOS, booting from the USB, and setting up the operating system.
In the final section of the lesson, we explain how to set up SSH access to control your node from your personal computer. This involves creating an SSH key on your personal machine, installing an SSH server on your node, authorizing your SSH key, and obtaining your node’s IP address. After this, you should be able to connect to your node from your personal computer using the SSH command.
By the end of this lesson, you will be equipped with the knowledge and resources to install Ubuntu and configure SSH, setting a solid foundation for running a Lightning Network node.
-
 47:58
47:58
Vancouver Bitcoiners
1 year agoNode Academy: Chapter 4 - Installing and Configuring LND & TOR
30 -
 27:47
27:47
Vancouver Bitcoiners
1 year agoNode Academy: Chapter 1B - Configuring a Virtual Private Server for a Lightning Node
13 -
 7:59
7:59
Bitcoin Magazine
4 years agoBitcoin Magazine Walkthrough: How To Install MyNode On Your Old Casa Node
15 -
 1:01:36
iTeachCiscoAU
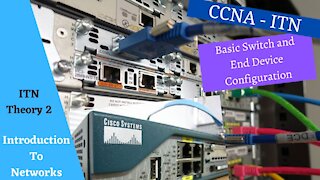
2 years agoCisco Netacad Introduction to Networks course - Module 2 - Basic Switch and End Device Config.
73 -
 0:46
0:46
Electronics, Arduino, Raspberry ...
1 year agoInstalling Raspberry Pi OS - Collin’s Lab Notes
178 -
 9:50
9:50
AccAutomation
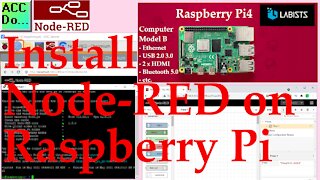
2 years agoInstall Node-RED on Raspberry Pi 4
37 -
 9:50
9:50
AccAutomation
2 years agoInstall Node-RED on Raspberry Pi
28 -
 7:17
7:17
GEEKrar
1 year agoPi Node Setup Windows 11 PC (2023)
7 -
 10:29
10:29
GEEKrar
11 months agoNEOXA SMARTNODES (Complete Guide)
23 -
 2:00:00
💻programming, 🎨design,🎮 games
1 year agoLINUX COURSE FOR BEGINNERS! | FINAL.
59