Repairing And Straightening Stainless Trim
Stainless steel trim is a common feature on many classic and vintage cars, and can add an elegant touch to the vehicle. However, over time, the trim can become damaged or bent, requiring repair or replacement. Here are some steps to consider when repairing and straightening stainless steel trim:
Remove the trim: Carefully remove the trim from the vehicle using a trim removal tool. Be careful not to damage the paint or body of the car.
Assess the damage: Inspect the trim for any dents, scratches, or bends. Determine the extent of the damage and decide whether the trim can be repaired or needs to be replaced.
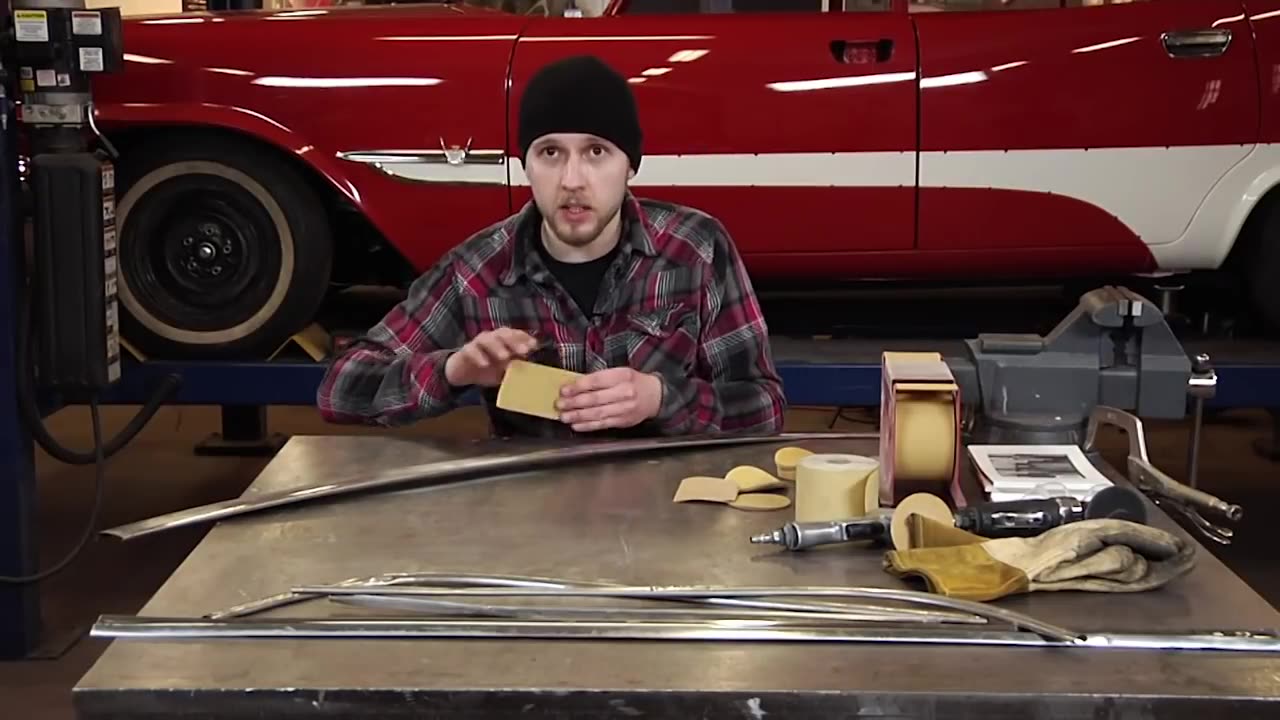
Straightening the trim: To straighten the trim, use a rubber mallet or a block of wood and gently tap the trim until it is back in its original shape. Be careful not to apply too much pressure as this can cause the trim to warp or bend.
Repairing dents and scratches: If the trim has any dents or scratches, they can be repaired using a body filler. Clean the damaged area with a degreaser, apply the filler, and sand it down to create a smooth surface.
Polishing the trim: Once the trim has been straightened and repaired, polish it using a stainless steel polish. This will give the trim a shiny finish and protect it from future damage.
Reinstall the trim: Carefully reinstall the trim back onto the vehicle using the appropriate clips or fasteners.
Repairing and straightening stainless steel trim requires patience and a steady hand. If you are not comfortable doing it yourself, consider hiring a professional auto body technician to do the job for you. With proper care and maintenance, the trim on your classic car can last for many years.
-
 LIVE
LIVE
The Bubba Army
2 days agoTrump OBLITERATES Iran: What's Next? - Bubba the Love Sponge® Show | 6/23/25
3,020 watching -
 1:59:45
BEK TV
2 hours agoTrent Loos in the Morning 6/23/2025
9.08K -
 LIVE
LIVE
AP4Liberty
1 hour agoDeath To America? Then No Nukes For You!
220 watching -
 20:58
20:58
GritsGG
17 hours agoFrying a Casual Solos Lobby! Pushing for 50 Kills!
24.5K8 -
 2:16:18
Side Scrollers Podcast
2 days agoCONTENT NUKE GOES LEGAL, AI To REMAKE Classic Movies, Walter Day Interview | Side Scrollers Live
79.7K15 -
 LIVE
LIVE
Lofi Girl
2 years agolofi hip hop radio 📚 - beats to relax/study to
371 watching -
 49:01
49:01
Anthony Pompliano
2 days ago $7.52 earnedBitcoiners Built Tether Into The Most Profitable Company Ever
50.3K8 -
 1:49:44
Russell Brand
4 days agoTerrence Howard’s SHOCKING New Theory of Reality - SF599
248K76 -
 6:36:43
DopeFrags
9 hours agoWe're just gamin'.. | Dope After Dark
20.8K1 -
 LIVE
LIVE
EleMentalMJ
7 hours agoSUNDAY FUNDAY! - Variety Gaming Stream
125 watching