How I Diagnose DTC P0128
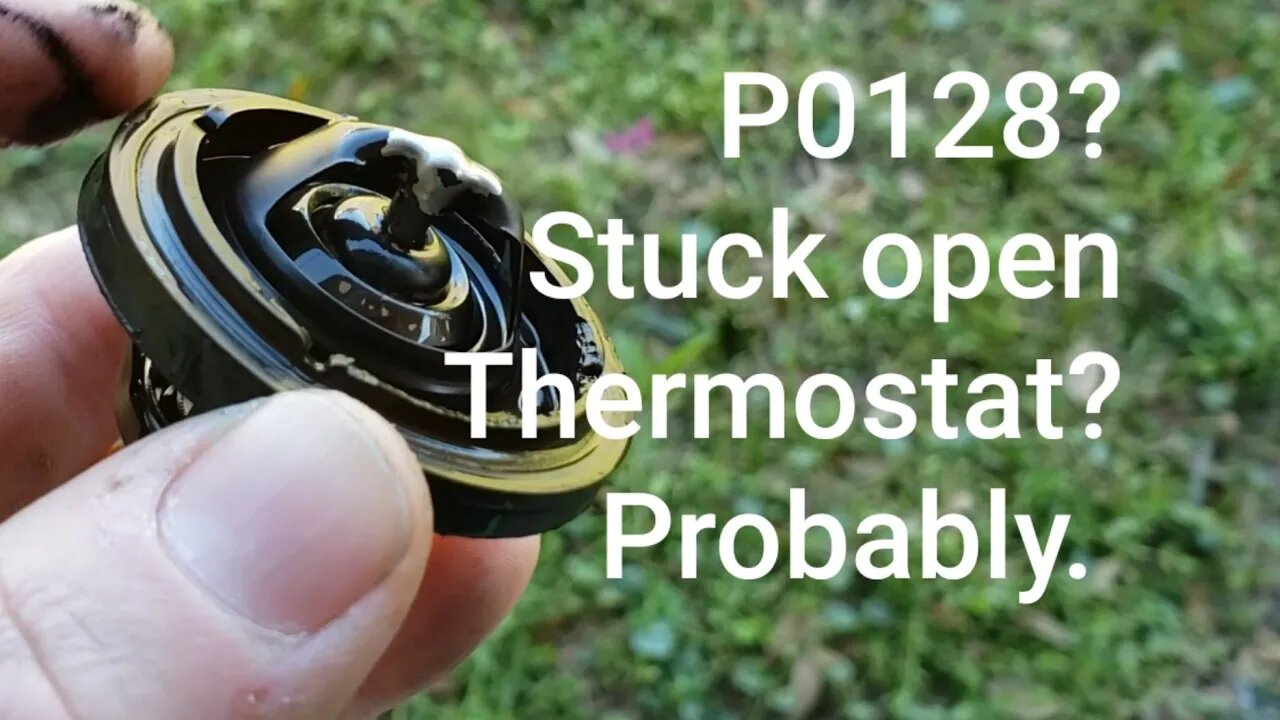
In this video I'll go over some causes and symptoms associated with diagnostic trouble code P0128. I also give you a run down of how I usually diagnose this code. In the end of my diagnostic of the vehicle in the video I find that the thermostat is indeed stuck open. I even show you an example of what a stuck open thermostat looks like.
DTC P0128 means "Coolant temperature below thermostat regulating temperature."
The most common cause of this code is a stuck open thermostat. When a thermostat gets stuck in the open position the coolant flows freely through the radiator. This prevents the coolant from reaching the temperature that the thermostat is supposed to keep the coolant at. A thermostats opening temperature is usually around 180-190 degrees F. Other causes of this code could be low coolant, faulty wiring going to the coolant temperature sensor, and possibly a faulty coolant temperature sensor. There may be other causes not mentioned here.
Common symptoms are as follows. SES lamp on with code P0128 stored in the PCM, poor heater performance or warm or cool air coming from vents when heat is selected, and something not mentioned in the video, coolant temperature taking a long time to reach normal operating temperature or not reaching operating temperature.
WARNING! Never open your cooling system, wether its removing the radiator cap, taking a hose off, or disconnecting any part related to the cooling system without first allowing the vehicle to cool down. I would suggest letting the vehicle sit for a minimum of 2 hours before doing any repairs or opening the cooling system. Even then take protective measures. Wear safety glasses and protective gloves. Be sure there is no pressure in the cooling system. You can do this by gently squeezing the radiator hose.
The hose should give. If the hose does not give and the hose is hard then give the vehicle more time to cool down. When opening the radiator cap do so slowly and cautiously. Its a good idea to cover the cap with a damp cloth before removing it. Grab the cap with the cloth over the cap and remove it slowly. (not shown in this video.) If the cap wants to shoot off then keep constant pressure on the cap and screw the cap back on. Wait for the vehicle to cool more.
DISCLAIMER
Barbour's Auto Help is not responsible for any damage or personal injury incurred in the process of performing any auto repairs done by you the viewer. Automotive repair is extremely dangerous. Repair your vehicle at your own risk. It is the viewers responsibility to verify all information and procedures as outlined in YOUR REPAIR MANUAL AND OWNERS MANUAL FOR YOUR VEHICLE. Owning and using a repair manual suited for your vehicle is essential for correctly and safely performing ANY repair to your vehicle. Always wear safety glasses and heed all instructions for use applicable to any piece of equipment you may use. Due to circumstances out of the control of Barbours Auto Help, Barbours Auto Help makes no guaranty that by the use of the information given in this video a quality repair will be made. Barbour'sAutoHelp makes no guaranty that the information provided is totally complete, syncronized and accurate. Verify everything using an appropriate repair manual.
Repair your vehicle at your own risk! Barbour's auto help does not guaranty a proper repair using these techniques.
-
 8:50
8:50
Ethical Preparedness
1 day agoQuickly Crush & Reverse Type 2 Diabetes after the Collapse
1.65K3 -
 15:06
15:06
Russell Brand
1 day agoPeople Are SHOCKED As Bill Burr Goes After Elon Musk on 'The View'
124K238 -
 7:32:11
SpartakusLIVE
11 hours ago#1 Action HERO ends your weekend in a FIERY BLAZE of non-stop GLORY
96.5K5 -
 2:34:20
vivafrei
20 hours agoEp. 257: More ROGUE Judges! More Deportations! Candace v. RFK Jr.? Wisconsin Election & MORE!
197K464 -
 2:27:35
Nerdrotic
13 hours ago $24.92 earnedGobekli Tepe Coverup, Pyramid Structures w/ Jimmy Corsetti & Wandering Wolf | Forbidden Frontier 096
76K35 -
 54:17
54:17
Man in America
18 hours ago50 MILLION Illegals: The TIME BOMB Threatening to Destroy America w/ J.J. Carrell
60.9K73 -
 1:09:13
Tundra Tactical
10 hours ago $5.78 earnedThe Worlds Okayest Gun Live Stream
47.7K5 -
 4:01:56
The Sufari Hub
11 hours ago🔴ELDEN RING MODDED - ROAD TO #1 GAMER ON RUMBLE - #RumbleGaming
65.1K -
 4:23:35
thatsnotkyle
9 hours agoPUBG | Chicken Dinners
65.4K2 -
 54:47
54:47
Sarah Westall
13 hours agoTranshumanism vs Natural Human Zones, AI consciousness and the Hive Mind Future w/ Joe Allen
100K50