Premium Only Content

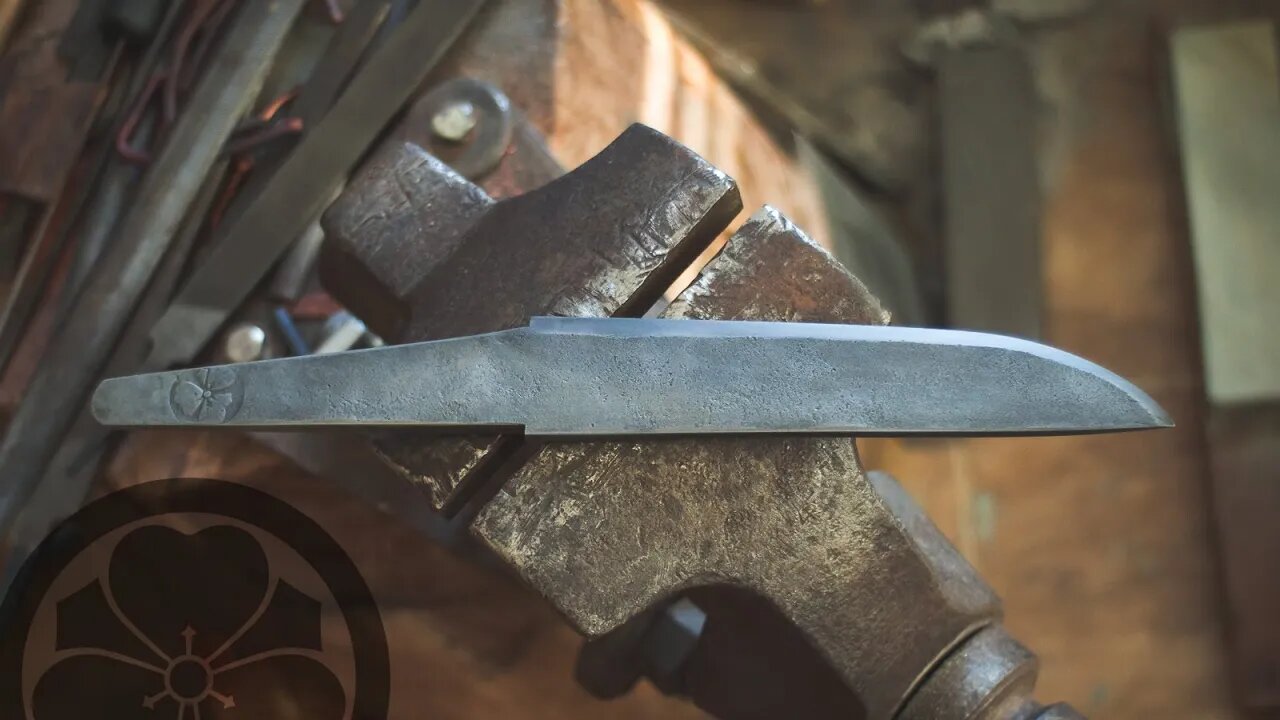
TLDW #10 - Mountain Kotanto Yaki-Ire, traditional swordsmith style
**WARNING: This is the longer process version intended for serious students of knifemaking. Watch the overview edit here: https://youtu.be/1VqXZgLwnRo Traditional clay/charcoal/water yaki-ire, differential hardening a classical tanto style kotanto blade forged from a reclaimed harrow tooth. Watch the forging here: https://youtu.be/IXvVUHmsnaA
The wedged wooden staple vise is called sen dai, named for the sen scraper it is often used for. As this will be a tsuchime (hammer finished) blade, only the bevel area is shaped and drawfiled before yaki ire.
The spine and body of the blade are coated with a thin layer of the clay mixture to insulate and slow down the cooling while the edge and tip are coated in a very thin slip layer which actually cools faster than bare steel and protects from oxidation.
The clay is a mixture of perhaps thirds of natural clay, crushed charcoal, and polishing stone powder. Each smith has their own recipe but the basics are the same...natural clay: to make it stick, polishing stone powder: to keep it from shrinking and cracking when it dries, and charcoal powder: to keep it from cracking when it is heated...knowing these properties allows a smith to make adjustments as needed.
Heated differentially in the charcoal forge with air provided by fuigo box bellows, the edge faces up for the initial heating and is flipped down when the temperature begins to approach but has not reached critical. Carefully observing the temperature and constantly moving to avoid over-heating and hot spots, once the edge-third reaches an even critical temperature the blade is quenched quickly in warm rainwater until cool. The tang is not heated or hardened and can be drilled later for the mekugi-ana.
A coarse synthetic Japanese stone is used to reduce the edge and then coarse and finer diamond stones were used to establish and polish the bevels.
Footage of making the guard was sparse due to battery issues so it is tacked it on the end rather than as a separate video. A quarter of a silver-plated copper washer from a bus bar was forged down and then drifted with the nakago-ana punch, filed to fit the tang, shaped and peened to finish.
More about the process of making this knife here: http://islandblacksmith.ca/2016/08/process-making-the-mountain-kotanto/
________________________
more on yaki-ire...
Process of Clay Tempering a Tanto Blade
http://islandblacksmith.ca/process/yaki-ire-clay-tempering/
Once the steel is shaped as much as possible in its softer state, it is coated with a thin layer of clay along the edge and a thicker layer on the body and spine. During the hardening process, the split second difference in cooling time caused by the clay layer creates two different hardness areas in the same piece of steel. The edge cools faster and forms a very hard steel structure called martensite while the body cools slower and forms a very tough steel structure made of ferrite and pearlite. The boundary between these two areas is called hamon and is commonly seen as a frosted wavy line down the length of a polished sword blade.
When the clay is fully dry, a charcoal fire is used to heat the steel slowly and evenly, taking care not to overheat any part of it and working in the dark for accurate colour viewing. First the spine is heated to bring the whole blade to just below temperature, and then it is flipped over to focus heat on the edge. When the entire edge is at the correct temperature, it is plunged into a hot water bath, edge down, and held until cool (yaki-ire). The hardness is checked with a file and the process repeated if necessary. After hardening, the clay is removed and the steel is heated slightly again to remove some of the internal stresses (yaki-modoshi). Once this process is finished, and if the steel survives, the blade is ready for Togi, hand polishing.
-
 LIVE
LIVE
JULIE GREEN MINISTRIES
1 hour agoLIVE WITH JULIE
27,107 watching -
 LIVE
LIVE
The Bubba Army
22 hours agoCharlie Kirk's Killer On The Run - Bubba the Love Sponge® Show | 9/11/25
10,655 watching -
 16:58
16:58
Actual Justice Warrior
2 days agoBLM's Original HOAXER Killed By Black Crime
62.3K57 -
 LIVE
LIVE
RealAmericasVoice
3 days agoHOME OF REAL NEWS
7,570 watching -
 2:04:21
Badlands Media
18 hours agoDevolution Power Hour Ep. 388: Assassination, Inflection Points, and the Battle Ahead
352K129 -
 2:08:03
Inverted World Live
11 hours agoCharlie Kirk Assassinated | Ep. 106
124K64 -
 3:01:07
TimcastIRL
12 hours agoCharlie Kirk Assassinated, Suspect In Custody | Timcast IRL
671K1.13K -
 5:44:49
Redacted News
15 hours agoTurning the Tide: 9/11 Justice in 2025 — Day 1 with Sen. Ron Johnson, Richard Gage and More
204K91 -
 2:48:00
TheSaltyCracker
13 hours agoYou're Being Hunted ReeEEStream 9-10-25
326K699 -
 13:09:56
LFA TV
1 day agoBREAKING: CHARLIE KIRK ASSASSINATED - WEDNESDAY 9/10/25
405K140