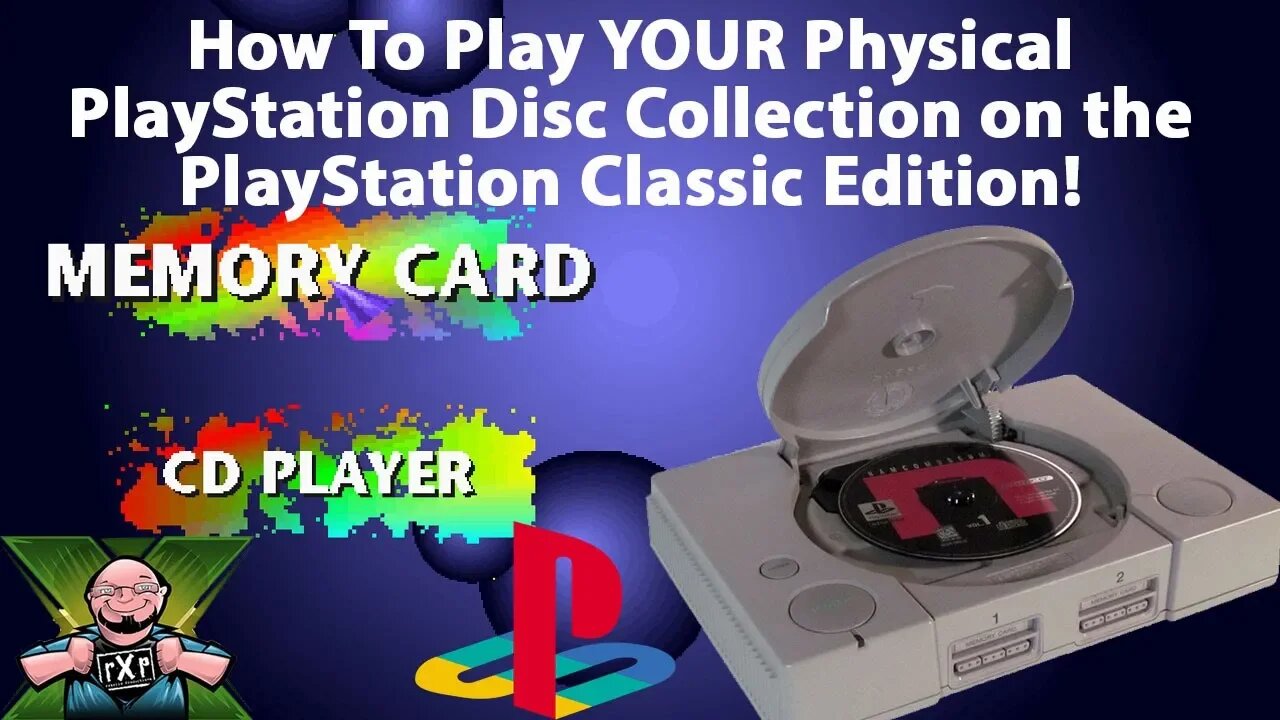
How to Play your Physical PlayStation Disc Collection on the PlayStation Classic Edition
In this video, we will show you how to run your physical PlayStation game discs on the PlayStation Classic Edition.
One of the things I have never liked about emulation is that, by and large, it is promoting piracy of some sort. While possible to download the ROM file from cartridge-based games, most people do not own these tools or hardware. However, it is easily possible to create game image files from PlayStation discs using a standard DVD drive in a computer. In essence, these processes will not only help you get your disc-based games installed and playable on your PlayStation Classic, but it also aids in the preservation of classic gaming and converts them to an easily achievable.
Backing up your discs:
Once you have the program installed on your system, you’ll want to setup some sort of folder structure to dump the files into. Upon launching Imgburn, you’ll want to select the option to “Create Image from Disc”. From here you’ll select your disc drive location and your output location for the ISO file you’re going to create. Once you have these set, just hit the start button and let the software plug and chug. Depending on the size of the game it may take 2-3 minutes or over 10. One note, you’ll want to create a Disc 1 and Disc 2 subfolder for multi-disc games.
Formatting Your Thumbdrive
You’ll need to format it using the Fat32 format. Some larger thumbdrives, such as ones over 32GB, may not be able to be formatted using Windows’ default disc formatting tool. The 128GB USB 3.1 SanDisc drive that I was using could not be formatted with the Windows tools, which lead me to the tool I posted above.
Regardless of how you format the drive to be Fat32, the name of the drive needs to be SONY, all caps.
Setting Up BleemSync
You’ll need to backup a few items for reference later. Inside the Games folder I make a copy of folders 1 and 2 for my reference and to use as templates for later games. As you add more titles to your thumbdrive you need to add another numbered folder. If you have 10-games you want to use you’ll have folders numbered 1-10 inside the Games folder. Inside these numbered games folders, you NEED, NEED, NEED to have a GameData folder. It is inside of this GameData folder you will place the .BIN and .CUE files that were created from your ImgBurn backup. In addition you’ll also need a 226x226 .PNG file of your disc art, the Game.ini file and the pcsx file. These last two are in the original 1 and 2 folders from the BleemSync files that I told you to make copies of.
In our example in the video, I was adding a 5th game, WCW Nitro, to this particular drive. What I needed to do was create a “5” folder, add a GameData folder inside here, and copy over the WCW Nitro.BIN and .CUE files to this folder. Additionally, I also copied and placed the Game.Ini and PCSX files in this same folder. At this point it is time to edit the Game.ini File for this specific game. File naming is CRUCIAL here! You need to have the DISCS name EXACTLY MATCH the name of the BIN and CUE files. If they don’t match your games will not load!
One file file you’ll need is the .PNG disc art for the menu, and there are 2 ways to get this in the file folder. The easiest is to navigate to the BleemSync folder and find the BleemSync.exe file. Double click and a command prompt box opens and runs a script. This is “supposed” to find and scrape the internet for the box art, but I have yet to have this work successfully for me. If this doesn’t work, which like I say it hasn’t for me, you can also cruise the internet for box art files and resize them in Photoshop to a 226x226.png file. Once you have this file, drop it in the GameData folder along with the .BIN, .CUE, Game.ini and PSCX files. Once all of these files are in the proper folders copy the ENTIRE BleemSync folder contents onto the root of your thumbdrive.
Testing
You’ll need to plug the thumbdrive into the player 2 port on your PlayStation Classic. For those who want to still use the 2nd player you CAN do so, you’ll just need a powered USB hub to make this happen. I like to remove power from the system entirely before inserting the thumbdrive, just to make sure the memory has been purged and we’re getting a good, clean restart. With the thumbdrive installed and the power restored, power the system on. You’ll hear the PlayStation fanfare, and it may be truncated. The screen will go blank for a few moments as the hack script runs. From here the rotating game menu will load if you have processed the files properly! Congratulations, you have now added your physical discs to your PlayStation Classic Edition!
I know people have hated on the PS Classic, and with some good reasons. However, I think this could make the PlayStation Classic a valuable tool in the maintaining and archiving of your physical collection. This has added some amazing value to the system for me, and I hope this has helped you as well!
-
 19:36
19:36
RoXolidProductions
2 months agoNintendo Switch 2 Unboxing & GameStop Launch Highlights
351 -
 LIVE
LIVE
The Mike Schwartz Show
6 hours agoTHE MIKE SCHWARTZ SHOW Evening Edition 08-27-2025
2,075 watching -
 1:34:24
Redacted News
3 hours agoLIVE: Minnesota School Shooter’s Shocking Motive Revealed – Plus Trump Targets Soros w AG Ken Paxton
122K124 -
 4:55:15
StoneMountain64
6 hours agoHUNTING FOR THE FIRST WIN BACK ON WARZONE
58.6K2 -
 1:09:06
The Officer Tatum
3 hours agoBREAKING: Shooter IDENTIFIED TR*NS , Cracker Barrel CAVES To Pressure + MORE | EP 162
37K61 -
 53:47
53:47
Matt Kohrs
4 hours agoLIVE! Nvidia Earnings Call || NVDA Stock Reaction
31.3K1 -
 32:25
32:25
Tudor Dixon
2 hours agoKarol Markowicz on Freedom, Immigration, and Saving the American Dream | The Tudor Dixon Podcast
6.77K -
 2:03:25
The Quartering
6 hours agoFlag Burning, Free Speech, Church Attack & More With Andrew Wilson
203K307 -
 3:02:42
The Robert Scott Bell Show
20 hours agoDr. Peter McCullough, Vaccines: Mythology, Ideology, and Reality, Dr. Dan Sullivan, Chiropractic - The RSB Show 8-27-25
27.9K -
 1:21:03
Darkhorse Podcast
5 hours agoFreedom, Tyranny, and Childhood Lost: The 291st Evolutionary Lens w/ Bret Weinstein & Heather Heying
41.6K17