How to Build a Table Top with a Personalized Epoxy Inlay
If you're looking to build a table that will make a statement in your home, consider adding a personalized epoxy inlay to the table top. This DIY technique is a great way to create a one-of-a-kind design that will truly stand out from the crowd. In this tutorial, we'll walk you through the steps to create a beautiful table top with a routed personalized epoxy inlay.
Step 1: Select the Perfect Wood for Your Table Top
The first step in creating a stunning table top is to select the perfect wood for your project. Consider the style of your home and the overall aesthetic you want to achieve when choosing your wood. Some great options include oak, walnut, and cherry wood. Make sure the wood is properly prepared and sanded before moving on to the next step.
Step 2: Create a Custom Design for Your Epoxy Inlay
The next step is to create a custom design for your epoxy inlay. This is where you can really let your creativity shine. You can create a design that is abstract or something that is more structured and geometric. Keep in mind that the epoxy will fill in the spaces between your design, so make sure your design is clear and easy to read.
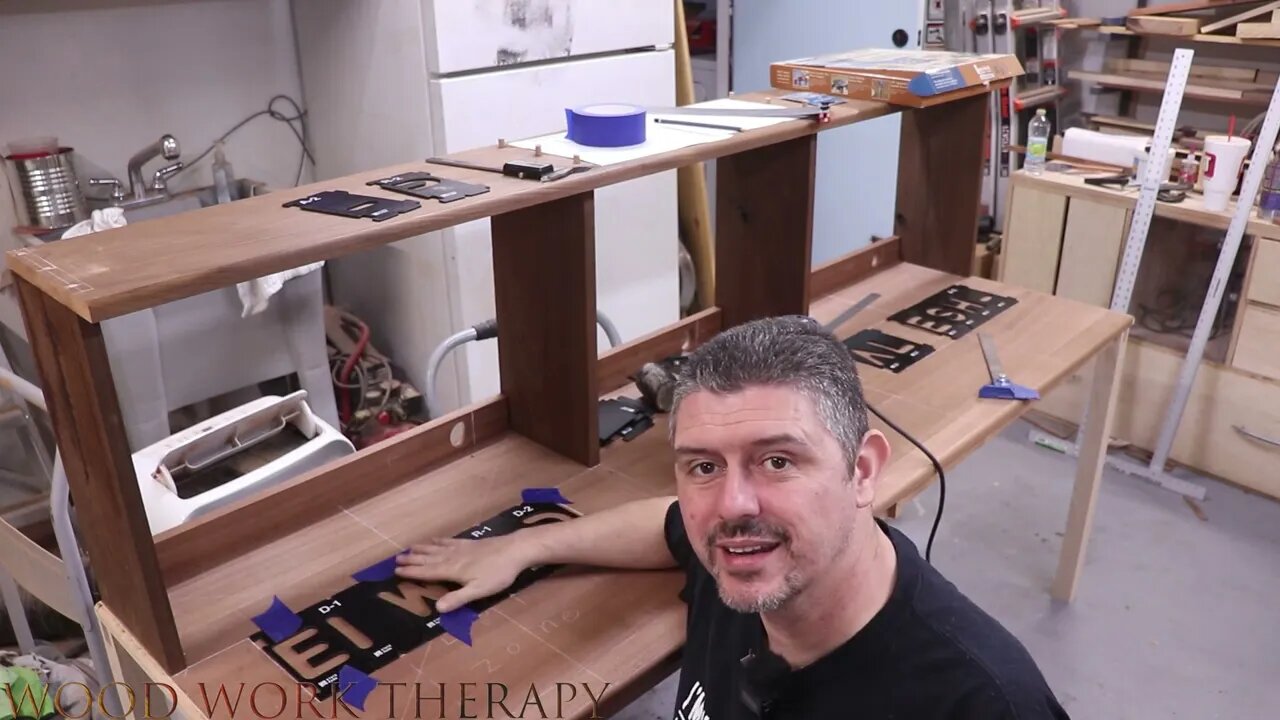
Step 3: Carve Out the Perfect Space for Your Epoxy Inlay
Once you have your wood and design ready, it's time to carve out the perfect space for your epoxy inlay. This is where a router comes in handy. Using a router, carefully carve out the space where you want your epoxy inlay to go. Be sure to follow your design closely and take your time to ensure a precise cut.
Step 4: Mix and Pour Your Epoxy
With your space carved out, it's time to mix and pour your epoxy. Follow the manufacturer's instructions closely and be sure to mix your epoxy thoroughly. Pour the epoxy into the space you carved out and use a brush to spread it evenly. Let the epoxy cure for at least 24 hours before moving on to the next step.
Step 5: Sand and Finish Your Table Top
Once the epoxy has cured, it's time to sand and finish your table top. Start by sanding the entire surface of your table top, including the epoxy inlay. Use a fine-grit sandpaper to ensure a smooth finish. Finish your table top with a coat of clear polyurethane to protect it from damage.
Conclusion
Creating a beautiful table top with a personalized epoxy inlay is a great way to add a unique touch to your home. By following these steps, you can create a stunning design that is sure to impress. Be sure to take your time and follow each step carefully to achieve a professional-looking finish.
Equipment I use for my videos:
Canon SL2 with 18-55mm lens: https://amzn.to/36fWh9r
Comica BoomX-D1 2.4G Wireless Lapel Microphone System: https://amzn.to/3f4Z2jo
GEEKOTO 77'' Tripod, Camera Tripod for DSLR, Compact Aluminum Tripod with 360 Degree Ball Head and 8kgs Load for Travel and Work: https://amzn.to/3f4nJfH
Samsung Galaxy S21 Factory Unlocked Phone with 128GB - https://amzn.to/3f44vH0
Rode VideoMic Me Directional Microphone for Smart Phones: https://amzn.to/3bMcCDL
We are a participant in the Amazon Services LLC Associates Program, an affiliate advertising program designed to provide a means for us to earn fees by linking to Amazon.com and affiliated sites.
#woodworktherapy #woodworking #woodcarving #woodwork #epoxy #epoxyresin #epoxyideas #epoxywood #epoxyresintable #home #homemade #homeschool #homeschooling #homeschoollife
@WoodWorkTherapy
-
 LIVE
LIVE
This is the Ray Gaming
1 hour ago $0.11 earnedNew Shirt SaturRAY | Rumble Premium Creator
47 watching -
 LIVE
LIVE
PenguinSteve
1 hour agoLIVE! The Return of the Battlefield 6!
92 watching -
 54:54
54:54
iCkEdMeL
3 hours ago $52.53 earned🔴 BREAKING: Gunman Opens Fire at Tim Pool’s Home
78.7K39 -
 LIVE
LIVE
GamingWithHemp
3 hours agoPlaying Metroid Prime 4 episode 1 A new beginning
108 watching -
 2:30:55
I_Came_With_Fire_Podcast
13 hours agoPuerto Rico, Corruption, Ther Sterilization of Women, and the Bankers Behind it All
26K16 -
![Mr & Mrs X - [DS] Pushing Division, Traitors Will Be Exposed, Hold The Line - EP 18](https://1a-1791.com/video/fwe2/96/s8/1/w/U/W/F/wUWFz.0kob-small-Mr-and-Mrs-X-DS-Pushing-Div.jpg) 54:40
54:40
X22 Report
7 hours agoMr & Mrs X - [DS] Pushing Division, Traitors Will Be Exposed, Hold The Line - EP 18
113K33 -
 3:14:03
ttvglamourx
4 hours ago $3.13 earnedHAPPY SATURDAY !DISCORD
31.6K3 -
 18:53
18:53
Wrestling Flashback
23 days ago $10.14 earned10 WWE Wrestlers Who Ruined Their Bodies Wrestling Too Long
40.7K4 -
 LIVE
LIVE
Amarok_X
5 hours ago🟢LIVE WARZONE | LETS SQUAD UP | PREMIUM CREATOR | VETERAN GAMER
117 watching -
 27:03
27:03
The Kevin Trudeau Show Limitless
3 days agoThey're Not Hiding Aliens. They're Hiding This.
73.7K92