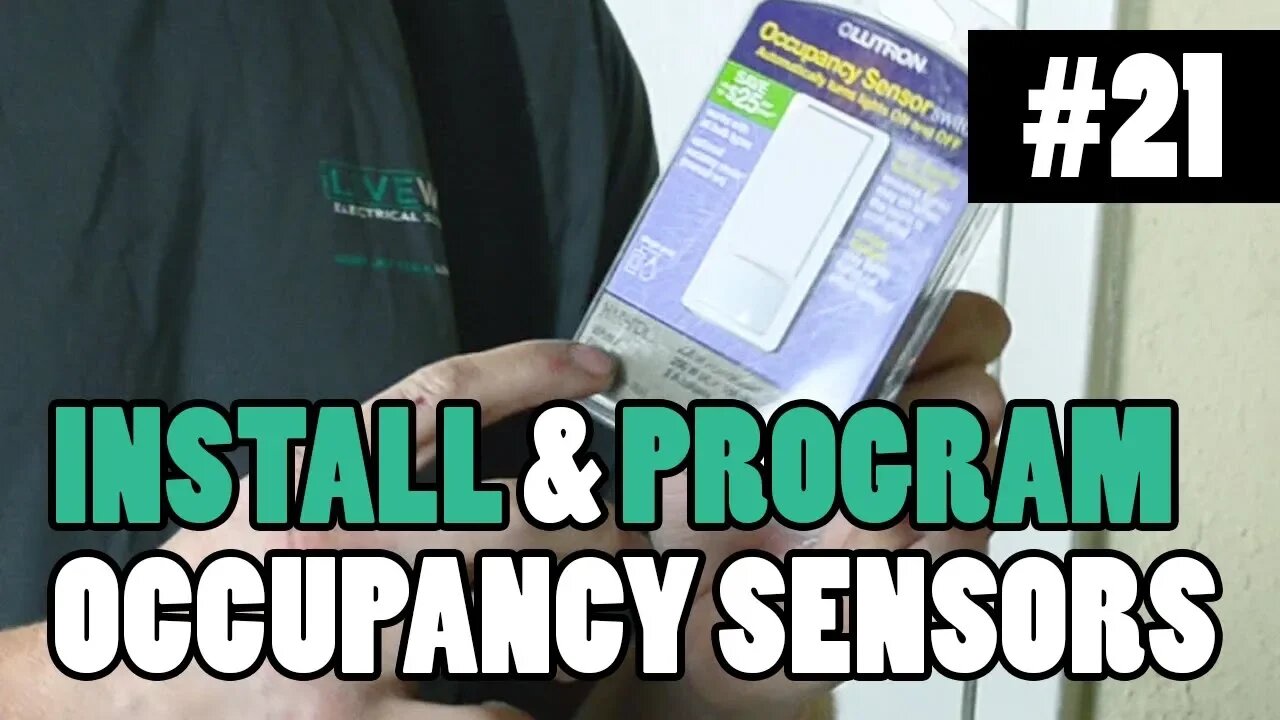
How to Install & Program an Occupancy Sensor - Having Your Lights Turn On/Off Automatically
In my house we have an issue with some people leaving lights on, specifically in the garage. After hounding on the issue, I decided to get a cheap occupancy sensor and install it in the garage to take care of the problem.
👾🤖PRACTICE EXAMS🤖👾
https://www.electricianu.com/practice-exams
😎👕MERCH👕😎
https://www.electricianu.com/merchandise
📲👥SOCIALS👥📲
Instagram - https://www.instagram.com/electrician_u
Discord - https://discord.gg/7ykYfbh
Facebook Page - https://www.facebook.com/theelectricianu
Facebook Group - https://bit.ly/2tz7eQh
TikTok - https://www.tiktok.com/@electricianu
What is an occupancy sensor?
As the term indicates, an occupancy sensor is a devices that “senses occupancy” or movement. It is able to, through using forward facing infrared technology, “see” a static room and notice if any movement occurs. Once it detects movement it closes the circuit and turns the lights in that room on, rather than relying on the manual action of a human to flip a light switch. There are many types of Occupancy Sensors on the market, some commercial grade for shops and warehouses, others for typical residential use. The one I’m using in this video is a standard residential model that most electricians are familiar with.
Prep Work
First things first, since this device is a direct replacement for a decor switch, I removed the existing switch from the wall box in my garage. The wiring I found in the wall was sub-par so I had to address this issue first. Whatever electrician wired this place back in the late 60’s, did not pigtail the hots - instead daisy-chaining them together. This is not inherently bad, it’s just a lazy wiring method that causes anyone doing work later to have to address both switches rather than just working on the one in need.
How I like to wire switches is by installing independent hot pigtails so that each device has its own wire, not shared by another device. So this is the first thing I redid. A professional electrician who cares about quality and craftsmanship will always look at everything surrounding what he/she is repairing or replacing. It is a great habit to get into, as a lot of times you’ll find other problems that can save your customers money and system efficiency down the road. In doing so I was able to find another issue. Neither of the existing switches had ground wires (equipment grounding conductors) attached to the ground terminals on the devices. This is a big code no-no. Any metal parts around electrical equipment must be bonded to the equipment grounding system, as well as the devices and equipment themselves needing to be grounded.
My fix for this was to cut 2 small ground wires and add them into the mix as pigtails - one for each device. This way each device is properly grounded, and has it’s own independent wires for installing devices in the future, if anything needs to be changed out.
CONTINUE READING AT: https://www.electricianu.com/podcast/episode-21-installing-a-residential-occupancy-sensor-and-changing-its-settings
Used in this video:
3-amp Lutron Maestro Occupancy Sensor
https://homedepot.sjv.io/c/1242781/456723/8154?u=https%3A%2F%2Fwww.homedepot.com%2Fp%2FLutron-Maestro-2-Amp-Motion-Sensor-Switch-Single-Pole-White-MS-OPS2H-WH%2F203202128
Dewalt 20v Brushless Cordless Impact Drill
https://homedepot.sjv.io/c/1242781/456723/8154?u=https%3A%2F%2Fwww.homedepot.com%2Fp%2FDEWALT-20-Volt-MAX-XR-Lithium-Ion-Cordless-Brushless-1-4-in-Cordless-3-Speed-Impact-Driver-with-2-Batteries-4Ah-and-Charger-DCF887M2%2F206521139
Klein 6-in-1 Multi-bit Screwdriver
https://homedepot.sjv.io/c/1242781/456723/8154?u=https%3A%2F%2Fwww.homedepot.com%2Fp%2FKlein-Tools-Extended-Reach-Multi-Bit-Screwdriver-Nut-Driver-32559%2F202970512
#occupancysensor #electricianclasses #electriciantraining #electricaltraining
--
IF YOU ENJOY THESE VIDEOS PLEASE SUBSCRIBE AND "LIKE" THEM ABOVE. ALSO CHECK OUT THE ELECTRICIAN U PODCAST ON ITUNES!!
-
 0:57
0:57
Electrician U
2 years agoMy FAVORITE Tester for Electricians - What Hand Tools Are YOU Missing
5.81K -
 1:07:12
The Rubin Report
3 hours agoHost Gets Visibly Angry as Scott Bessent Rips Him to Shreds in Front of NY Times Crowd
46.9K14 -
 4:42
4:42
Buddy Brown
3 hours agoThe Most GHETTO Chick-fil-A Customer EVER! | Buddy Brown
5.07K7 -
 1:11:14
iCkEdMeL
2 hours ago $1.21 earned🔴 BREAKING: Brian Cole Identified as DC Pipe Bomb Suspect — FBI Arrest
22.1K11 -
 LIVE
LIVE
LFA TV
15 hours agoLIVE & BREAKING NEWS! | THURSDAY 12/04/25
2,822 watching -
 LIVE
LIVE
TheAlecLaceShow
1 hour agoAlec Goes To Capitol Hill for RSC New Media Event | Full Coverage | The Alec Lace Show
31 watching -
 59:25
59:25
VINCE
4 hours agoFINALLY: Jan 6th Pipe Bomber Arrested? | Episode 181 - 12/04/25 VINCE
237K190 -
 1:11:54
Chad Prather
3 hours agoCandace Owens ACCEPTS TPUSA’s Debate Invitation + Dem Rep Instructs Military To REMOVE Trump?!
56.8K14 -
 1:07:17
Grant Stinchfield
2 hours agoBiden’s Inner Circle Cracks! It's the Presidency That Wasn’t!
10.3K3 -
 1:32:47
Graham Allen
5 hours agoCandace Owens vs TPUSA! It’s Time To End This Before It Destroys Everything Charlie Fought For!
150K562