Premium Only Content

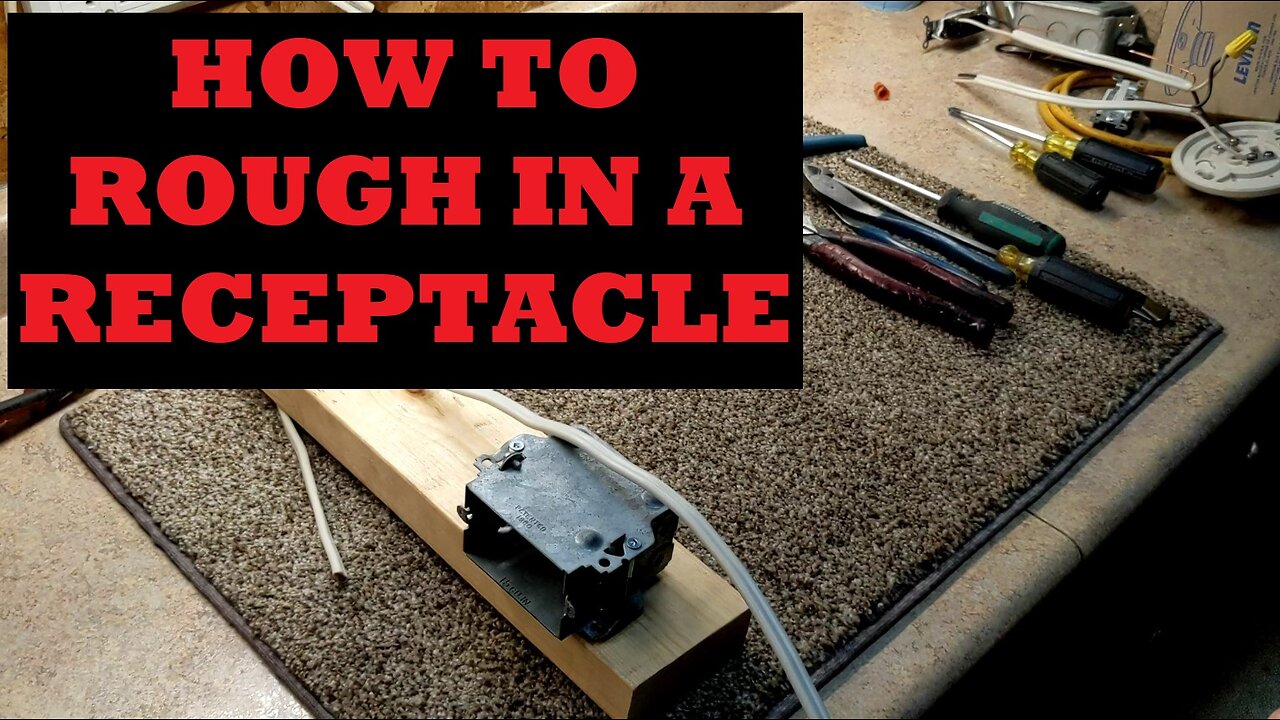
How To Rough-In and Hook Up A Receptacle, Step By Step with Tips & Tricks!
Installing a receptacle during a rough in on wooden studs along with some tips and tricks towards time saving. I hope that this helps, if so please subscribe. Thanks
One thing I didn't mention is if you do need to add a couple washers in behind to get it flush like I said in the video, you can take off those tabs on the top and bottom and use those. It's convenient as when finishing the install they will be accessible to you. Hope that helps.
I used 14/2 for this example which is good for up to 15A but 12/2 wire would be needed for a 20A plug. The labelling of the wire refers to the wire size in AWG and the number of insulated conductors. So therefore if this wire had an insulated ground it would then be 14/3. Please check with you local codes to ensure you use the proper size for your area.
For added info as an FYI, Loomex and Romex are brand names from each side of the boarder for the same thing, officially "Non Metallic Cable" or NMD90.
I'll give some links just to show the materials I used as an example. As an Amazon Associate, I earn from qualifying purchases but their purpose is to show the exact stuff I used.
14/2 Lomex/Romex
US- https://amzn.to/3H7lFTa (actually a great price)
CND- https://amzn.to/3BbAMY1
Receptacle Box
US- https://amzn.to/3Y17ULF
CND- https://amzn.to/3FrSuZJ (way cheaper at your hardware store)
Wire Staples
US- https://amzn.to/3VNVvJa (a good price)
CND- https://amzn.to/3usaYDg
Always want a good pair of pliers!
9" Klein Linesmen Pliers
US- (https://amzn.to/3XwAYe3)
CND- (https://amzn.to/3Awa8J8)
#install #wiring #diy
-
 4:29:59
SynthTrax & DJ Cheezus Livestreams
1 day agoFriday Night Synthwave 80s 90s Electronica and more DJ MIX Livestream CHROMIUM Edition
18.3K4 -
 LIVE
LIVE
GritsGG
13 hours agoBO7 Warzone Is Here! Win Streaking! New Leaderboard?
205 watching -
 3:53:07
VapinGamers
5 hours ago $1.63 earnedDestiny 2 - Star Wars Renegade Lightsabers Oh My! - !rumbot !music
16.8K1 -
 2:13:17
TheSaltyCracker
6 hours agoPipe Bomb Bull Sh*t ReeEEStream 12-05-25
96.6K207 -
 LIVE
LIVE
DannyStreams
4 hours agoBF the WZ
32 watching -
 LIVE
LIVE
Finfante
5 hours ago $0.11 earned*Interactive Stream* Something is WRONG. (Dane Jonson). | LIVE INDIE HORROR NIGHT
53 watching -
 21:51
21:51
DBoss_Firearms
11 hours ago $0.36 earnedHeaded to The Gathering with some friends!
6.34K -
 58:48
58:48
Flyover Conservatives
1 day agoUnmasking Antifa: Inside the Red–Green Revolution Aimed at the U.S. Constitution - Kyle Shideler | FOC Show
19.1K26 -
 55:26
55:26
Sarah Westall
5 hours agoJobs Losses Hit the Millions, Real Estate Nightmare, Repo Markets, & more w/ Andy Schectman
23.9K10 -
 1:32:12
Glenn Greenwald
10 hours agoGlenn Answers Your Questions on an Un-American Candidate in TX, Escalating War with Venezuela, Trump's Loyalty to Miriam Adelson, and More | SYSTEM UPDATE #554
111K68