Premium Only Content

Starting Laying The Floor Boards For My Tiny House On Wheels
Monday I got another free craigslist haul and started laying the floor boards in my tiny house on wheels.
I was editing the morning video when I got a reply from a craigslist ad I replied to. There was a guy offering 100s of free windows of all sizes, with and without frames and some double pane. I dropped everything and drove out to get free windows for my tiny house.
When I got there though, someone had taken all the window frames, leaving only the windows. The guy felt bad because I drove so far out to get them. We talked for a while and he showed me some other things he wanted to get rid of.
I got some shingles which I will use on my gazebo, a 30 gallon RV fresh water tank and a Sears Craftsman table saw. He got the saw for free just the other day so he gave it to me. This is perfect because I was just thinking about how I need to get a table saw for building my tiny house on wheels.
Now I have to get one of my generators running so I can run the table saw and get to work on my tiny home.
It was threatening to rain so I cleared up some of the garbage left over from Saturday night. We worked hard and fast and left stuff all over the place. We finished after dark so I only got to it now.
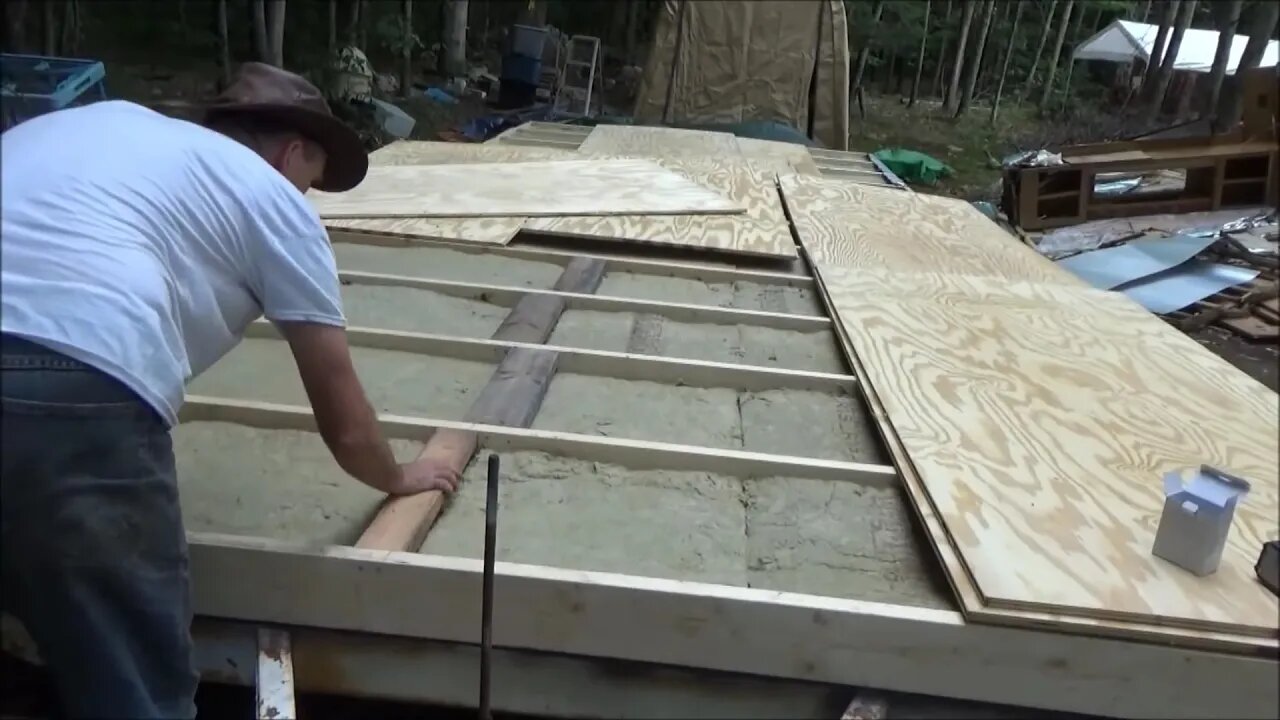
Later it cleared up some so I started to work on the floor boards of my tiny house. It was a lot more work than I had originally thought though because I am using the old lumber I got for free for the framing in of my floor boards.
In between each floor joist and under the seam of the floor boards, I am putting a piece of 2x6 laid flat. This will support the joints in the floor nicely and stop squeaks and sagging.
It took a long time to choose a cleaner board with no termites, clean it off, measure and cut a piece.
Then it was awkward screwing the boards into the floor joists because I had nothing to sit on while I worked so I used a piece of 2x6 to sit on. I had to move it each time I shifted angles.
This makes the job go a bit slower but it is worth it.
I caulked the floor joists where each board will go before laying it down. Then I screwed the board into place.
I only got two boards into place before dark because I could not get the tongue and groove boards to fit together. It took me over an hour to get two boards together.
It started to rain so I had to cover it all up for the night.
Follow my daily progress on the path to self sufficiency on my off grid solar homestead.
https://www.youtube.com/user/techman2015/playlists?view=50&shelf_id=10&sort=dd
Please donate to help keep The Off Grid Project going: https://www.paypal.com/cgi-bin/webscr?cmd=_s-xclick&hosted_button_id=3TQSWXLLRZ6HW
Join The Off Grid Project and The Do It Yourself World forum and share your ideas, tips and projects.
http://www.thediyworld.com/forum
The Off Grid Project is presented by The Do It Yourself World.
http://www.TheDIYworld.com
Experiments and projects in off grid living, alternate energy, survival, hiking and more.
-
 1:33:10
Chicks On The Right
4 hours agoCandace goes after Megyn, Big Balls attacked, Trump on the roof, & Liz goes full socialist
14.9K13 -
 4:03:39
The Bubba Army
1 day agoDiddy Asks Trump For Pardon- Bubba the Love Sponge® Show | 8/06/25
45.3K6 -
 1:09:17
Greg Hunter's USAWatchdog.com
11 hours agoMan has No Control Over Black Star Black Swan – Weston Warren
13.5K16 -
 55:44
55:44
Game On!
18 hours ago $0.61 earnedCJ Stroud's MAKE or BREAK Season with the Texans?
12.8K1 -
 47:58
47:58
BlaireWhite
20 hours agoEpstein Survivor Interview: Exposing Everyone and Everything
22.7K36 -
 21:56
21:56
Producer Michael
21 hours agoI JUST BOUGHT $1,000,000 OF NEW CARS!
18.5K8 -
 2:56
2:56
Blackstone Griddles
15 hours agoHow to Clean your Blackstone Griddle with Bruce Mitchell
24.9K5 -
 8:07
8:07
Freedom Frontline
16 hours agoDan Goldman Just Got EXPOSED With ONE Video He Wasn’t Ready For
17.4K6 -
 2:03:21
BEK TV
1 day agoTrent Loos in the Morning - 8/06/2025
23.2K1 -
 8:09
8:09
The Shannon Joy Show
16 hours ago🔥There Is No Golden Age: Trump’s Renter Society Is the Scam🔥
17K27