Framing The Walls Of My Off Grid Battery Storage Shed
Finally, after some struggles with old nail filled wood and faulty equipment, I am putting together the walls of my off grid battery and water shed.
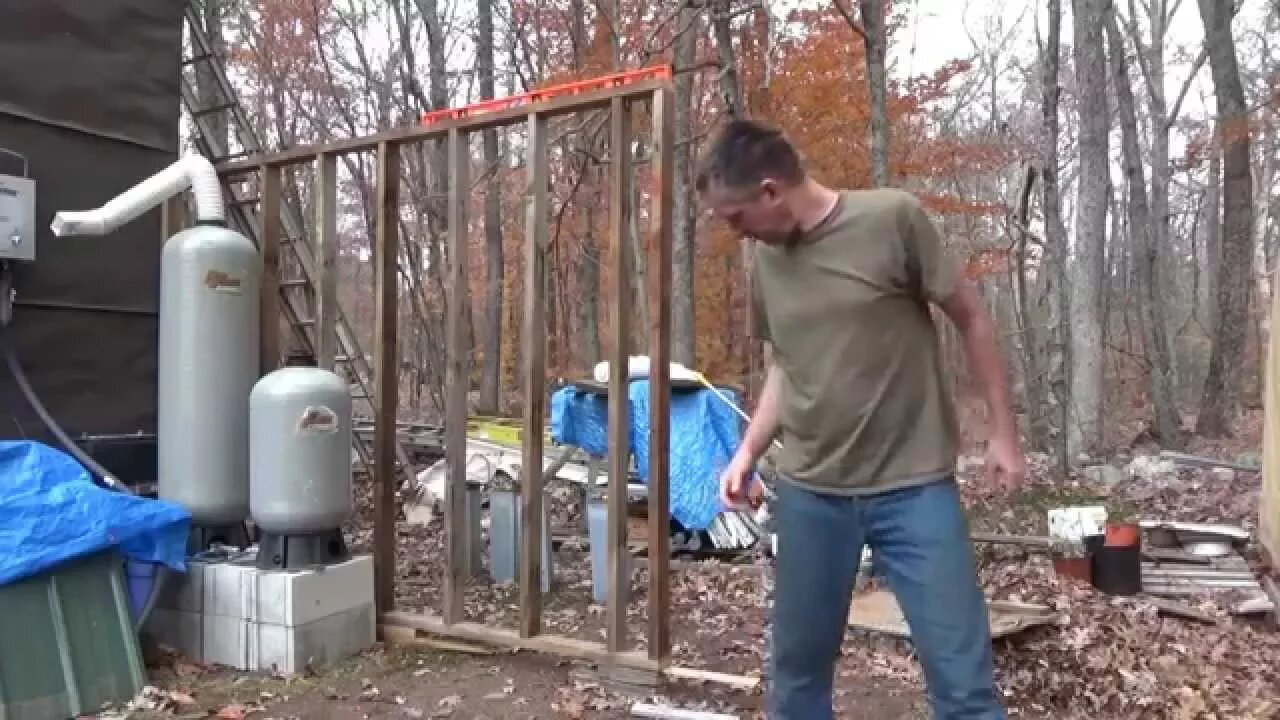
I finished cutting the boards for the first wall and laid it out on the uneven ground.
I got the little 800 watt Harbor Freight generator running and then connected the air compressor to get it pressurized. My framing nailer was ready to go.
Because of the ground being so uneven I had to prop up each set of boards I was nailing in order to keep them level with one another before nailing them together.
The framing nailer made the job go so nicely. This seriously speeds up my progress framing the wall. I was done in minutes.
The hard part was lifting this heavy wall myself. This is old pine barn wood. It is heavy. But I managed to get it into place. I propped up the bottom of the wall and leveled it off. Then I fastened it to the tiny house on wheels with a few screws for now. I will remove them when I get the shed built.
For the second wall I decided to use the pine 2x4s from the old lumber yard job I did. This was old wood that had been sitting out in the woods for 10 years but it was still usable and good inside.
I was making my own paneling inside the tiny house with this wood.
I decided that using barn wood and pulling nails by hand is taking too long so I am using the paneling boards.
The next wall went up quite fast in comparison and I leveled it off and fastened it to the other wall.
Now though, after reading comments, I stopped to re-evaluate my plans with the third wall. I will get back to it the next day.
Thanks for watching. Please Subscribe, Like and Share.
Troy
The Do It Yourself World
The Off Grid Project
-
 LIVE
LIVE
SpartakusLIVE
8 hours ago$18,000 2v2 WZ Total Frenzy Tournament || #1 Comp Champ is BACK
772 watching -
 8:11
8:11
MattMorseTV
1 day ago $12.07 earnedMacron just SURRENDERED.
40.1K66 -
 1:35:03
Glenn Greenwald
3 hours agoTrump DOJ: There's Nothing to the Epstein Story; State Dept: Syria's Al-Qaeda are No Longer "Terrorists;" Trump & Lula Exchange Barbs Over Brazil | SYSTEM UPDATE #482
95K67 -
 UPCOMING
We Like Shooting
14 hours agoWe Like Shooting 618 (Gun Podcast)
207 -
 LIVE
LIVE
Barry Cunningham
2 hours agoHERE'S WHY SOME IN MAGA ARE SO NEGATIVE ABOUT PRESIDENT TRUMP?
1,334 watching -
 LIVE
LIVE
Joker Effect
39 minutes agoWhy Gaming Streamers Aren't Successful and How To Fix It. Tim The Tatman was RIGHT... Kinda
525 watching -
 LIVE
LIVE
megimu32
1 hour agoOTS: From Ozzy to Emo 🎸 The Rise & Fall of the Rockstar
98 watching -
 LIVE
LIVE
Adam Does Movies
4 hours agoMovie News Live Taping! + AMA - LIVE!
80 watching -
 LIVE
LIVE
EnDuEnDo
21 minutes ago🚨Variety Stream 🎮 Push to 600 Followers 🚀 Chill Vibes 😎 Content Creator for @SelfMadeGGs & @SMKAcademy
18 watching -
 LIVE
LIVE
Spartan
1 hour agoPro Halo Player | Ranked and Maybe SWTOR Later
53 watching