Finished Tiny House Wood Stove Heat Shielding
I have finished making the heat shield for my tiny house wood stove. I got an awesome deal at TSC for a proper wood stove heat shield.
Read the blog post here: http://www.thedoityourselfworld.com/blog/?p=1947
I first used 2x2 lumber and framed in the stand which will hold the heat shield between my tiny house living room wall and the wood stove.
I took the frame outside on the top of my garden tractor trailer and used that as a platform to work on. I laid the heat shield on top of the frame.
Next I predrilled holes for each of the ten ceramic spacers which hold the heat shield from the wood framing for safety and proper function.
Each hole got a screw and a ceramic spacer.
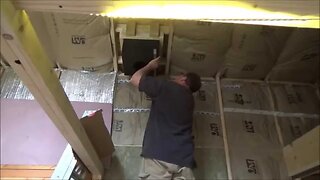
When I was finished I took the new heat shield into my tiny house and slid it right into place behind the wood stove.
It looks very good.
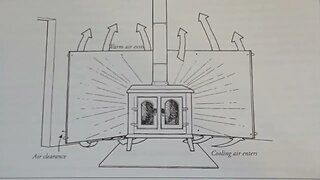
Next I used my laser thermometer to check the temperatures all around the wood stove, heat shield and the walls. The wood stove was of course hot. The heat shield was warm. And the walls were room temperature. It is working perfectly.
I have enough space between the wood stove an the heat shield, the heat shield and the frame and the walls to keep everything nice and cool
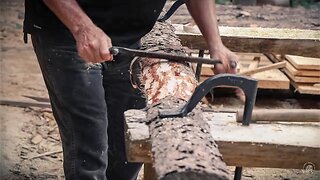
Later I split some fire wood for my off grid tiny house on wheels. I am using only wood to heat my tiny home. We are going into a bitter cold weekend with wind chill warnings. So I cut enough fire wood to last a week of normal days. At the very worst case I can get through the weekend comfortably no matter what the weather.
Thanks for watching. Please Subscribe & follow my daily videos.
Troy
http://www.thedoityourselfworld.com
http://www.theoffgridproject.com
Note: Copying this video, in part or in full, is a violation of copyright unless the user has express permission from the owner. Violation of this copyright will be pursued to the fullest extent of the law.
-
 20:35
20:35
TheDoItYourselfWorld
9 years agoPutting Heat Shielding On My Tiny House Wood Stove O20
8 -
 24:07
24:07
TheDoItYourselfWorld
9 years agoFinishing Tiny House Wood Stove Heat Shielding And Test Burn O21
26 -
 9:58
9:58
BorderHomeInspections
1 year agoWood stove shielding
3 -
 3:45
3:45
AirCrete Projects and Tools
1 year ago $0.02 earnedAmazing Rocket Stove Heats Uninsulated Home In the Rocky Mountains
39 -
 3:27
3:27
NaturalFood4LifeTvbyLulu
3 years ago3 in 1 Easy Cheap Winter Mini Stove for Light & Decoration. Warms Us Up & Keeps Room Cozy & Glowing
15 -
 25:47
25:47
Fletch Does It
1 year agoWood Burning Stove 101
14 -
 21:30
21:30
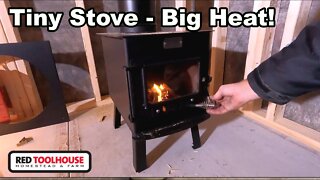
Red Tool House Homestead
1 year agoOffgrid Cabin Build: Part 8 - Installing a Wood Burning Stove
18 -
 8:14
8:14
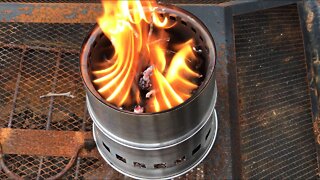
Peter von Panda
7 years agoStainless Steel Wood Burning Camp Stove Review
44 -
 5:51
5:51
Age of the North
2 years agoDIY Tiny (and Dangerous?) Stove for Hot Tent Camping - Fire Test
6 -
 38:35
38:35
Smoky Mountain Outpost
2 years agoOFF GRID TIMBER FRAME CABIN | INSULATION, TRIM & WOOD STOVE PREPARATION
2