Premium Only Content
This video is only available to Rumble Premium subscribers. Subscribe to
enjoy exclusive content and ad-free viewing.

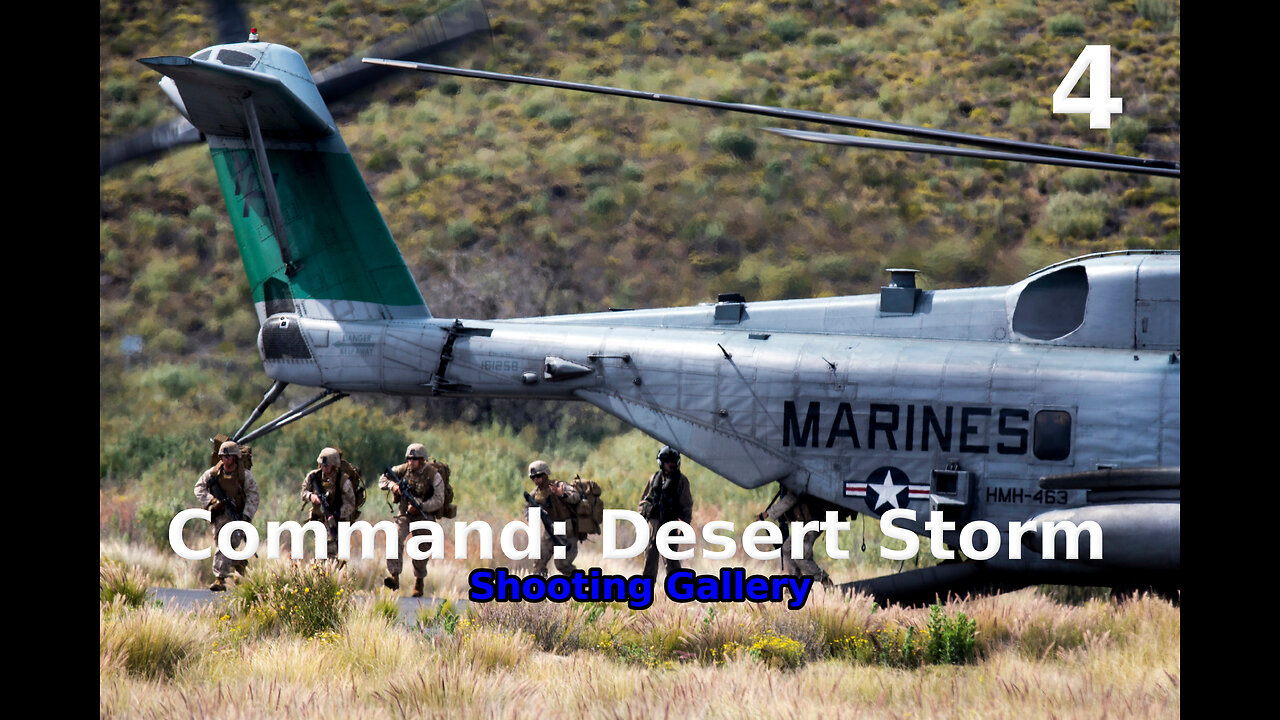
Command: Desert Storm Shooting Gallery walkthrough pt. 4/5
Loading comments...
-
 3:12:37
TimcastIRL
5 hours agoGOP Councilman DOUSED IN GAS, Set ON FIRE In Virginia, Suspect In Custody | Timcast IRL
215K76 -
 2:32:23
The Quartering
5 hours agoOn To The Big Bosses! Act 2 Of Expedition 33
44.9K4 -
 LIVE
LIVE
SpartakusLIVE
7 hours agoTiger Blood RESTOCKED and 30% off w/ code SPARTAKUS30
476 watching -
 24:58
24:58
Law&Crime
7 hours ago $1.38 earnedSecond Note Leaves Disturbing Clues in New York City Killings
22.3K5 -
 1:36:57
Badlands Media
23 hours agoAltered State S3 Ep. 39: Earthquakes, Energy Games & the Fall of the Narrative
52.6K13 -
 2:04:07
Due Dissidence
12 hours agoCharlie Kirk's GAZA LIES, Caitlin Clark Stalker, Palantir Goes Hollywood - w/ Kyle Matovcik | TMWS
27K7 -
 2:54:43
I_Came_With_Fire_Podcast
14 hours agoAmerica First, Trump Threatens China, Your Friendly Neighborhood Illegal, EPA Gets a "W"
29.1K6 -
 LIVE
LIVE
Geeks + Gamers
4 hours agoGeeks+Gamers Play- MARIO KART WORLD
150 watching -
 8:28:19
Dr Disrespect
13 hours ago🔴LIVE - DR DISRESPECT - BATTLEFIELD 1 - FULL GAME
165K7 -
 1:39:26
Glenn Greenwald
9 hours agoStephen Miller's False Denials About Trump's Campus "Hate Speech" Codes; Sohrab Ahmari on the MAGA Splits Over Antitrust, Foreign Wars, and More | SYSTEM UPDATE #495
109K66