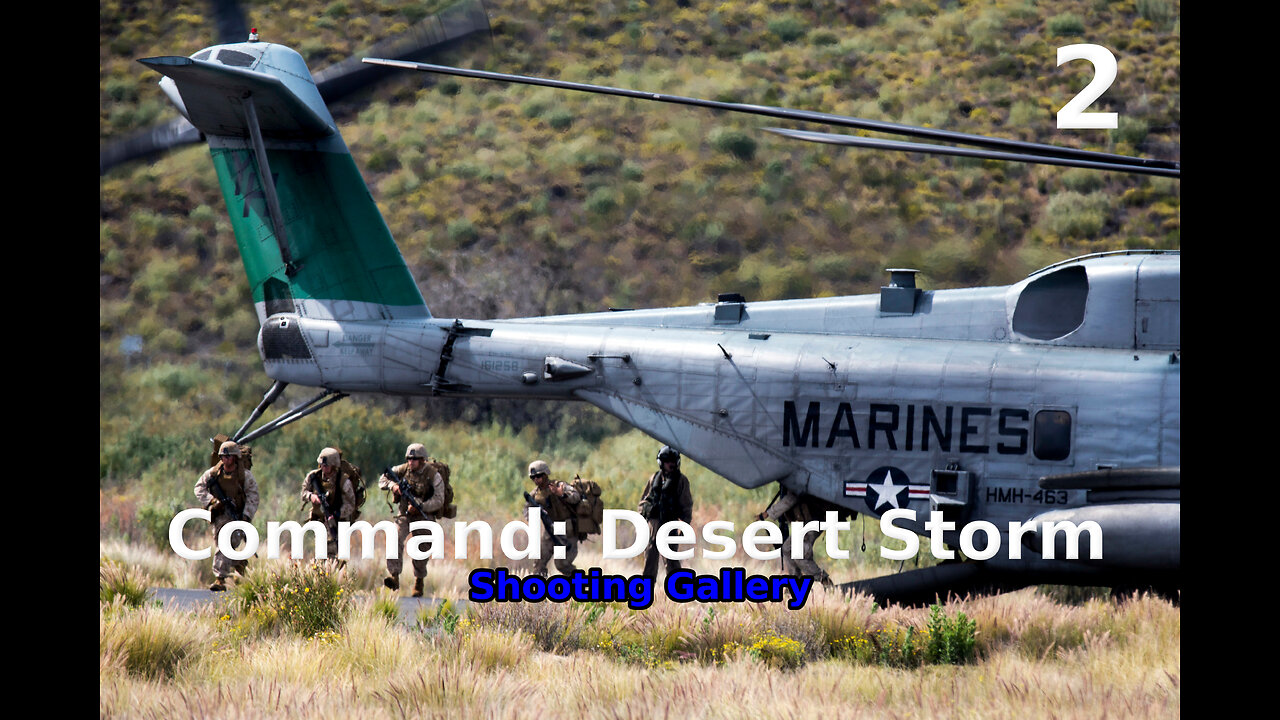
Command: Desert Storm Shooting Gallery walkthrough pt. 2/5
Loading comments...
-
 9:39
9:39
MattMorseTV
13 hours ago $0.74 earnedVance just DROPPED a BOMBSHELL.
26K60 -
 23:47
23:47
GritsGG
1 day agoThe Forgotten Best Sniper Support AR!
2.47K2 -
 1:15:48
The Pascal Show
15 hours agoMUGSHOTS RELEASED! Emmanuel Haro's Parents Mugshot Released To The Public
1.7K -
 14:45
14:45
BlabberingCollector
18 hours agoKings Cross Station SET LEAKS! | Harry Potter HBO Show Update & News
1.69K -
 33:20
33:20
SB Mowing
9 days agoHealth Struggles + Endless Rain = A Yard Out of Control
10.2K18 -
 1:09:42
Mike Rowe
4 days agoHow Did THIS Dirty Job Make Tommy Mello A Billionaire?! | #447 | The Way I Heard It
67.9K20 -

SpartakusLIVE
10 hours agoThe BADDEST Duo in WZ Exhibits PEAK Physique || Duos w/ Sophiesnazz to start, quads later
165K1 -
 2:49:37
RattlesnakeTV
22 hours ago $0.29 earnedLIVE DEBATE! Lord Jake vs Crazy Feminist
27K13 -
 4:00:42
Badlands Media
13 hours agoThe Narrative Ep. 35: Codex of Truth
92.9K45 -
 3:55:56
Due Dissidence
16 hours agoSchmuley TRASHES Shapiro, Maxwell Sings For Pardon, Uhuru Doc Preview - Live From St. Louis!
48.3K46