Premium Only Content
This video is only available to Rumble Premium subscribers. Subscribe to
enjoy exclusive content and ad-free viewing.

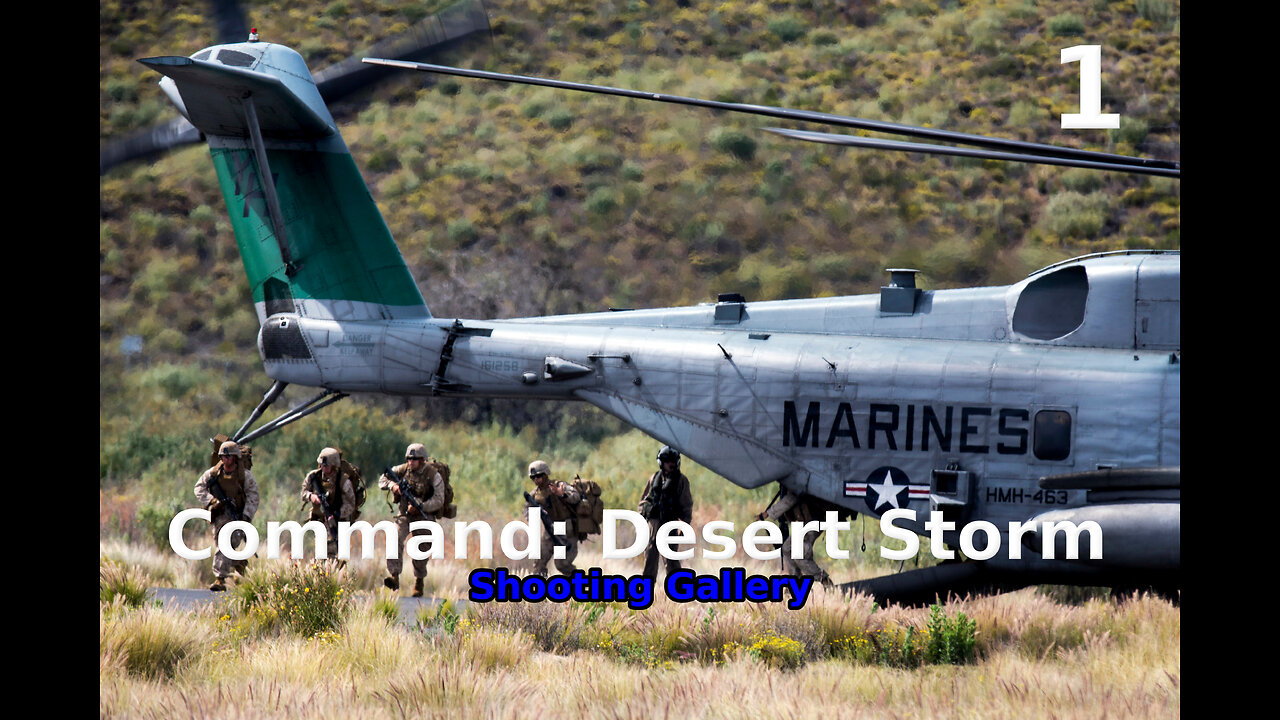
Command: Desert Storm Shooting Gallery walkthrough pt. 1/5
Loading comments...
-
 30:44
30:44
The Pascal Show
8 hours ago $2.17 earned‘I Was a Regular at the Freak Offs!’ — Adult Star Testifies in Diddy Trial
8.12K1 -
 1:38:21
TruthStream with Joe and Scott
1 day agoC R Stewart Author of the Britfield book series live 6/26 3pm pacific 6pm Eastern
8.89K1 -
 2:03:51
Inverted World Live
7 hours agoHypersonic Orbs Over New York | Ep. 66
76.8K26 -
 3:09:47
TimcastIRL
8 hours agoGOP Rep Demands Citizenship STRIPPED From Dems Zohran Mamdani, NYC Mayor | Timcast IRL
432K250 -
 1:21:31
Man in America
13 hours agoTech CEO Exposes the Diabolical Plan to ENSLAVE Us Through Smartphones
48.9K32 -
 9:53
9:53
MattMorseTV
16 hours ago $18.93 earnedCNN just made a FATAL MISTAKE.
51K57 -
 3:38:20
Alex Zedra
7 hours agoLIVE! Playing CoD
29.7K6 -
 15:23
15:23
Mrgunsngear
16 hours ago $13.17 earnedSig Sauer Enclosed Sig Loc Romeo-X Compact Red Dot Torture Test & Review
58.2K4 -
 3:05:54
Mally_Mouse
13 hours agoThrowback Thursday! Let's Play: Epic Mickey (Part 7 - final Good Ending)
30.5K3 -
 9:51:29
RalliedLIVE
15 hours ago $17.21 earnedSHOTTY BOYS VS WARZONE
161K2