Premium Only Content

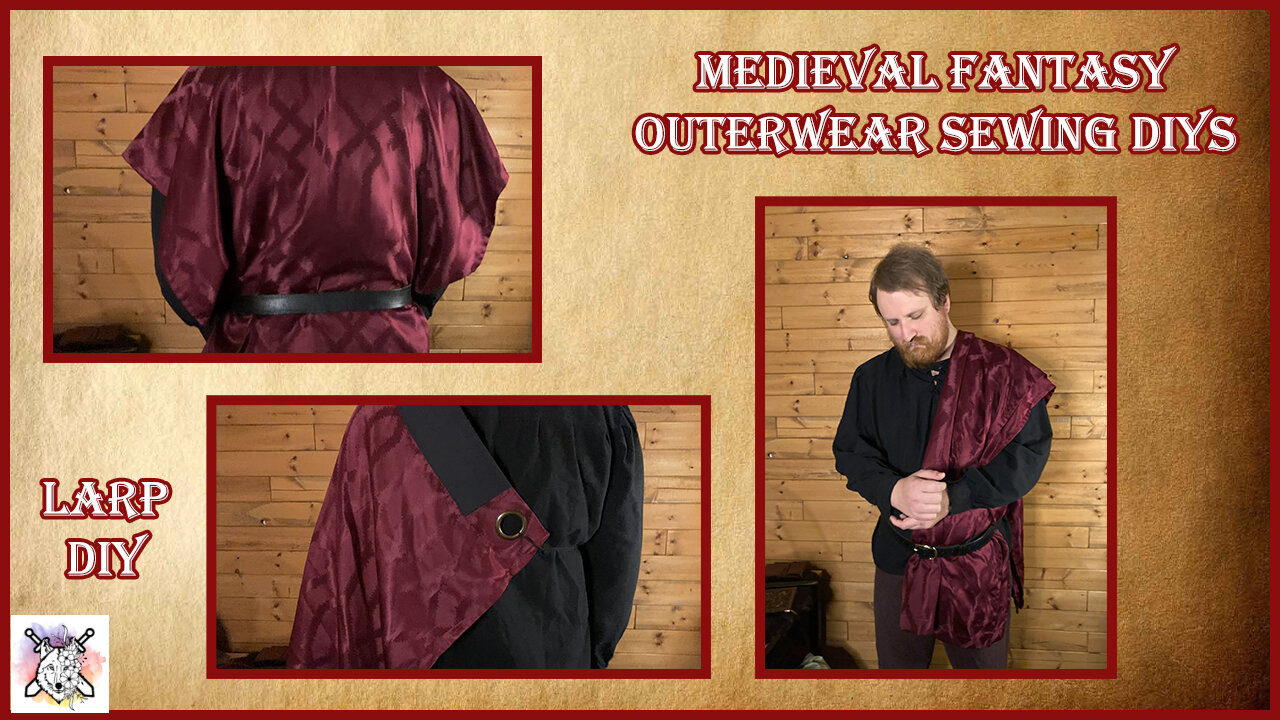
How to make 3 LARP Outerwear Pieces made from Curtains!
Boy do I have some LARP DIY’s for you. These can be used for anyone’s costuming to add a little extra something, and recycle some material you thought had potential too! I recently replaced my curtains with prettier ones and thought it would be a shame to throw away these curtains so I turned them into some really cool DIY LARP and Ren Faire Outerwear pieces.
Specifically a side sash, a shoulder cape, and a tabard! I’m really very happy with how they turned out especially since aspects of these were a bit challenging.
Overall I think it turned out well and my skill with sewing has improved because of it. So don’t be afraid to try the harder of the three DIY’s, but in case challenging isn’t something you like, the side sash is a beginner friendly sewing project!
-----------------
Timestamps:
Side Sash:
0:45 - Side Sash Supplies
1:01 - Step 1: Drape and make markings
1:59 - Step 2: Cut the Fabric
2:19 - Step 3: Fold and pin the fabric
2:55 - Step 4: Sewing
3:20 - Finished Side Sash!
Shoulder Cape:
3:45 - Shoulder Cape Supplies
4:10 - Step 1: Drape and make markings
4:59 - Step 2: Cut the fabric
5:19 - Step 3: Pin the bias binding on the raw edge
5:57 - Step 4: Sew the bias binding down
6:21 - Step 5: Fold bias binding tape over the edge and sew
6:54 - Step 6: Measure and mark accent fabric to cover curtain rings you aren't using
7:30 - Step 7: Cut out fabric
7:36 - Step 8: Mark where you are going to sew
8:34 - Step 9: Pin the fabric
8:45 - Step 10: Sew the accent fabric on
9:03 - Step 11: Fold over remaining accent fabric, mark for sewing, and pin in place
9:57 - Step 12: Sew and secure accent fabric on backside of the cape
10:09 - Step 13: Tie a cord on both rings on the shoulder cape
10:46 - Finished Shoulder Cape!
Tabard:
11:03 - Tabard Supplies
11:32 - My queen!
11:36 - Step 1: Measure the head for the tabard hole
11:48 - Step 2: Cut Curtain rings off
11:58 - Step 3: Find center of the fabric
11:25 - Step 4: Make a circle in the center of the fabric
12:51 - Step 5: Cut out the circle
13:11 - Step 6: Make sure it fits
13:58 - Step 7: Pin raw edges down
14:22 - Step 8: Sew the raw edges down
14:50 - Step 9: Pin bias binding tape down around neckline
15:25 - Step 10: Sew 1st half of bias binding tape down
16:11 - Step 11: Fold over and pin bias binding tape over edge
16:22 - Step 12: Sew the 2nd half of bias binding tape down
16:47 - Finished Tabard!
-----------------
Reference videos:
Video on how to sew bias binding tape on straight lines and corners:
https://youtu.be/BjEwydI1BEQ
Video on how to sew bias binding tape along a neckline:
https://youtu.be/IvlKQEizR0M
-----------------
Keep in touch:
My Linktree: https://linktr.ee/wolfmaiden
Join the Community Discord:
https://discord.gg/xzM3mRJ2ak
Streaming occasionally on Twitch join for gaming, chatting, and sometimes crafting:
https://www.twitch.tv/awolfmaiden/
Follow me on Instagram: @wolf.maiden
https://www.instagram.com/wolf.maiden/
Follow me on Facebook:
https://www.facebook.com/FairWolfMaiden/
You can email me if you'd like: wolfmaidenofficial@gmail.com
-----------------
Supporting me:
Ko-fi:
https://ko-fi.com/wolfmaiden
-----------------
Credits:
Music: The Lone Wolf, Woods of Imagination, Fantasy Motion, Foreverlands, Farm, Adventure Beyond, and Wintersong by Alexander Nakarada (www.serpentsoundstudios.com)
Licensed under Creative Commons BY Attribution 4.0 License
-
 LIVE
LIVE
The Bubba Army
22 hours agoMinneapolis Shooter Story Unfolds! - Bubba the Love Sponge® Show | 8/28/25
2,816 watching -
 LIVE
LIVE
JuicyJohns
30 minutes ago🟢#1 REBIRTH PLAYER 10.2+ KD🟢
40 watching -
 LIVE
LIVE
GritsGG
22 minutes agoWin Streaking! Most Wins 3485+ 🧠
59 watching -
 16:58
16:58
marcushouse
13 hours ago $3.11 earnedSpaceX Starship Flight 10: What Really Happened! 🚀
37.6K11 -
 3:47
3:47
Blackstone Griddles
13 hours agoCampground Meal Planning on the Blackstone Camping Griddle
10K1 -
 28:13
28:13
Her Patriot Voice
13 hours ago $1.17 earnedIs Flag Burning Free Speech?
11K14 -
 17:51
17:51
TheRoyaltyAutoService
16 hours ago $0.54 earnedIs Flat Rate Ruining The Auto Repair Industry?!
12.3K6 -
 LIVE
LIVE
BEK TV
23 hours agoTrent Loos in the Morning - 8/28/2025
196 watching -
 26:00
26:00
DeVory Darkins
1 day ago $12.23 earnedDemocrat Mayor HUMILIATES himself during painful interview as Trump makes SHOCKING Announcement
44.4K98 -
 22:14
22:14
Ohio State Football and Recruiting at Buckeye Huddle
1 day agoOhio State Football: Everything Steve Sarkisian Said About the Buckeyes This Week
29.2K