How to Frame around HVAC ducts (or pipes) in a Basement - Easiest Method
If you are finishing a basement, you will need to know how to frame around HVAC ducts or pipes. This video will show you the easiest method for framing around HVAC ductwork (or pipes) in a basement.
🛠🧰 Tools needed to frame around ductwork in a basement:
-Drill: https://amzn.to/3JICKkk
- Circular Saw: https://amzn.to/3BFotC4
- OSB Plywood
- 2"x4" Lumber
Below are the general steps for framing a soffit drop around HVAC ductwork (or pipes in a basement):
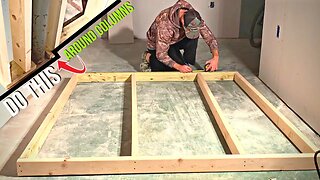
1. Plan out your framing plan around the Ductwork
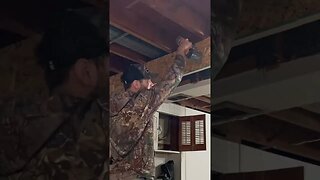
2. Install the Mounting Rail by attaching a 2"x4" piece of lumber to the underside of the joists above.
3. Rip the OSB plywood to the correct height.
4. Install the 2"x4" mounting stud to the bottom of the OSB
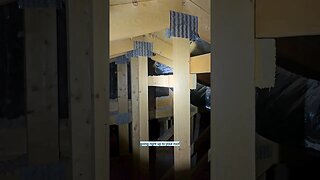
5. Attach the OSB (with the mounting stud attached) to the Mounting Rail
6. Install Drywall, Paint, etc.
For more detailed information on how to frame around HVAC ductwork or pipes in a basement, check out my blog article linked here:
https://atimprovements.com/how-to-frame-around-ductwork/
This is Episode 4 in my "How to Finish a Basement" Youtube Series. In this series, I will show you how to finish a basement (DIY) from start to finish. Below are the previous videos in the series:
Episode 1: How to Install Rigid Foam Insulation
https://youtu.be/Qt4mvnVrCpE
Episode 2: How to Frame Basement Walls
https://youtu.be/ERJxLOlUSz0
Episode 3: How to run electrical in a basement
https://youtu.be/0PnwBzhQvrY
Be sure to subscribe and hit the notification bell so you don't miss any future videos that are part of the Basement Renovation Series!
Follow me on Instagram: https://www.instagram.com/atimprovements/
Check out my Blog: Atimprovements.com
Subscribe to my YouTube Channel ⬇️ https://www.youtube.com/c/AndrewThronImprovements?sub_confirmation=1
Check out my Website for additional DIY Content: https://atimprovements.com
▬▬▬▬▬▬▬▬▬▬▬▬▬
🎥 MY YOUTUBE GEAR
Camera (Iphone Max): https://amzn.to/3d5HxSo
Microphone (Maono Condenser Mic): https://amzn.to/3RCAb7N
Tripod: https://amzn.to/3Rz5Gj3
Mini Tripod: https://amzn.to/3Rvt2WM
Lighting: https://amzn.to/3d4QdZ5
▬▬▬▬▬▬▬▬▬▬▬▬▬
🛠🧰 TOOLS THAT I USE
Carbide Tipped Drill Bit: https://amzn.to/3S0hdIM
Tapcon Screws: https://amzn.to/3OxEWxh
Drill: https://amzn.to/3JICKkk
Tape Measure: https://amzn.to/3HaTWgE
Circular Saw: https://amzn.to/3BFotC4
Masonry Drill: https://amzn.to/36yP1JW
Level: https://amzn.to/3HowUDn
Hammer: https://amzn.to/35fIpiT
Chalk Line: https://amzn.to/3MwSDg8
Clamps: https://amzn.to/3HLqwpK
Drill: https://amzn.to/3JICKkk
Sawzall: https://amzn.to/3HcdeSI
Circular Saw: https://amzn.to/3BFotC4
Jig saw: https://amzn.to/3I6lcyd
Air Compressor: https://amzn.to/34TatJf
Framing Nailer: https://amzn.to/3JGpBYU
Roofing Nailer: https://amzn.to/3BEAuYF
Orbital Sander: https://amzn.to/34UwlUD
Bar Clamps: https://amzn.to/3JjFrJe
▬▬▬▬▬▬▬▬▬▬▬▬▬
Thank you so much for watching!
*All content on the Andrew Thron Improvements YouTube channel reflects my own opinions. Please seek out guidance of professionally trained and licensed individuals before making any decisions. Links in the description may be affiliate links.
-
 0:57
0:57
Andrew Thron Improvements
1 year agoHow to Frame around HVAC Ducts or Pipes in a Basement!
20 -
 8:55
8:55
Andrew Thron Improvements
8 months ago $0.04 earnedHow to Build Basement Walls (DIY Wall Framing for Basement Bathroom + How to Frame Around Columns)
2991 -
 0:58
0:58
smaxwell1963
1 year agoBest Way to Insulate a Basement Floor #shorts
4 -
 0:57
0:57
Home Inspector Dan
8 months agoWhy Install HVAC Ductwork Thru the Roof?
32 -
 9:52
9:52
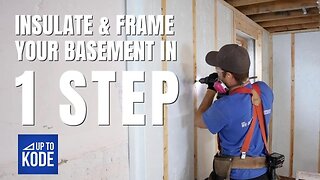
Up To Kode
1 year agoInsulate & Frame Your Basement in One Step!
10 -
 14:59
14:59
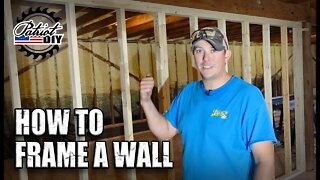
PatriotDIY
1 year agoHow To Frame A Basic Stud Wall
20 -
 1:01
1:01
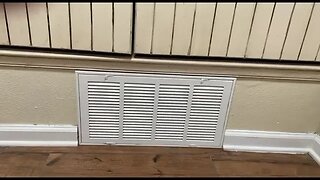
Spencer Does Reviews
1 year agoHVAC Duct Cover
18 -
 4:44
4:44
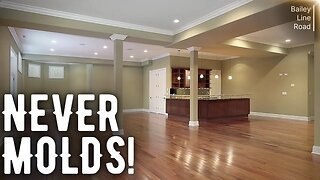
smaxwell1963
1 year agoThe BEST Wall Panels for Basement Finishing
19 -
 13:59
13:59
I Like To Make Stuff
1 year agoCan Adding Ridge Vents Cool Your House?
14 -
 3:49
3:49
smaxwell1963
2 years ago $0.01 earnedWhy Install a Basement Subfloor?
12