Working On The 1" Round Plane
Enjoyed this video? Join my Locals community for exclusive content at
roughcut.locals.com!
2 years ago
2
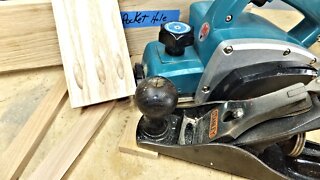
Cutting the large rabbit, cutting the escapement, boring and excavating the wedge pocket, fitting the wedge with the plane body and the blade all together. I also installed the
refinished handle on the rip saw.
Starting at 2:46:30 you'll see me make the final adjustments to the wedge pocket, set the wedge, then check one last time by holding everything up to the harsh light of the lamp. As the wedge was set, blow by hammer blow, you can hear the pitch change. This change in pitch is evidence of the massive amount of friction accumulated by the wedge. After I trace the wedge template, take a look at the time and effort it took to remove the wedge. Still think you need tapered blades?
Loading comments...
-
 0:59
0:59
Triple T Ranch & Sawmill
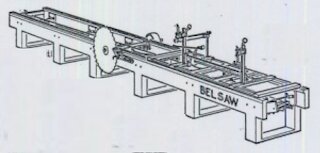
3 years ago $0.01 earnedSquaring Up A Circle Sawmill
1841 -
 47:08
47:08
Roughcut1
2 years agoHollow & Round Plane Series, Part 3 - Fitting The Wedge & Blade, Shaping The Round
2 -
 8:08
8:08
WoodWorkWeb
5 years agoHow to Make a Chamfer Plane / Corner Easing Plane
9 -
 8:09
8:09
WoodWorkWeb
4 years agoBench Plane / Hand Plane Right Angle Jig for Surfacing
45 -
 6:48
6:48
Craig Kunce - Woodworker
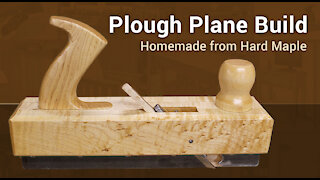
3 years agoWoodworking - Homemade Plough Hand Plane
119 -
 1:08
1:08
Lematec
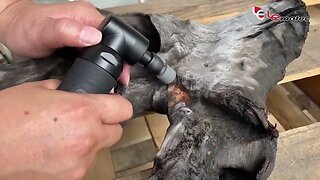
1 year agoGet Precision and Versatility with the 6mm Air Die Grinder: Straight and Angle Type
5 -
 0:39
0:39
LujoConcepts
1 year ago"Shape"
12 -
 21:57
21:57
Workshop Companion
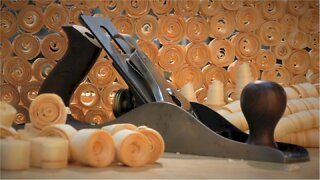
2 years agoFine Tuning a Bench Plane
5.66K19 -
 12:00
12:00
WoodWorkWeb
9 years agoFollow up to Joint Testing and Hand Planes
10 -
 8:35
8:35
Woods Tree Farm
4 years ago#107 Using Geometry To Square Up The Field
1