Premium Only Content

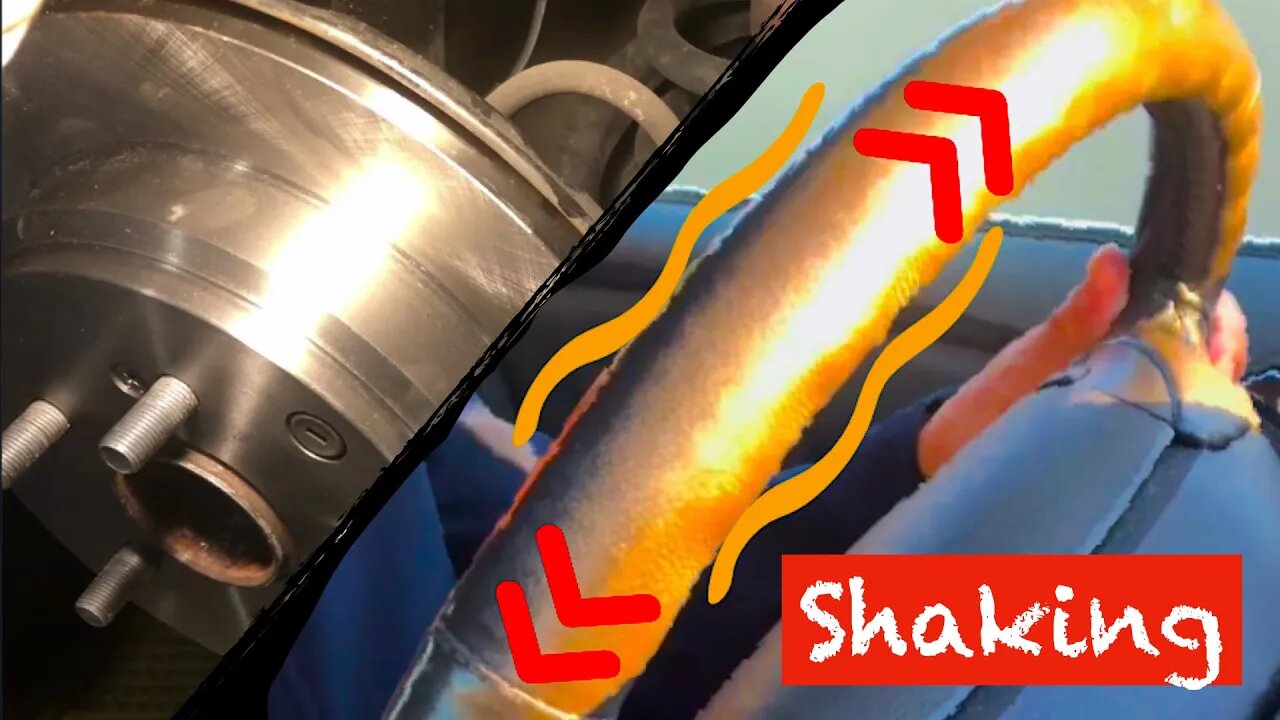
Why does your steering wheel shake (pulsation) when braking? Fix it in 6.57 minutes.
# Why your steering wheel shakes (pulsation) when braking and fix it in 6.57 minutes
Vehicle in the video: 2010 Honda Odyssey EX-L
## Concerns
Steering wheel pulsation when you brake/slow down... especially on the highway. Possible causes:
1. Likely uneven wear of brake pads and/or warped brake rotors.
2. Front brakes and/or rear brakes.
In the case of my 2010 Honda Odyssey, it was the rear brakes.
## Supply
1. Rear brake rotor x2
2. Rear brake pad x2
3. Brake lubricant / grease
4. Anti-seize paste
5. Brake cleaner
6. Thread locker (blue)
7. Optional: brake fluid
8. Optional: Penetrating oil, e.g. PB blaster or WD40
## Tools
1. Breaker bar or ratchet wrench x1
2. 12 mm, 17mm, 22mm sockets
3. Bungee cord x1
4. Torque wrench: 65 and 16 ft pounds
5. Caliper piston pressing tool (or a clamp)
6. Manual impact screw driver (recommended)
7. Wire brush
8. Optional: M8 x 1.25 bolt x2
## 1. Safety and Preparation
1. Engage parking brake first
2. Chocks
3. Pop the hood, take out some brake fluid
4. Loose the lug nuts (22 mm socket)
5. Raise the car, take off the nuts, and tires
6. Tires under car for additional protection
7. Safety check!!!
## 2. Rotor and Pad Removal
1. Remove brake calliper: bolts 12 mm x2
2. Hang calliper with bungee cord
3. Remove brake bracket: 17 mm bolts, it helps to use penetratig oil
4. With safety check and parking brake RELEASED, remove rotor:
I. Impact screw driver to remove factory screws
II. Run 8x1.25 bolts to separate the rotor
## 3. Rotor and Pad Installation
1. Wire brush / prep /clean the wheel bearing hub (remove rust for a clean surface)
2. Clean the rotor with brake cleaner
3. Align the set holes and put the factory screws back on
4. Wire brush / prep /clean the bracket
5. Install brake hardware (shims)
6. Regrease /lubricate the pins
7. Thread lock the bracket bolts (17mm) x2
8. Reinstall the bracket, and torque to 65 ft pounds
9. Grease the new pads: back, top, bottom
10. Install the new pads (slide in with an angle and rotate)
11. Note the brake with wear indicator is inside
12. Press the caliper piston:
I. Make sure they are fully seated in the rubber boots
II. Check brake fluid in the master cylinder (no overflow)
13. Clean and grease piston contact
14. Reinstall the caliper, with 12mm bolts thread-locked
15. Torque to 16 ft pounds
## 4. Finishing
1. Repeat the steps for the other side
2. Reinstall the wheels with lug nuts torqued to 94 ft pounds
3. Lower down the vehicle
4. Add brake fluid back to maximum
5. Pump brake pedals until it is firm
## 5. Breaking in
Follow instructions on the rotors/pads for breaking in procedures.
Hope this video is informative.
Be safe, stay dirty. Enjoy the work!
God bless!
-
 DVR
DVR
DLDAfterDark
4 hours ago $0.05 earnedDLD Live! Feat. Red Dawn Readiness! Glock FRT's - Striker Fire Safety Concerns - ACE Trigger
7.65K1 -
 DVR
DVR
BlackDiamondGunsandGear
3 hours agoAre ALL Striker Fired Pistols UNSAFE? // After Hours Armory
18K4 -
 6:34:50
SpartakusLIVE
7 hours ago#1 Saturday Spartoons on RUMBLE PREMIUM
96.6K6 -
 1:04:59
Man in America
8 hours ago“Summoning the Demon” — The AI Agenda Is FAR WORSE Than We Know w/ Kay Rubacek
26.8K20 -
 2:16:48
Tundra Tactical
6 hours ago $0.06 earned🎯💥 The World’s Okayest Gun Show 🔫😂 | LIVE Tonight on Rumble!
15.6K -
 3:36:03
Mally_Mouse
1 day ago🌶️ 🥵Spicy BITE Saturday!! 🥵🌶️- Let's Play: Tower Unite!
37.2K1 -
 58:59
58:59
MattMorseTV
6 hours ago $1.12 earned🔴Trump just BROKE Newsom.🔴
55K64 -
 18:14
18:14
Her Patriot Voice
6 hours agoWho Is WORSE for NYC: Trump Girl or Socialist?
32K27 -
 3:39:42
SavageJayGatsby
6 hours agoSpicy Saturday with Mally! | Road to 100 | $300 Weekly Goal for Spicy Bites!
36.5K1 -
 3:35:50
FomoTV
8 hours ago🚨 Swamp Theater: FBI Raids Bolton 🕵 Still NO Epstein Files, Trump's Troops & the Red Heifer Hoax 🐂 | Fomocast 08.23.25
14.6K3