How to Install Dstv Decoder
Picking A BEST Area TO MOUNT YOUR DSTV DISH
The significant thing you should recollect is that for you to get DSTV Signal quite well, you should mount the Dish to confront the East-Heading. Presently, no matter what your current circumstance, for you to know your East Bearing from anyplace you are, is just distinguishing the heading of Ascending of the Sun.
Presently, ensure there is no tree, building, or high pressure electric wire extremely near where you need to mount the Dish any other way, it will impede the transmission.
YOUR DSTV CAN BE MOUNTED ON THE Structure WALL OR THE Scramble BOARD
The best put to fix your dish is on the structure wall or on the top structure substantial stage since it will be extremely firm not to be moved somewhere near the breeze or the downpour.
Presently, fix the section and the post as displayed underneath and tight them very well with 13 or 14 spanner as the case might be required.
Presently, connect the 90cm gathered blue dish on top of the section.
Then, join your satellite tracking down meter to the dish to empower you track an exceptionally high sign point.
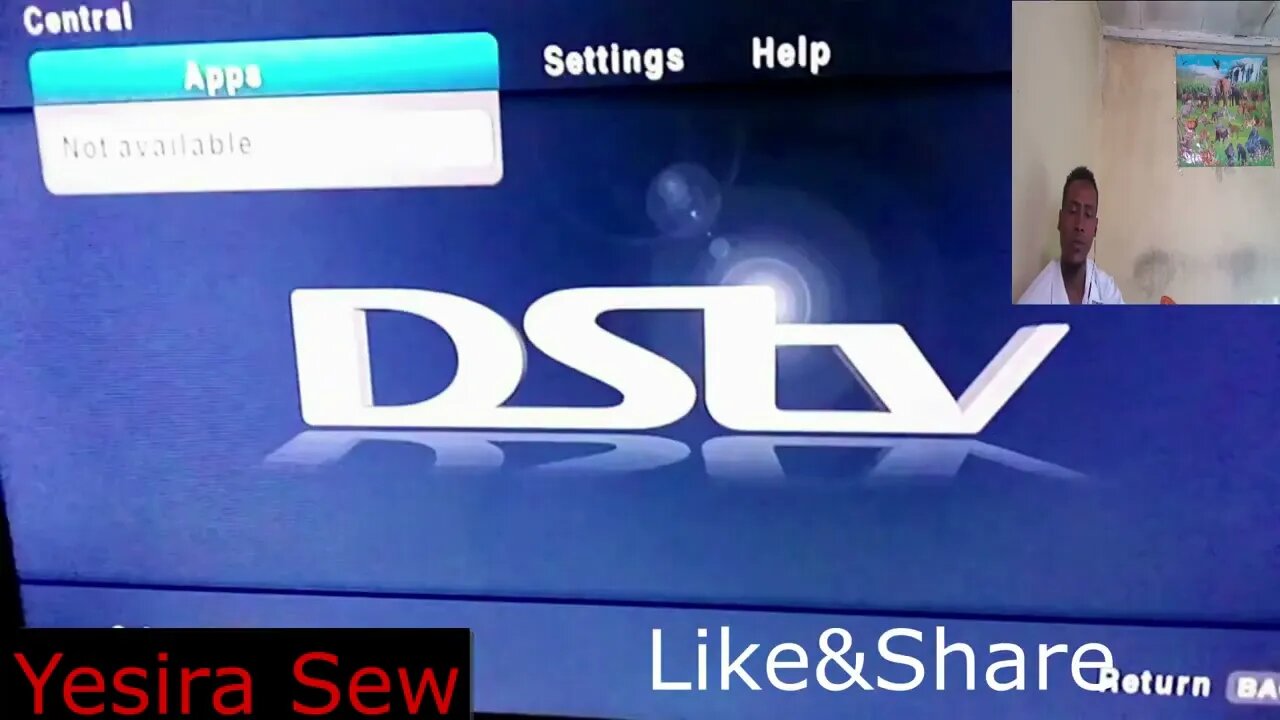
GO INSIDE THE HOUSE AND Interface THE DSTV DECODER TO THE television
Alright, when you open the decoder container, you will see the DSTV Decoder box, HDMI wire, AV wire, Controller with the battery and the Power Connector plug. Associate everything appropriately, fix the coaxial link with the F-Connector and join it to the LNB IN Port at the rear of the Decoder.
Presently, the coaxial link connected to the LNB IN ought to head outside and fixed at the LNB port on top face of the dish while the HDMI link will go into the television HDMI port or the AV wire separately and the Power rope going into the attachment for power supply.
Presently POWER-ON THE DSTV DECODER
Note, as you on your DSTV decoder, the main thing it will truly do is for sure, subsequent to booting you will this first time Establishment Wizard shows on your screen.
Thus, simply follow the brief message and proceed. Consequently, assuming that your language is English,Press alright.
This is stage 2 of 5, utilize your DSTV remote and change the IS20 to E36B and Press alright to go on as displayed in the television.
At the point when you press alright, it will make you to stride 3 of 5, and this will show up as found in the screen.
Thus, utilize your remote and select the Manual Arrangement and not Fast Arrangement. Subsequent to doing that Press alright and it will land you into the Stage 4 of 5 where you will be shown the Tuner 1 Sign Status and Tuner 2 Sign Status as shown in the video above.
9+
Symbol picture
0:49/14:48
Instructions to Introduce A DSTV DISH AT HOME ALONE. Gathering, Following AND Introducing.
The best put to fix your dish is on the structure wall or on the top structure substantial stage since it will be exceptionally firm not to be moved somewhere near the breeze or the downpour.
Presently, fix the section and the post as displayed underneath and tight them very well with 13 or 14 spanner as the case might be required.
Presently, join the 90cm gathered blue dish on top of the section.
Then, join your satellite tracking down meter to the dish to empower you track an exceptionally high sign point.
GO INSIDE THE HOUSE AND Associate THE DSTV DECODER TO THE television
Alright, when you open the decoder container, you will see the DSTV Decoder box, HDMI wire, AV wire, Controller with the battery and the Power Connector plug. Associate everything appropriately, fix the coaxial link with the F-Connector and join it to the LNB IN Port at the rear of the Decoder.
Presently, the coaxial link appended to the LNB IN ought to head outside and fixed at the LNB port on top face of the dish while the HDMI link will go into the television HDMI port or the AV wire separately and the Power rope going into the attachment for power supply.
Presently POWER-ON THE DSTV DECODER
Note, as you on your DSTV decoder, the main thing it will truly do is for sure, subsequent to booting you will this first time Establishment Wizard shows on your screen.
In this way, simply follow the brief message and proceed. In this manner, assuming that your language is English,Press alright.
This is stage 2 of 5, utilize your DSTV remote and change the IS20 to E36B and Press alright to go on as displayed in the television.
At the point when you press alright, it will make you to stride 3 of 5, and this will show up as found in the screen.
Thus, utilize your remote and select the Manual Arrangement and not Speedy Arrangement. Subsequent to doing that Press alright and it will land you into the Stage 4 of 5 where you will be shown the Tuner 1 Sign Status and Tuner 2 Sign Status as shown in the video above.
-
 13:09
13:09
Forrest Galante
1 day agoWildlife Expert Reacts To Deadly Australian Animal TikToks
72.5K13 -
 23:47
23:47
GritsGG
2 days agoThe Forgotten Best Sniper Support AR!
24.7K4 -
 10:18
10:18
The Pascal Show
15 hours ago'I WILL NOT GIVE UP ON MY BABY!' Emmanuel Haro's Mom Breaks Silence From Jail?!
1.63K -
 LIVE
LIVE
Lofi Girl
2 years agoSynthwave Radio 🌌 - beats to chill/game to
155 watching -
 2:33:04
Badlands Media
12 hours agoBaseless Conspiracies Ep. 147: Pole Shifts, Plasma Skies, and the Truth About Cataclysms
166K17 -
 4:33:42
Drew Hernandez
8 hours agoISRAEL BOMBS GAZA HOSPITAL ON LIVE TV KILLING AT LEAST 20 INCLUDING JOURNALISTS & CIVILIANS
20.8K39 -
 2:55:23
TimcastIRL
7 hours agoTrump Orders Specialized National Guard Units To Combat Crime In Cities, Dems Furious | Timcast IRL
205K142 -
 6:22:03
SpartakusLIVE
9 hours ago#1 Rocket CHAMPION of Verdansk wields UNSTOPPABLE new META
81.3K5 -
 2:55:11
Barry Cunningham
9 hours agoPRESIDENT TRUMP MADE TODAY A VERY BAD DAY TO BE A DEMOCRAT!
100K62 -
 1:15:29
Flyover Conservatives
1 day agoFrom Cool to Cringe: How Democrats Lost America’s Ear | FOC Show
48.1K14