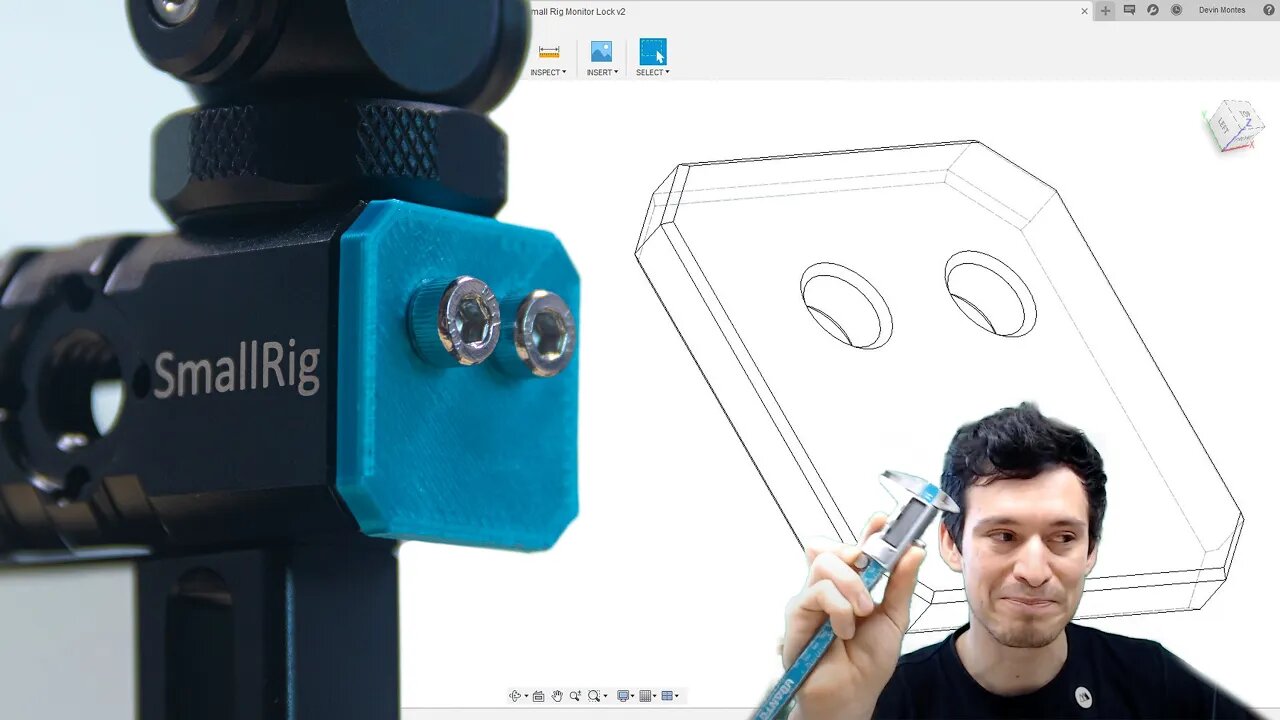
Designing a Simple Part in Fusion 360 Full Walkthrough
5 years ago
2
A quick live demo designing a simple functional part in Fusion 360 and then 3D printing and installing it. All in under an hour!
STL file : https://www.myminifactory.com/object/3d-print-117398
*correction* The screws are M4, not M3 as I stated (Here are the ones I used: https://amzn.to/2ybL6RS )
Loading comments...
-
 25:29
25:29
Stephen Gardner
1 hour ago💣 Trump White House UNEXPECTED Move + Thune DESTROYS Schumer on Senate Floor!!
5.2K7 -
 1:01:45
Playback Request Live
1 hour agoPRL LIVE @ DREAMHACK!!
10.3K1 -
 LIVE
LIVE
Dr Disrespect
5 hours ago🔴LIVE - DR DISRESPECT - ARC RAIDERS - DANGEROUS ADVENTURES (LEVEL 12)
1,416 watching -
 14:15
14:15
Tactical Advisor
5 days agoEverything You Need To Know About PSA Mixtape Vol 1. (FIRST LOOK)
2.82K3 -
 LIVE
LIVE
Jeff Ahern
1 hour agoFriday Freak out with Jeff Ahern
117 watching -
 14:54
14:54
The Kevin Trudeau Show Limitless
2 days agoThe Hidden Force Running Your Life
54.4K8 -
 1:03:55
Sean Unpaved
3 hours agoRavens' Resurrection Night: Lamar Buries Miami, NFL/CFB Spooky HC Shifts, & Kalshi's Week 9/10 Odds!
26.5K -
 2:16:48
Film Threat
1 day agoHALLOWEEN HORROR + BACK TO THE FUTURE RERELEASE + MORE REVIEWS | Film Threat Livecast
16.4K -
 1:21:16
Steven Crowder
6 hours ago10th Annual Halloween Spooktacular: Reacting to the 69 Gayest Horror Movies of All Time
297K168 -
 57:39
57:39
The Rubin Report
5 hours agoKamala Gets Visibly Angry as Her Disaster Interview Ends Her 2028 Election Chances
49.1K61