
Guitar Lessons - More Chords 1
Here is a Guitar Lessons - More Chords 1 Lesson...
IF YOU WANT TO GET A CUSTOM GUITAR PROGRAM MADE UP FOR YOU CLICK HERE FOR MORE GUITAR SECRETS - https://bit.ly/3rlF2yJ
Remember everything we learned in the last lesson about fretting hand technique like relaxing, pretending to hold an apple, keeping your thumb on the back of the guitar neck, coming down on the tips of your fingers, and placing your fingers right behind the frets.
The D Major Chord
Let’s start with the open D major chord shape. The first thing to notice on the chord diagram is the ‘X’ above the E and the A strings, which means you’ll leave these strings out of the chord altogether.
Place your first finger on the second fret of the G string, second finger on the second fret of the high E string, and third finger on the third fret of the B string. For all three notes, make sure you’re right behind the frets and on the tips of your fingers.
This chord is a bit harder because you have to place your fingers in a small area, and you have to make sure your fingers aren’t accidentally brushing up against any other strings.
Using your pick, strum through just the top four strings. If your chord sounds muted at all, make sure your fingers are coming down right on the tips.
Chord Tip: Go through your process of committing this chord to memory. Make the chord shape for thirty seconds, take it off, shake out your hand, and repeat.
If it takes you a few seconds to make the shape, that’s okay. Take a look at the chord shape when you make it to remember what it looks like, and remember what it feels like as well.
Bonus Tip: Have your guitar set up by a professional. It usually only costs $20-30, and it’s worthwhile. Your guitar will be easier to play and your practice time will be much more enjoyable.
IF YOU WANT TO GET A CUSTOM GUITAR PROGRAM MADE UP FOR YOU CLICK HERE FOR MORE GUITAR SECRETS - https://bit.ly/3rlF2yJ
-
 2:47:55
Mally_Mouse
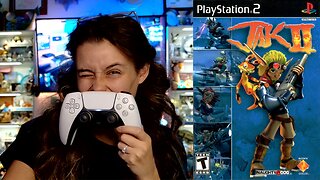
12 hours ago🎮 Let's Play!! -- Jak 2 pt. 16
50.9K2 -
 52:23
52:23
MattMorseTV
7 hours ago $16.87 earned🔴The Cartels are SCREWED.🔴
114K129 -
 1:32:46
Badlands Media
20 hours agoAltered State S3 Ep. 44: Epstein Files, Corrupt Judges, and the College Grift
54K2 -
 21:09
21:09
Bearing
17 hours agoAustralian “Racist” Protest EXPLODES 💥 Glowies, Brawls & Media Spin 📣
28.9K35 -
 2:53:23
Tundra Tactical
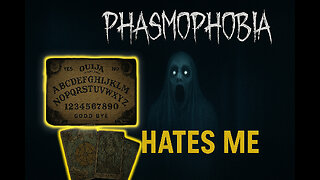
5 hours ago $2.86 earnedTwo Vets, One Ouija Board, Zero Good Decisions
25.1K1 -
 3:49:59
Barry Cunningham
10 hours agoPAM BONDI & KRISTI NOEM HOST A PRESS CONFERENCE AND JOHN RICH JOINS THE SHOW!
46.9K37 -
 9:26:16
GrimmHollywood
14 hours ago🔴LIVE • GRIMM HOLLYWOOD • RETRO PS2 GAMES • GRIMMDY GAMES • BRRRAP PACK x FINALS RANKED GRIND
22.5K -
 11:24:35
Cripiechuccles
12 hours ago😁18+💚💙WEEDIE WED WITH CRIPIE💚RUMLUV💙👌SMOKING, GAMING & WATCHING FLICKS!:😁
16.5K2 -
 1:01:50
BonginoReport
9 hours agoSeason 2 Of The Epstein Show Just Dropped - Nightly Scroll w/ Hayley Caronia (Ep.126) - 09/03/2025
105K40 -
 LIVE
LIVE
Spartan
9 hours agoScrims then Ranked and/or E33 (New Game+ / All Enemies 10x Health)
29 watching