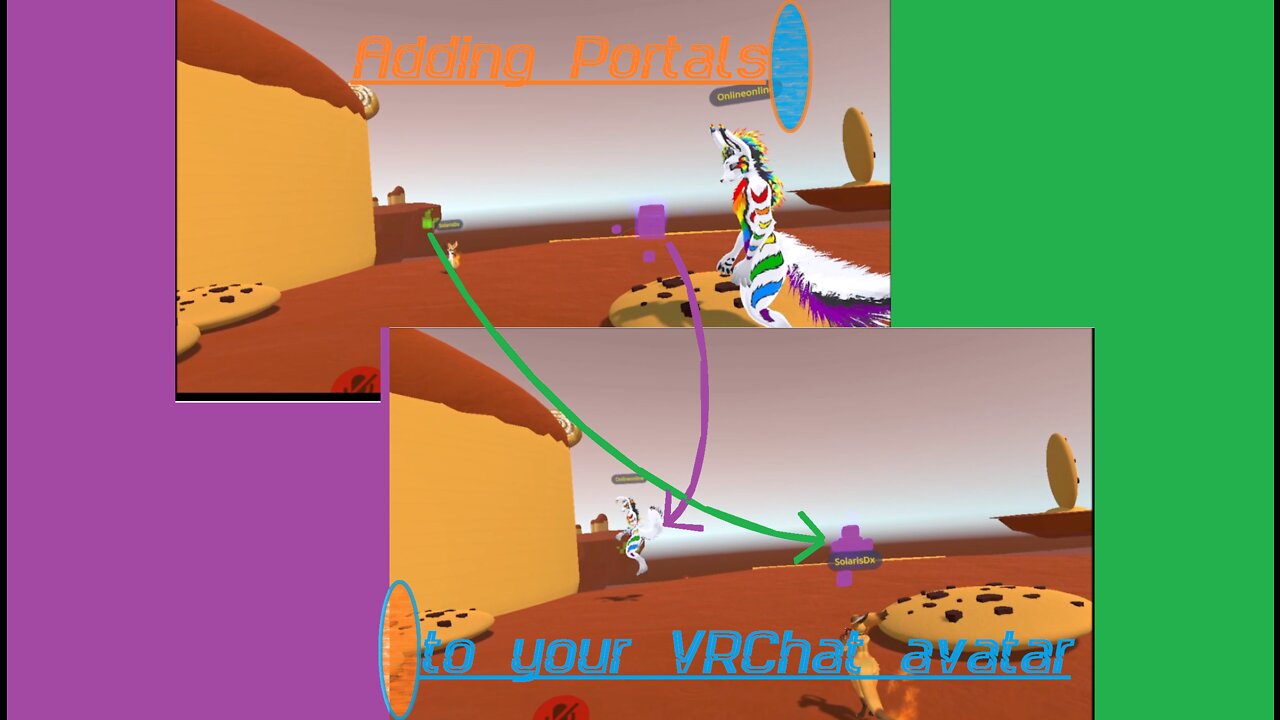
How to add portals to your VRChat avatar.
(Written version of the guide)
To begin, we need a world anchor.
>Right click your avatar.
>Create Empty.
>Rename this object to "World Anchor".
>Click the object to bring it up in the Inspector on the right.
>Click "Add Component".
>Add a Parent Constraint.
>Expand the Parent Constraint.
>Add a new Source.
>Find an object in the File Explorer at the bottom. Any object will work; I usually use the avatar model object.
>Click and drag your object into the Source field on the Parent Constraint.
>Click "Activate".
The World Anchor is used to keep attached objects from moving with your avatar. By setting the Source to an object that isn't actually on the avatar, it becomes anchored to the world origin instead. This will allow us to place our portals in positions relative to that world origin, rather than in relation to our avatar, and keep the portals in those locations indefinitely.
The next step is to create an object to contain the first portal.
>Right click the World Anchor.
>Create Empty.
>Name this "Portal One".
This object will contain both the VRC_Station component that allows teleportation, and whatever object you use to visually indicate the portal's location. But first, we need to set it up so that you can position it in the world.
>Click Portal One to bring it up in the Inspector.
>Add Component.
>Parent Constraint.
>Expand the Parent Constraint.
>Add a new Source.
>Expand your avatar's armature until you find the Left Wrist.
>Click Portal One again.
>Click and drag your avatar's Left Wrist into the Source field. You can use a different bone if you'd prefer.
>Click the "Zero" button.
That's all the preparation needed for moving the portals. Now, onto adding the actual teleporting functionality.
>Right click Portal One.
>Create Empty.
>Name this object "Station".
>Select the Station object.
>In the Inspector, click Add Component.
>Search for "VRC Station".
>Uncheck "Can Use Station from Station", as this can cause issues on VRC Station components as a whole.
>Click Add Component.
>Search for "Sphere Collider".
>Check the box for "Is Trigger".
>Set the Radius to 0.1.
We're not quite done with the Station setup yet, but we'll have to come back to it after we've set up the second portal. For now, let's give it some visuals. You can set it up however you like, but I'll show how I made mine.
>Right click Portal One.
>Create Empty.
>Name this object "Visual".
>Click Visual to bring it up in the Inspector.
>Click Add Component.
>Search for "Particle System".
>Expand the Particle System.
>Set the Start Lifetime to 0.5.
>Set the Start Speed to 0.75.
>Set the Start Size to 0.25.
>Set the Start Color to green, with an Alpha value of 50.
>Set the Max Particles to 10.
>Expand the Emission tab.
>Set the Rate over Time to 20.
>Expand the Shape tab.
>Set the shape to "Circle".
>Set the Radius to 0.
>Set the X Rotation to 90.
>Expand and turn on the Size over Lifetime tab.
>Click the box to the right of "Size".
>If necessary, click "Particle System Curves" at the bottom of the Inspector to expand it.
>Click the preset with the line going high to low.
>Expand the "Renderer" tab.
>Click the circle to the right of the Material field.
>Select "Default Line".
Now that the majority of the first portal is set up, we can create the second one.
>Right click "Portal One" in the Hierarchy.
>Select "Duplicate".
>Name the new object "Portal Two".
>Expand Portal Two.
>Select "Visual".
>Change the Start Color to purple.
And now, to add what makes these portals actually work as portals.
>Click Portal One's Station object.
>Drag Portal Two's Station object into both the Player Enter Location field, and the Player Exit Location field.
>Click Portal Two's Station object.
>Drag Portal One's Station object into both the Player Enter Location field, and the Player Exit Location field.
We have a little more to do in the Hierarchy to prepare for the programming phase. For both portals, deactivate the Visual object, and the Sphere Colliders on both Stations.
Now for the animations. We'll need two to start.
>Click the Project tab to access Unity's file explorer.
>>If you have a specific folder for Animations, open it. Ultimately, though, Animations can be stored anywhere in the project. I just like to keep it organized.
>Right-click in the file explorer.
>Click "Create".
>Click "Animation".
>We'll name this "Portal One".
>Create another new Animation.
>We'll name this "Portal Two".
>Click and drag both Animations onto your avatar in the Hierarchy.
>Click your avatar.
>Click the Animation tab.
>>If you don't have this tab, go to the top bar.
>>Window.
>>Animation.
>>Animation.
>>You can drag the tab in this new window to the area above the file explorer. I highly recommend this for ease of access.
>With the Animation tab opened, click the lock icon at the top right.
>>If you don't see the lock icon, right-click in the top right corner and select Lock.
>>This keeps the Animation tab focused on your avatar in case you click another object with an Animator attached.
>Select "Portal One" from the drop-down menu.
>Click the Record button.
>Click Portal One in the hierarchy.
>Deactivate the Parent Constraint. This makes the portal stop following your hand, and instead stay in its position relative to the World Anchor you made earlier.
>Click Portal One's Station.
>Activate the Sphere Collider. Because the Collider is attached to the same object, the VRC Station won't be clickable unless the Collider is active. This means that, with the Collider's default state of being turned off, the portals can't be clicked until you've intentionally activated them for others to use.
>Click Portal One's Visual.
>Activate the object. This simply allows the particle system to start working, letting people know where the portal is.
>Click the Preview button to stop recording and stop previewing the animation.
The way this is set up, you can place just one portal, and it will bring people straight to you. Now, we need a mirrored version of this Animation for Portal Two.
The way this is set up, you can place just one portal, and it will bring people straight to you. Now, we need a mirrored version of this Animation for Portal Two.
>Go back to the Animation tab.
>Select "Portal Two" from the drop-down menu.
>Click the Record button.
>Click Portal Two in the hierarchy.
>Deactivate the Parent Constraint.
>Click Portal Two's Station.
>Activate the Sphere Collider.
>Click Portal Two's Visual.
>Activate the object.
>Click the Preview button to stop recording and stop previewing the animation.
Technically, these are the only two animations you need. However, I like to make a third animation that kicks people off of the portal once every second so that they don't hog it, whether they're doing so intentionally or not. If you'd like this functionality, follow these next steps. Otherwise, skip ahead.
>Click the Project tab to access Unity's file explorer.
>Go to whatever folder has your animations.
>Right-click in the file exporer.
>Click "Create".
>Click "Animation".
>We'll name this Animation "Portal Antihog".
>Click this new animation to bring it up in the Inspector.
>Click "Loop Time" so that the animation repeats itself when it ends.
>Click and drag this Animation onto your avatar in the Hierarchy.
>Click your avatar in the Hierarchy.
>Click the Animation tab.
>Select "Portal Antihog" from the drop-down menu.
>Click Record.
>Deactivate the Station object on both Portal One and Portal Two.
>Change the Animation's Frame to 1. You can do this by changing the number here and pressing Enter, or by clicking underneath "0:01" in the graph to the right.
>Activate the Station object on both Portal One and Portal Two.
>Change the Animation's Frame to 60.
>Deactivate the Station objects on both Portal One and Portal Two.
>Click the Preview button to stop recording and stop previewing the animation.
This animation keeps the Stations on each portal active for most of its duration, but deactivates the Station every second so that people sitting in it are automatically booted off, allowing another person to come through.
Now, we come to the programming part.
>Click your avatar in the Hierarchy.
>Expand the VRC Avatar Descriptor component in the Inspector, if necessary.
>Scroll down to the Playable Layers section.
>Double-click the box to the right of "FX" to open it in the Animator window.
>Click the Parameters tab at the top left of this window.
>Click the plus button, and add a "Bool". This is a simple on-or-off parameter type.
>Name this new Bool parameter "Portal One".
>Click the plus button again, and add another Bool.
>Name this parameter "Portal Two".
These two bool parameters are used to set the two portals on or off. If you set up the anti-hogging animation earlier, don't worry; you still only need these two parameters. Let's continue.
>Click the Layers tab at the top left.
>Click the plus button to create a new animation layer.
>Name this layer "Portal One".
>Click the gear to the right of the layer's name.
>Set the Weight to 1. Without this step, the game won't even try to read the animations inside. This is a common oversight when building avatar functionality, so if you have problems, double-check the Weight.
>Click the Portal One animation layer.
>In the grid to the right, right-click, Create State, Empty.
>Name this new state "Off".
>Create another empty state, and name it "On".
>In the "On" state, click the circle to the right of the box that says "None (Motion)".
>Find your "Portal One" animation from earlier, and double-click it to assign it to this animator state.
>Right-click the "On" state, click "Make Transition", and left-click the "Off" state.
>Do the same in reverse, creating a Transition from "Off" to "On".
>Left-click the Transition that points towards "On".
>In the Inspector, click the plus button underneath the Conditions box.
>Set the Condition to "Portal One" is "True".
>In the grid, left-click the Transition that points towards "Off".
>Add a new Condition.
>"Portal One" equals "False".
That's the first portal done. The second one is set up almost identically.
>Add a new layer.
>Name it "Portal Two".
>Set its Weight to 1.
>Create new empty state.
>Name it "Off".
>Create another state.
>Name it "On".
>Add the "Portal Two" animation to the "On" state.
>Make a Transition from On to Off.
>Make a Transition from Off to On.
>Set the Off-to-On Transition to have the Condition "Portal Two" equals "True".
>Set the On-to-Off Transition to have the Condition "Portal Two" equals "False".
One more layer to make, and that's only if you set up the anti-hogging animation earlier. If you skipped that step, skip this one as well.
>Add a new layer.
>Name it "Portal Antihog".
>Set its Weight to 1.
>Create new empty state.
>Name it "On". We only need the one state for this layer, as there's no real harm in having the animation play at all times.
>Add the "Portal Antihog" animation to the "On" state.
That's all you need for the Antihog to function.
Last part, now: setting up the menus.
>Click your avatar in the Hierarchy.
>Expand the VRC Avatar Descriptor if necessary.
>Scroll down to the Expressions section.
>Double-click the field to the right of the word "Parameters" to bring up your avatar's Parameters list in the Inspector.
>At the top of the Inspector, click "Add" two times.
>Change the last two entries in the Parameters list to "Portal One" and "Portal Two". These need to have the exact same name as the Parameters you made in the avatar's FX Animator earlier, or else they won't pair up with each other properly, and your menu won't have any effect on the portals.
>If the drop-down menus on these last two Parameters do not say "Bool", change them to Bool.
>Click your avatar in the Hierarchy again.
>Scroll down to the Expressions section.
>Double-click the field to the right of the word "Menu" to bring up your avatar's main menu in the Inspector.
>Click "Add Control" at the bottom of the Inspector. Expand the new Control if necessary.
>Rename this New Control to "Portal One".
>To the right of the word "Type", click the drop-down menu and select "Toggle".
>To the right of the word "Parameter", click the drop-down menu and select "Portal One".
>Click "Add Control" again.
>Rename this New Control to "Portal Two".
>Set the Type to "Toggle".
>Set the Parameter to "Portal Two".
That's the final step. Bring up the VRChat SDK, and click the "Build & Publish for Windows" button. Unfortunately, you can't really test the full functionality with just the Build & Test button, as other players need to be able to see the portals in order to use them. If everything's set up correctly, you should have working portals for transporting other players around the map.
Be aware that people who join the map after you've placed your portals will be unable to teleport to the areas you've set. This is because an avatar's animations are handled by each computer individually, so when someone new joins in, it immediately places the portals at the World Anchor instead of wherever you tried to put them, as their computer has no way of knowing where your hands were before their arrival.
I hope you benefitted from this tutorial! I've recently set up a Discord channel for help and suggestions, as well as updates on new features and tutorials I'm working on, which I will link to in the description. ( https://discord.gg/aFpkcXxra7 ) If you'd like to learn how to build some more obscure or personalized features, I offer tutoring, and if you don't have the time or inclination to learn all this stuff, I take commissions to add features onto your avatar myself. Joining my Discord is the simplest way to make these requests, or you can add me directly at Toolbox Motley#0372.
-
 2:48:01
TimcastIRL
8 hours agoLIVE Election Coverage: Polling Stations SWATTED, Bomb Threats Called In | Timcast IRL
254K177 -
 3:30:07
Barry Cunningham
8 hours agoBREAKING NEWS: COUNTDOWN TO COMMUNISM! ELECTION RESULTS SHOW!
59.5K48 -
 2:11:28
DeVory Darkins
8 hours agoLIVE NOW: 2025 Election results and Exit Polls AMA
70K46 -
 2:34:04
DLDAfterDark
7 hours ago $0.08 earnedJust Another Tuesday - In Virginia - The Governor's Race & Glock Talk
29.3K7 -
 3:21:38
The Charlie Kirk Show
10 hours agoJUDGMENT DAY 2025: The Election Results Stream
200K82 -
 3:51:07
MattMorseTV
11 hours ago $0.82 earned🔴Election Day LIVE COVERAGE.🔴
99.2K49 -
 1:16:51
Flyover Conservatives
1 day agoSHOCKING DATA REVEALS: Young Voters Are Done With the Old GOP - Mark Mitchell, Rasmussen Reports | FOC Show
42.8K17 -
 1:15:28
Sarah Westall
10 hours agoGrooming is Protected and Encouraged by the System – Michelle Peterson and Mike Adamovich
35.9K10 -
 4:00:13
Akademiks
7 hours agoKendrick tries to Flip the Bots on DRAKE? WHo Beats Jay z in a verzuz. Blueface finally free!
40K11 -
 1:38:16
Professor Nez
13 hours ago🚨ELECTION NIGHT 2025 LIVE! Massive Upsets Brewing in New York, New Jersey & Virginia!
33.3K15