Honeywell Home PROA7PLUS: Installing PROTAKEOVER
In this video, Michael from Alarm Grid shows users how to install the PROTAKEOVER module to a Honeywell Home PROA7PLUS. This same procedure can be used on the Honeywell Home PROA7, Resideo PROA7C, and Resideo PROA7PLUSC panels.
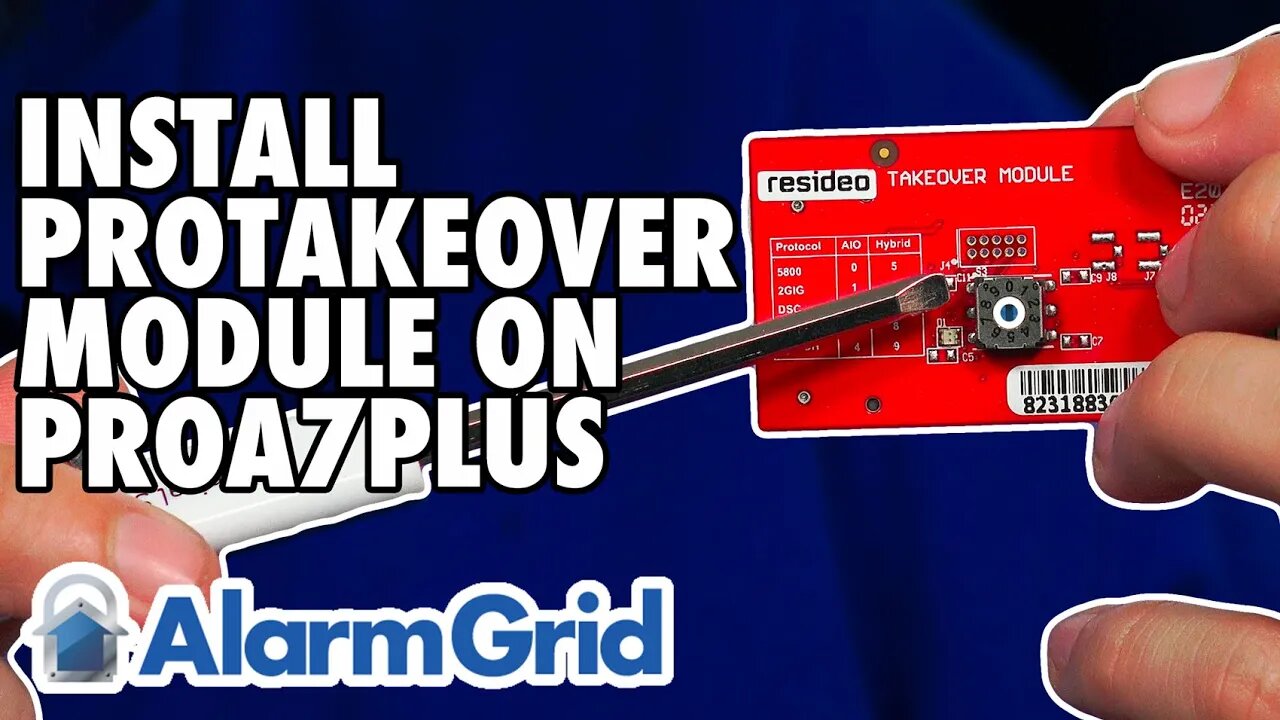
The PROTAKEOVER is a legacy RF receiver module that allows the system to communicate with legacy RF sensors that may already be installed in a monitored location. The legacy RF sensors supported are Honeywell 5800 Series 345 MHz, 2GIG 345 MHz, Qolsys and Interlogix/GE 319.5 MHz, DSC 433 Mhz, or Bosch 433 MHz. The PROTAKEOVER module comes with its own backplate. The original backplate must be replaced with the new one. The new backplate has the antenna built into it, so it MUST be used. There is currently no option to use the PROTAKEOVER with a desk-mounted system.
It is important to set the dial on the PROTAKEOVER prior to inserting it into the panel. Otherwise, the dial is inaccessible once inserted. After removing power from the panel by unplugging the DC Power Adapter, and removing the set screw, pull the panel from the original backplate. Disconnect the backup battery to power the panel completely down. It is important to save the blue terminal block from the original backplate, as you will need it for the PROTAKEOVER backplate. Once the terminal block has been clicked into the proper place, mount the PROTAKEOVER backplate in the location where the original backplate was installed. Reconnect the power wires, if necessary, making sure to observe proper polarity. At this point, the DC Power Adapter should still be unplugged.
Now, turn your attention back to the panel itself. When you turn the panel over, you'll see a plate that slides off to the right. The PROTAKEOVER will mount in the upper-right corner of the panel (when the PROA7PLUS is facing away from you). Double check the dial before inserting it, to be sure it is set for the proper takeover frequency. Slide the PROTAKEOVER into place and install its set screw. Slide the white cover plate back into place. You'll see two (2) metal pins that stick out at the side of the PROTAKEOVER, these will connect to metal connection points on the antenna that is installed inside the replacement backplate.
Reconnect the backup battery. Then, mount the panel to the newly installed PROTAKEOVER backplate, making sure it seats properly. Plug the transformer in, then wait for the PROA7PLUS to boot up. You can now begin to add legacy RF sensors to the PROA7PLUS zones. The panel can support up to 123 legacy RF sensors and up to 127 PROSIX sensors for a total of 250 Zones. As long as the panel firmware is on the latest version, the PROA7PLUS and PROTAKEOVER can even support life-safety 5800 Series Wireless Zones.
https://www.alarmgrid.com/faq/how-do-i-install-a-honeywell-home-protakeover-in-a-proa7plus
-
 3:31
3:31
Alarm Grid Home Security DIY Videos
1 year ago $0.01 earnedWireless Repeater: Use With Life Safety Devices
38 -
 31:55
31:55
ZeeeMedia
17 hours agoHow Gold & Silver Fight Against Digital ID ft. Bill Armour | Daily Pulse Ep 148
4.05K8 -
 13:29
13:29
Clintonjaws
14 hours ago $10.64 earnedCNN Host Stops Show & Plays Surprise Clip Forcing Democrat To Correct Lie
19K10 -
 14:55
14:55
World2Briggs
18 hours ago $1.10 earnedThe 10 U.S. Cities Americans Can No Longer Afford — 2025 Edition
2.93K -
 8:19
8:19
Millionaire Mentor
16 hours agoATC Whistleblower EXPOSES Obama’s Dirty FAA Secret
4.38K5 -
 LIVE
LIVE
BEK TV
23 hours agoTrent Loos in the Morning - 11/21/2025
151 watching -
 LIVE
LIVE
The Bubba Army
22 hours agoCHICAGO SUBWAY FIRE ATTACK - Bubba the Love Sponge® Show | 11/21/25
1,807 watching -
 57:31
57:31
Side Scrollers Podcast
17 hours agoBlabs VS DuckTales
5.98K10 -
 8:52
8:52
MetatronGaming
14 hours agoOverwatch 2 New Hero Vendetta La Lupa
109K10 -
 1:37:16
omarelattar
22 hours agoEx-Mafia Boss: I Made $8 Million Every Week Until The FBI Destroyed My Life! What I Learned...
23.9K2