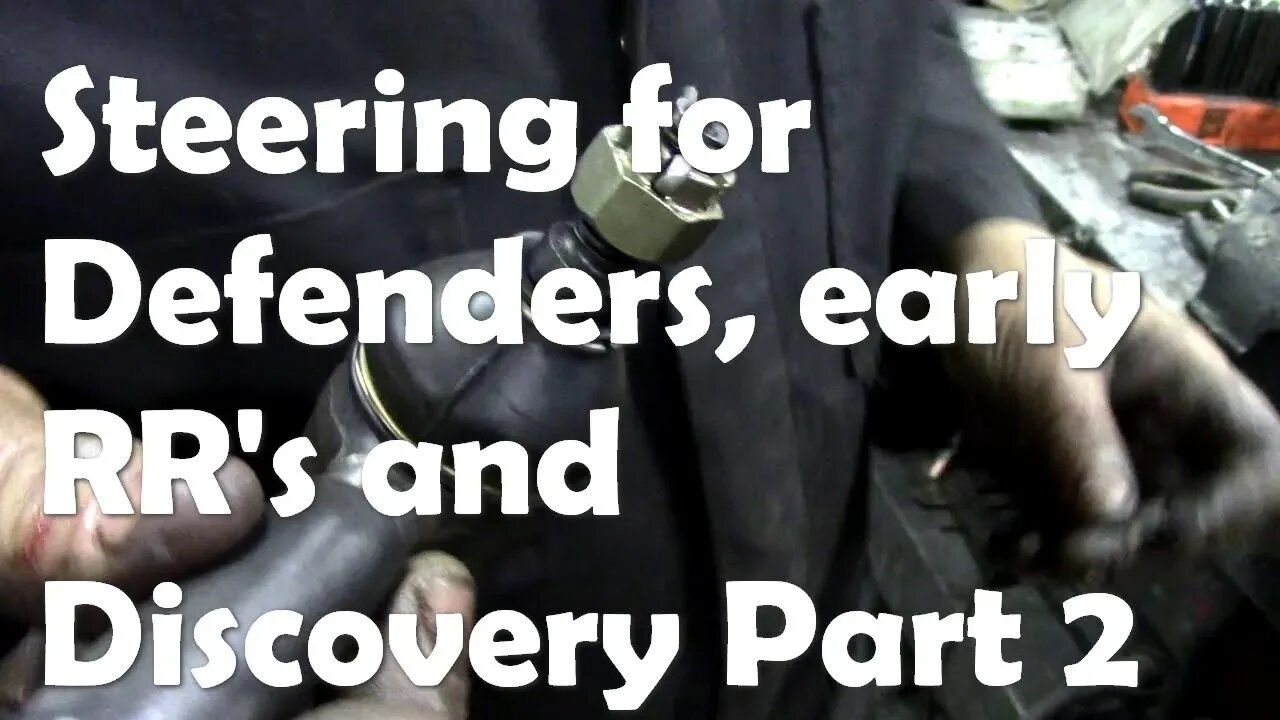
Steering, tie rods, drag arms etc. explained Part 2
5 years ago
Stickers etc www.britrest.com/shop
https://www.patreon.com/britrest
https://www.subscribestar.com/britrest
https://www.paypal.me/britrest2018
Your support is appreciated!
If you have a Defender/Tdi problem and do not know how to fix it, drop me a line!
Maybe I can help!?
britrest@britrest.com
Send me a postcard for my wall!
Britannica Restorations Ltd
9 Ch. Rawson
Sherbrooke
Quebec
J1M2A3
Canada
Loading comments...
-
 8:28
8:28
Land Rover Repairs
1 year agoSo how did I lose weight without trying?
26 -
 LIVE
LIVE
The Rabble Wrangler
1 day agoPUBG with The Best in the West!
47 watching -
 3:57:19
EvilT4000
4 hours agoSaturday.....🟢For energy and focus click my Dubby link!
829 -
 LIVE
LIVE
SlingerGames
1 hour agoSpartan Night - Halo and More | Creator for @SELFMADEGGS
36 watching -
Mally_Mouse
7 hours agoSpicy Saturday!! - 10k CELEBRATION! - Let's Play: Labyrinthine
20.5K -
 37:09
37:09
The Mel K Show
7 hours agoMel K & Dr. Kirk Moore | A Doctor’s Oath: Doing What is Right No Matter the Cost | 7-26-25
22.7K10 -
 LIVE
LIVE
Cewpins
2 hours agoLet's BLAZE!!🔥SmokeSesh💨420🍃!MJ
45 watching -
 LIVE
LIVE
MDGgamin
10 hours ago🔴LIVE - TARKOV & ARMA - Shots For Subs Saturday!!! - Chilling & Chatting - #RumbleTakeover
18 watching -
 LIVE
LIVE
Eternal_Spartan
2 hours agoCollab w/ TheBeardedNerdd! | TARKOV AND MORE | Join the Best Chat on Rumble!!!!
31 watching -
 36:44
36:44
NordicVentures
5 days ago $2.19 earnedWINTER Bushcraft 2 Nights: Building ALONE a Survival Shelter
12K4