Premium Only Content

PROA7 or PROA7PLUS: Entering Programming
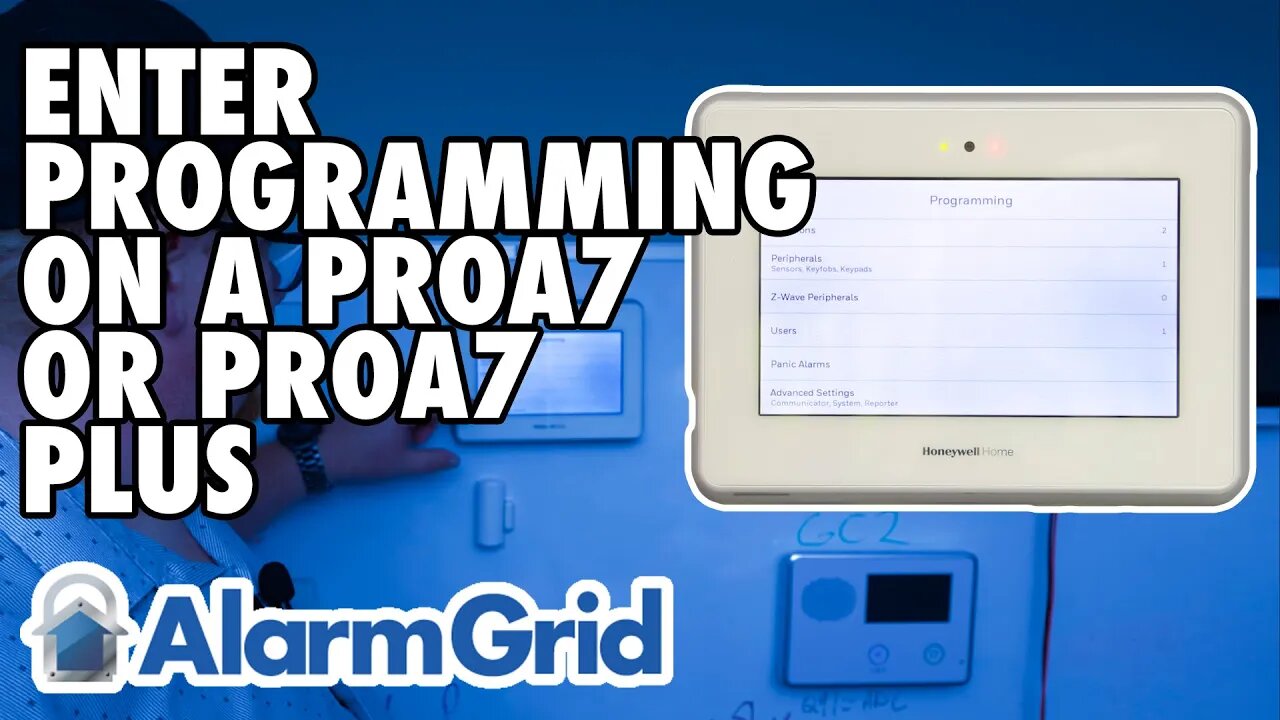
In this video, Darrell from Alarm Grid shows users how to enter programming mode on a Honeywell Home PROA7 or PROA7PLUS, or on a Resideo PROA7C or PROA7PLUSC.
To enter programming, tap the menu icon in the bottom center of the screen. Scroll down to Tools, then enter the current Installer Code. The default Installer Code is 4112. This will bring you into the Installer Tools menu.
From here, select Programming from the available options. Once you enter programming, you can edit the number of partitions, add/edit/delete any peripheral devices, including Sensors, Key fobs, or keypads. In Z-Wave Peripherals, you can Include or Exclude devices. In the Users' programming, you can add/edit/delete user codes. In Panic Alarms, you can configure the keypad panic options, and in Advanced Settings, communicator and other system settings are configured.
In addition to system programming, the Installer Tools Menu can allow you to view System Information, Perform System Tests on both communicators and Sensors, Enable or Disable Local Alarm Mode, Change the Installer PIN, Default the panel back to factory settings, and Reboot the panel.
To exit programming when you're finished, choose the left arrow in the upper-left side of the screen to go back to the previous screen. Keep doing this until you return to the main Security Screen.
https://www.alarmgrid.com/faq/how-do-i-get-into-programming-on-my-proa7-or-proa7plus
-
 3:31
3:31
Alarm Grid Home Security DIY Videos
1 year ago $0.01 earnedWireless Repeater: Use With Life Safety Devices
38 -
 1:59:21
The Charlie Kirk Show
2 hours agoCreeping Islamization + What Is An American? + AMA | Sedra, Hammer | 11.21.2025
24.7K16 -

Sean Unpaved
2 hours agoWill Caleb Williams & Bears WIN The NFC North? | UNPAVED
3.08K -
 LIVE
LIVE
Lara Logan
3 hours agoSTOLEN ELECTIONS with Gary Berntsen & Ralph Pezzullo | Ep 45 | Going Rogue with Lara Logan
406 watching -
 1:47:18
Steven Crowder
4 hours agoTo Execute or Not to Execute: Trump Flips the Dems Sedition Playbook Back at Them
246K269 -
 16:11
16:11
RealMetatron
19 hours agoHasan Piker got HUMBLED in New York
7.43K5 -
 LIVE
LIVE
Viss
3 hours ago🔴LIVE - Helping Those That Need It Today - Arc Raiders!
152 watching -
 43:37
43:37
The Rubin Report
3 hours agoTriggernometry Hosts Try to Hide Their Shock at Sam Harris’ Charlie Kirk Claim
29.7K28 -
 LIVE
LIVE
SOLTEKGG
2 hours ago🟢 Live: Pro Player Returns to Battlefield 6 RED SEC
45 watching -
 LIVE
LIVE
StevieTLIVE
3 hours agoFriday Warzone HYPE: Come Chill, Chat, and Watch Me Fry
34 watching