Premium Only Content

UK woman saves hundreds on plasterer by DIY skimming textured ceiling for £50
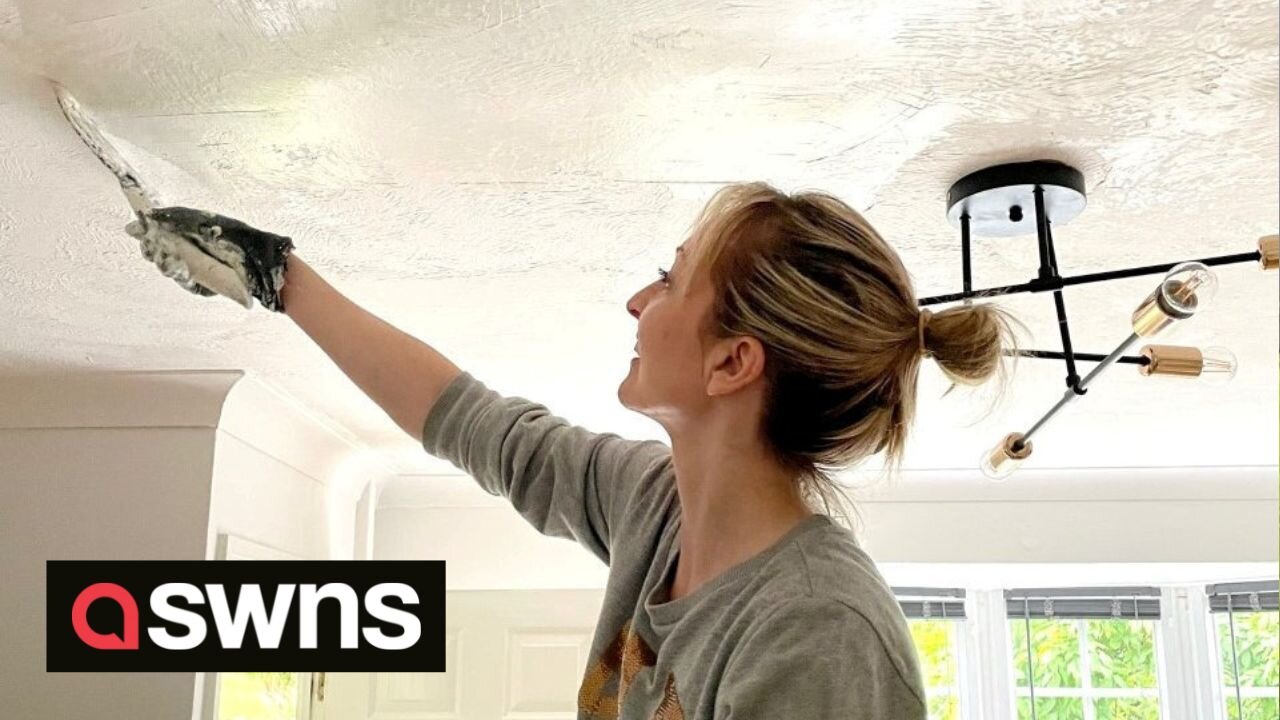
A woman has saved hundreds of pounds by skimming her own old fashioned Artex textured ceilings - for just £50.
Claire Douglas, 38, didn’t have the budget to pay for the job to be done professionally but knew she didn’t like the look of the textured ceiling in her home.
The interior content creator used Diall Fine Finish Ready Mixed Finishing plaster and showed other DIY fans how she cheaply solved the problem using just two tubs of skim
Now, she says she loves how it looks and has some advice for anyone else looking to smooth a textured ceiling in their home.
Claire said: “The main thing I should say is safety – artex ceilings are very likely to contain asbestos and while it’s perfectly safe undisturbed you mustn't sand, drill, or scrape artex ceilings without testing them first as asbestos is only dangerous in the fine powder form.
“I’m not a fan of a textured ceiling and every time I looked at it I thought I must do something about that – the downstairs is open plan and all the others were smooth and lovely but this one stuck out like a sore thumb.
“Now, I love it and it makes me happy every time I look at it – it's very satisfying to look back and see you’ve worked hard and for a long time and see how much better it looks.”
In the video, the interior content creator and blogger at clairedouglasstyling.com, showed the products she used to complete the job.
She recorded herself working her way across the ceiling and after just three coats all traces of the textured artex ceiling had gone.
Commentors on the video mentioned how it had inspired them to do their own ceilings and how amazing the transformation looked.
“I’m an interior content creator and DIY writer so I do DIY all day every day – this is something where you need to have good attention to detail and be a real perfectionist about,” said Claire.
“It’s not the first ceiling I’ve done with this process, I tested different products to see what would be the best to use – I felt confident I could do it and had the tools already so I had been using a skimming tool and got to grips with it which I found great for the job.
“Wear gloves, make sure the room is well ventilated, and eye protection is a good idea.
“First you want to clear the room and move as much out of the way as you can or cover it with dust sheets.
“Clean the ceiling - don’t get it very wet as it can cause the artex to disintegrate, just give it a clean to get rid of dust or grease which stops the product sticking properly.
“Allow it to dry and then use a ready mixed product – if you dilute it a bit in a plastering pan to a yogurt type consistency it’s easier to use.
“Work on small areas at a time and really thinly spread it working from left to right, getting the layers as thin as a millimetre.
“Keeping an uneven pressure on the spreader with one side down more than the other so you only get seams on one side and don’t put too much product on it – you want it to be thin and too much can be too heavy for the ceiling.
“Allow that to really fully dry – I didn’t do any sanding at all because of the dust but you could very carefully and very lightly sand with fine sandpaper to smooth any imperfections just on the very top layer of smoother, be careful not to disturb the ceiling underneath.
“I’m really pleased with how it all turned out.”
She recorded her journey on her Instagram @instahome_uk
-
 1:19
1:19
SWNS
7 days agoBedtime? Study tracks when Americans fall asleep
52 -
 LIVE
LIVE
Badlands Media
10 hours agoBaseless Conspiracies Ep. 145
21,267 watching -
 2:50:50
TimcastIRL
4 hours agoTrump Deploys National Guard To DC, Federalizes Police, Liberals Protests Take Over| Timcast IRL
184K57 -
 2:27:36
Barry Cunningham
7 hours agoBREAKING NEWS: PRESIDENT TRUMP ABSOLUTELY NUKED WASHINGTON D.C. AND THE MEDIA!
55.8K38 -
 LIVE
LIVE
Drew Hernandez
9 hours agoTRUMP'S DC TAKEOVER & ISRAEL KILLS AL JAZEERA TEAM AHEAD OF GAZA INVASION
710 watching -
 1:19:05
Glenn Greenwald
5 hours agoTrump's DC Takeover: Is it Legal? Israel Kills More Journalists, Including Anas al-Sharif; Glenn Reacts to Pete Buttigieg and JD Vance on Israel | SYSTEM UPDATE #501
116K103 -
 44:40
44:40
Katie Miller Pod
5 hours ago $2.98 earnedEpisode 1 - Vice President JD Vance | The Katie Miller Podcast
38.7K12 -
 13:09:34
LFA TV
1 day agoLFA TV ALL DAY STREAM - MONDAY 8/11/25
210K20 -
 1:44:36
RiftTV
6 hours agoBREAKING: Trump FEDERALIZES D.C. To RESTORE Law & Order | The Rift | Ryan Matta, Olivia Krolczyk + Braeden Sorbo
50.6K15 -
 3:00:47
megimu32
5 hours agoOTS: Breakfast Nostalgia + Blind Chocolate Cereal Showdown… LIVE! 🍫🥣
41K2