Premium Only Content

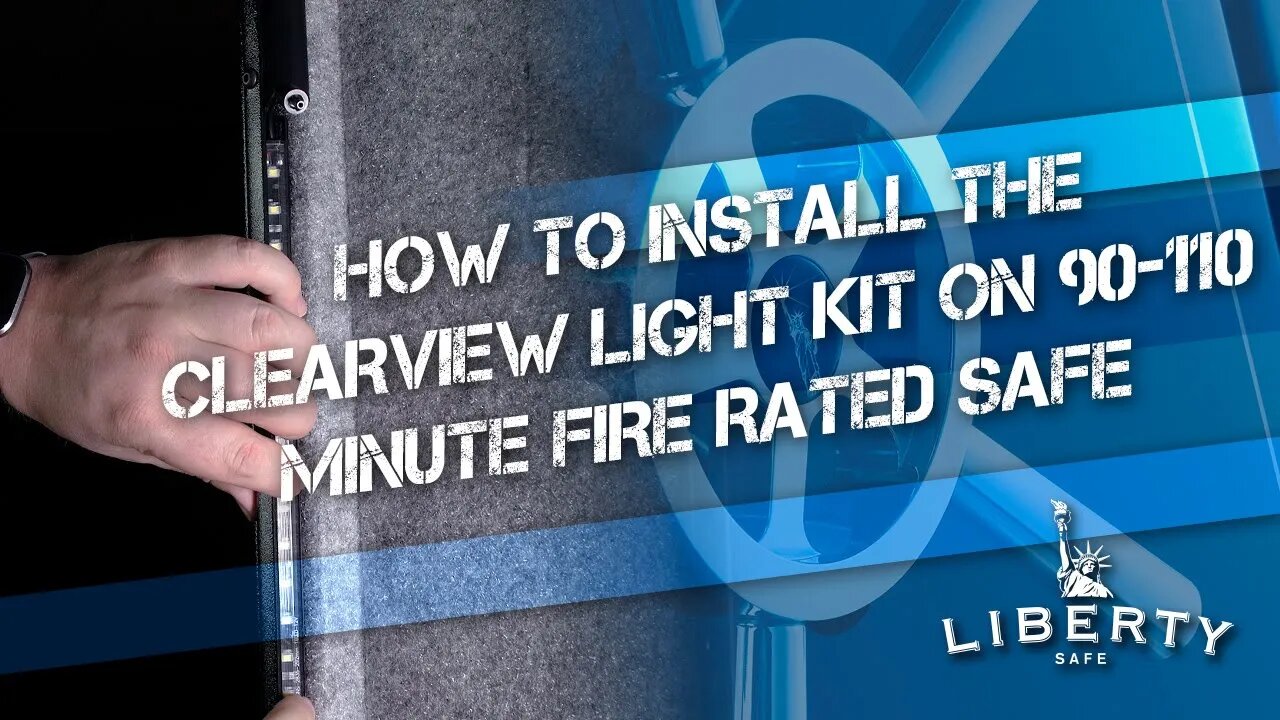
How To Install Clearview Light Kit - 90-110 Fire Rated Safes
Instructions for installing Clearview Light Kit on Liberty Safes with 90-110 fire rating.
Before you start installing a whole bunch of new lights in your house, you should install a Clearview Safe Light Kit.
Using wand lights and a motion sensor, this kit is perfect for your safe interior. It’s plenty bright and it installs quick and easy. But if your safe has a fire rating from 90-110 minutes, the installation process is a little different. All the same, let’s get this installed.
The first thing you’ll do is make sure you got all the parts in your kit. It comes with an AC adapter, motion sensor, 4 light wands for the opening side of the safe, 2 light wands for the hinge side, and a 3” female to female adapter cable. There will also be a few extension cables, wire clips, and screws should you choose to use those.
Next, you’ll want to plan where you want to put everything. Start with the motion sensor. Ideally, this is placed 3 inches up from the bottom of the safe and 3 inches from the front on the hinge side. Placing it here should avoid any contact with the door and prevent it from being crushed.
Fit the open side wands on the left front of the safe in between the metal door jamb and the interior panel. Make sure they don’t interfere with the locking bars and door adjusters. Also, make sure they are positioned with the silver male connector on top. If you find it difficult to position all 4 wands, don’t worry. 3 wands will be sufficient. As a bonus tip, you may want to place the 4th light over the top shelf on the left side if you so desire.
The hinge side wands will also be placed between the metal jamb and the interior panel. They should also be placed between the hinge cups and not over them. Note that these wands need to have the black female connection end on top otherwise you won’t be able to use the provided screws.
Once you have everything dry fit where you’d like it to be, peel the adhesive backing off the hinge side wand strips and install them tightly into position. Make sure the lights aren’t sticking out of the groove or they will be crushed by the locking bars. Also, remember to make sure the lights and the wires do not overlap the hinge cups. Once both wands are positioned, use the provided screws to anchor them to the interior panel. The screws go through the small slit on each side of the wand.
Then you’ll peel the adhesive backing off the opening side wands and install them tightly into position as well. Again, make sure they don’t interfere with the locking bars or door adjusters. Your lights may have a protective film over the lights. We recommend removing that after they are installed.
Now you’ll install the motion sensor in the same place we’ve mentioned before. You will start by putting the double sided tape on the back and sticking it into place. You’ll secure it in place with the screws that are provided.
With everything in place, connect the wires. On each cable connection, you’ll notice a small arrow. The arrows are an approximation and do not line up perfectly. You’ll need to slightly rotate the connector until the notch and lip line up. Once the small lip is through the notch, you’ll rotate the connector clockwise until it stops. This secures a proper connection.
Since the hinge lights are oriented differently to accommodate for the screws, a 3” female to female adapter cable is provided. You’ll use this to connect the motion sensor to the lights.
After the lights on each side are connected together and connected to the motion sensor, plug the AC adapter into the motion sensor. Lastly, plug the AC adapter into the outlet inside your safe and let the lights shine.
Tuck all the excess wires into the corners of the walls and floor of your safe and you’re done. Thank you for watching. Don’t forget to like, share, and subscribe for more videos like this. Keep safe out there and we’ll catch you later.
-
 3:31
3:31
LibertySafe
3 years agoHow To Install Clearview Light Kit - General
96 -
 4:33
4:33
Waldoch
3 years agoHow to install Ford Transit Fog Light Kit
24 -
 7:27
7:27
GadgetsAnonymous
3 years agoInstall a light fixture
12 -
 11:26
11:26
1 LiterADV
3 years agoHonda Africa Twin AUX Light Install | Cyclops Aurora
49 -
 12:19
12:19
Aguywithajeep
3 years agoLet there be light! RIGID Radiance Light bar and Rock light install.
4 -
 3:19:34
Laura Loomer
6 hours agoEP135: Champagne Communism: Zohran Mamdani's Ugandan Compound EXPOSED
28.4K8 -
 28:39
28:39
The Why Files
3 days agoCryptids Vol. 4 | Bunyips, Yowie and Australian Nightmare Fuel
45.6K38 -
 1:07:06
Mike Rowe
18 days agoThe Fight For America's Heartland | Salena Zito #442 | The Way I Heard It
30.3K47 -
 2:43:30
TimcastIRL
6 hours agoSouth Park Goes FULL CHARLIE KIRK, Latest Episode ROASTS Trump Again | Timcast IRL
210K88 -
 LIVE
LIVE
SpartakusLIVE
6 hours agoThe Return of the KING of Content
402 watching