How To Install Clearview Light Kit - General
Instructions for installing Clearview Light Kit on all Liberty Safe's except for those with 90 or 110 minutes of fire protection.
After you’ve purchased your safe, you’d probably want to be able to see inside when you open the door. Before you start installing a whole bunch of new lights in your house, you should install a Clearview Safe Light Kit.
Using wand lights and a motion sensor, this kit is perfect for your safe interior. It’s plenty bright and it installs quick and easy.
The first thing you’ll do is make sure you got all the parts in your kit. It comes with an AC adapter, motion sensor, 4 light wands for the opening side of the safe, and 2 light wands for the hinge side. There will also be a few extension cables, wire clips, and screws should you choose to use those.
Next, you’ll want to plan where you want to put everything. Start with the motion sensor. Ideally, this is placed 3 inches up from the bottom of the safe and 3 inches from the front on the hinge side. Placing it here should avoid any contact with the door and prevent it from being crushed.
Fit the open side wands on the left front of the safe in the corner. Make sure it’s clear of the locking bars and door adjusters. Taller safes will use all 4 wands on this side. Shorter safes will use 3. If you use only 3 and your safe does not have an upper locking bar, you may put the remaining light wand above the door. The hinge side wands should be placed between the hinge cups and not over them.
Once you have everything dry fit where you’d like it to be, peel the adhesive backing off the hinge side wand strips and install them tightly in the corner. Remember to make sure the lights and the wires do not overlap the hinge cups.
Then you’ll peel the adhesive backing off the opening side wands and install them tightly into the corner as well. Again, make sure they don’t interfere with the locking bars or door adjusters. On the end of each wand, there are small slits for screws should you choose to screw it in as well. Your lights may also have a protective film over the lights. We recommend removing that after they are installed.
Now you’ll install the motion sensor in the same place we’ve mentioned before. You will use either the tape or screws that are provided.
With everything in place, connect the wires. On each cable connection, you’ll notice a small arrow. The arrows are an approximation and do not line up perfectly. You’ll need to slightly rotate the connector until the notch and lip line up. Once the small lip is through the notch, you’ll rotate the connector clockwise until it stops. This secures a proper connection.
After the lights on each side are connected together and connected to the motion sensor, plug the AC adapter into the motion sensor. Lastly, plug the AC adapter into the outlet inside your safe and let the lights shine.
If your safe does not have an interior outlet, you can purchase and install one from LibertySafe.com.
Tuck all the excess wires into the corners of the walls and floor of your safe and you’re done. Thank you for watching. Don’t forget to like, share, and subscribe for more videos like this. Keep safe out there and we’ll catch you later.
-
 4:19
4:19
LibertySafe
2 years ago $0.01 earnedHow To Install Clearview Light Kit - 90-110 Fire Rated Safes
99 -
 3:59
3:59
LibertySafe
1 year agoHow to Install Liberty Safe GlowFlex Lights
37 -
 6:37
6:37
Alarm Grid Home Security DIY Videos
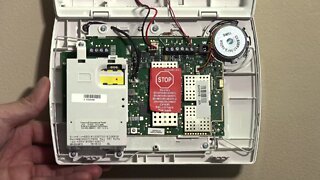
8 years agoLyric SIXPIR: Corner Mount Installation
23 -
 9:58
9:58
Tool Box Talk For Electricians
3 months agoHow To Install A Lighting Junction Box
361 -
 5:44
5:44
StraightArrowRepair
1 year agoUnitech Downlight Review and Installation
52 -
 8:18
8:18
Alarm Grid Home Security DIY Videos
8 years agoHoneywell 3GL: Installation to L5210
19 -
 50:17
50:17
Benjamin Sahlstrom
1 year agoHow To Install REAL Recessed Lights (Not Wafer or Disk Lights) Adding Can Lights To Existing Room
19 -
 3:19
3:19
4DIYers
1 year agoHow to Remove the Cab Light on a Dodge Ram
72 -
 0:18
0:18
Random Videos
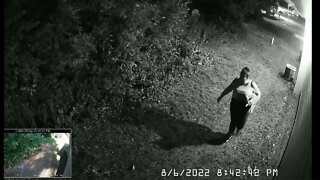
1 year agoUtilitech 2-Pack 800-Lumen 7.5-Watt Black Solar LED Outdoor Motion Sensor Wall Pack Light
26 -
 28:24
28:24
RoXolidProductions
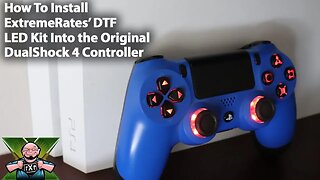
4 years agoHow to Install The ExtremeRate DTFS LED Kit into the Original DualShock 4 PS4 Controller
12