Installing VMWare Hypervisor 6.7 Part 1 (Make sure you watch Part 2!)
Edit: I corrected myself on Type 1 hypervisors in Part 2. :)
Boot Steps:
• Make sure you have a monitor plugged into the VGA port and keyboard/mouse connected
• Plug into bootable flash drive
• During boot, press F11
• Once boot devices appear, select your bootable flash drive and hit enter
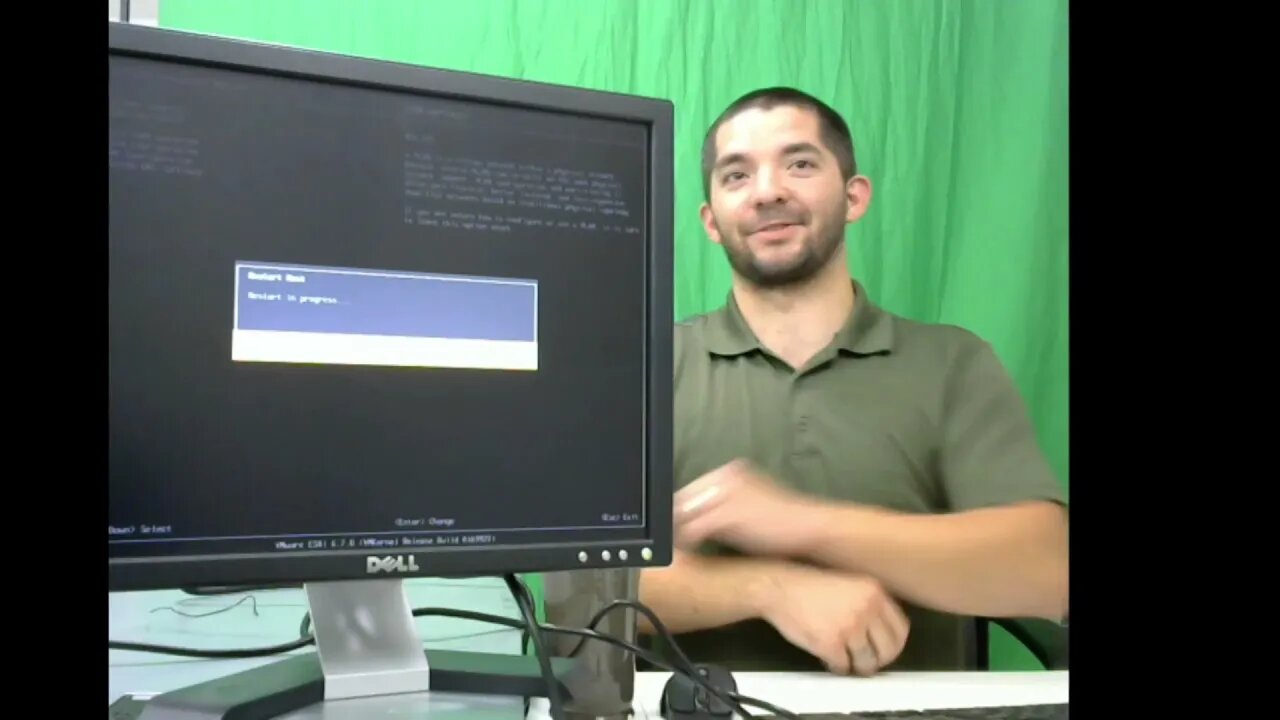
• VMWare should start loading off the flash drive
Once VMware is loaded and you have rebooted:
• You should be at a screen with the IP and hostname showing
• If you are using DHCP, don’t worry about the network config part, just change the “Hostname” in the DNS settings
• If using a static address, Hit F2 and enter your credentials
• Go to “Configure Management Network”
• Select the static option with your space bar
• Enter you IP, subnet mask and gateway
• Make sure you input your correct DNS settings and hostname
• Once done, hit ESC and Y to save changes
• Your server should reboot and if you have on the same network, you can now connect to the WebGUI over the network
Disclaimer:
This video is for educational purposes only. Jowers Technology Solutions is in no way associated with vendors mentioned in this video or representative of those vendors.
Link to server used: https://www.amazon.com/gp/product/B07CVPD2DD/ref=ppx_yo_dt_b_asin_title_o02_s00?ie=UTF8&psc=1
-
 LIVE
LIVE
SavageJayGatsby
4 hours ago🎃 Friend Friday – Halloween Edition! 👻🕷️
117 watching -
 DVR
DVR
Flyover Conservatives
21 hours agoThe Truth About Halloween that You DIDN’T Know - Holiday Special - Historian Bill Federer | FOC SPECIAL Show
7.94K1 -
 LIVE
LIVE
Ellie_roe
2 hours agoEllie and Errys Halloween Spooktacular || Random Horror Games
114 watching -
 50:27
50:27
Sarah Westall
4 hours agoBig Banks Caught Rigging Market, IMF tells World to “Buckle Up” w/ Andy Schectman
9.46K1 -
 13:54
13:54
Degenerate Jay
10 hours ago5 Best Superhero Movies To Watch On Halloween
1.18K1 -
 59:03
59:03
NAG Podcast
3 hours agoSarah Fields: BOLDTALK W/Angela Belcamino
1.77K1 -
 1:21:41
Glenn Greenwald
6 hours agoGlenn Takes Your Questions: On the Argentina Bailout, Money in Politics, and More | SYSTEM UPDATE #541
63.4K35 -
 3:10:08
Barry Cunningham
3 hours agoPRESIDENT TRUMP TO USE NUCLEAR OPTION? FOOD STAMPS END! | SHUTDOWN DAY 31
27.4K19 -
 1:06:56
BonginoReport
11 hours agoThe Battle Between Good & Evil w/ Demonologist Rick Hansen - Hayley Caronia (Ep.168)
86.5K29 -
 1:12:57
Kim Iversen
6 hours agoBill Gates Suddenly Says “Don’t Worry About Climate Change”?
80.1K52