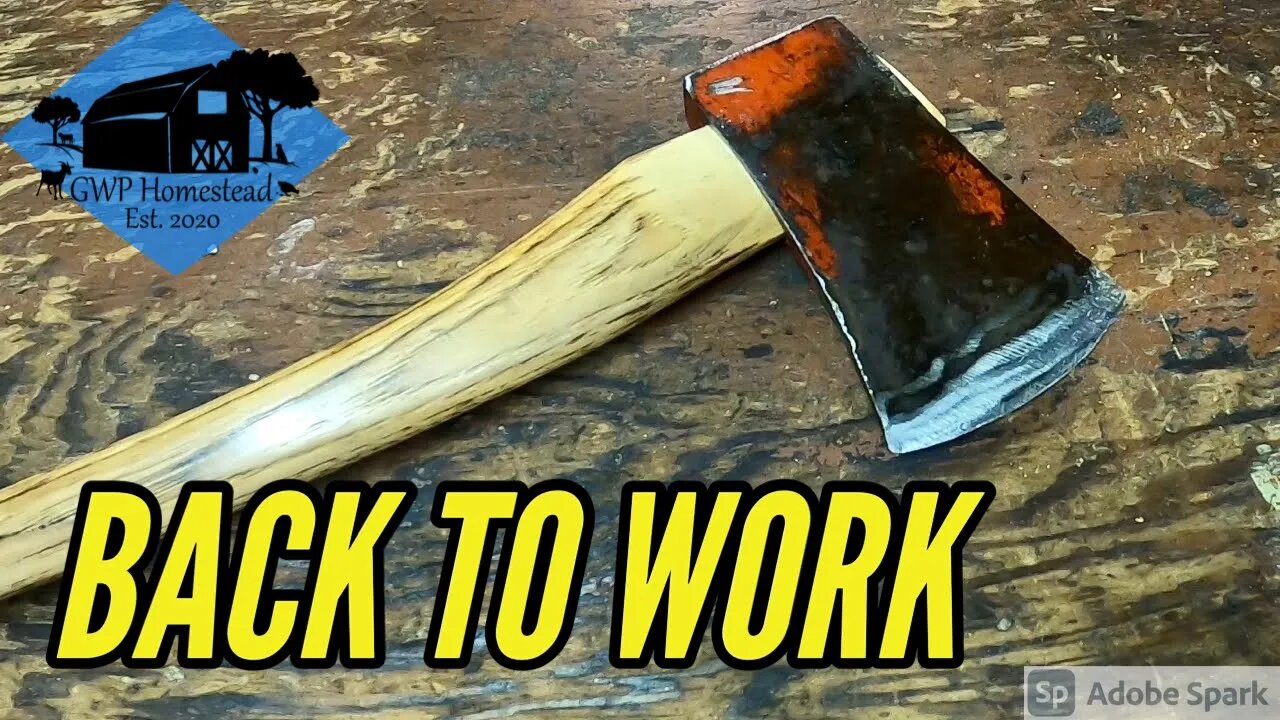
Fitting a Hatchet Handle | Putting Dad's old hatchet back to work.
Replacing the handle on a hatchet or axe is a pretty simple and straight-forward task. This little camp axe has been sitting in my Dad’s toolbox for many years, waiting to be put back to work. It’s finally time.
After years of putting it off (not hyperbole, I’ve been thinking about this for years) I finally broke down and bought a hickory handle for this small hatchet. I began shaping the handle using a rasp, working the material away until the handle fit snugly into the eye of the hatchet. The process was very time consuming so I used a sander as well; I’ve seen folks use a 2x72 belt grinder and it’ll be a great day when I add one of those to the shop. I boogered up the end of the handle pretty bad by beating on it but once the head was fit onto the handle I trimmed it back about a half-inch. Not bad.
I drove the wedge in with a hammer, using water-resistant glue to hold the wedge. Some folks will use a steel wedge as well but I’m not going to, my choice. Once the glue dried I trimmed the wedge flush with a hand saw. After some light sanding I adding a coat of boiled linseed oil to the handle.
It might be best to wait until the very end to sharpen your axe. Blood is best kept inside your body and a sharp axe does a good job of removing it.
Overall I’m very pleased with the finished project. This was my first handle replacement and there is plenty of room for improvement; practice makes perfect, right? I have several more to do and I’ll get to them eventually, but this is a good start and we’ll put it to work around the farm, on camping trips, and wherever else the need arises.
-
Subscribe to our channel! We have a small farm in Western Kentucky where we’re raising our family and a handful of critters. Come grow with us.
★ Follow us on Instagram: https://www.instagram.com/gwphomestead/
★ Watch us on TikTok: https://vm.tiktok.com/ZMeckuB1v/
#homestead
-
 43:24
43:24
ThisIsDeLaCruz
1 day ago $6.14 earnedWhat Fans Never Knew About Falling In Reverse’s Guitarist
18.9K -
 14:57
14:57
The Pascal Show
1 day ago $1.81 earnedTHIS IS INSANE! Megyn Kelly SLAMMED For Questioning Whether Epstein Was a P*dophile?!
5.39K3 -
 55:46
55:46
PandaSub2000
1 day agoBeyond Good & Evil | ULTRA BEST AT GAMES (HD Edited Replay)
34.8K3 -
 1:53:29
Badlands Media
23 hours agoDevolution Power Hour Ep. 407: Purity Tests, Psyops & the MAGA Identity Crisis
209K40 -
 2:31:03
Tundra Tactical
11 hours ago $13.96 earned🚨🚨LIVE AT 9PM CST!!! The Worlds Okayest Gun Show - 2A Mad Libs and Apocalypse Draft Night
42.1K1 -
 6:30:44
SpartakusLIVE
14 hours agoI’M BACK || ONLY Solos on WZ - NO BLOPS7, NO REDSEC, NO ARC, NO FRIENDS
140K2 -
 2:03:42
The Connect: With Johnny Mitchell
16 hours ago $11.00 earnedAmerican Vigilante Reveals How He Went To WAR Against The WORST Cartels In Mexico
23.6K2 -
 2:40:59
BlackDiamondGunsandGear
9 hours agoITS MA'AM!! / After Hours Armory / Are you threatening me?
31.7K6 -
 44:54
44:54
SouthernbelleReacts
8 days ago $2.02 earnedHIS RUG… I CAN’T STOP LAUGHING 🤣 | Big Lebowski Reaction
21.4K8 -
 2:17:46
megimu32
8 hours agoOFF THE SUBJECT: Reddit Meltdowns, Music Takes & Bodycam Breakdowns
54.5K12