
The Mass Explained and Compared Part 3
3 years ago
253
This part discusses the Confiteor, the silent prayers said while ascending the altar, the Introit, incensation, and the Kyrie. In the discussion the gestures of priest and ministers are discussed as well as answering why the question "Why does the priest quietly pray what the choir has already sung?"
Loading 4 comments...
-
 30:13
30:13
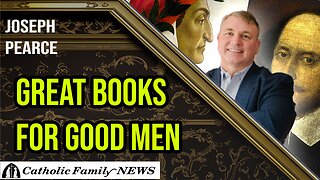
Catholic Family News
1 month agoInterview with Joseph Pearce | Great Books for Good Men
188 -
 29:27
29:27
JohnXSantos
18 hours agoHow To Start a CLOTHING BRAND on a BUDGET! ($100) Step X Step Guide
1.91K1 -
 3:07
3:07
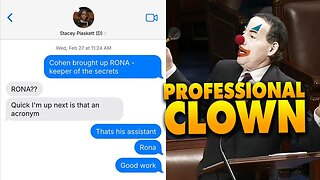
Memology 101
12 hours ago $0.23 earnedImagine having the AUDACITY to defend this SH*T...
2.78K17 -
 11:13
11:13
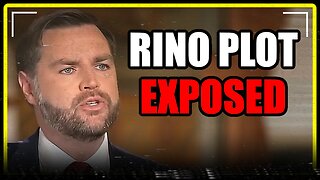
MattMorseTV
19 hours ago $51.71 earnedRINO PLOT just got SHUT DOWN.
54.8K150 -
 31:07
31:07
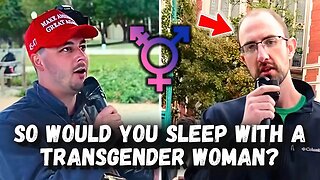
Camhigby
3 days agoLeftist Claims Gender Goes By Identity, Then FLOUNDERS When Asked This Question!
152K85 -
 LIVE
LIVE
Shield_PR_Gaming
4 hours ago11/22/25 I Let's Level up on Battlefield and other games as well!
226 watching -
 10:21
10:21
MetatronGaming
11 hours agoI spent $200 for this Premium PS5 Controller. Is it worth it?
16.6K10 -
 13:46
13:46
Nikko Ortiz
19 hours agoYour Humor Might Be Broken...
48.5K5 -
 1:20:58
CopperheadRoadPodcast
1 day agoEPISODE 91: DAVE SMITH HAS A TRIGGERNOMETRY PROBLEM! GUEST Larry Oberheu
4811 -
 26:35
26:35
The Bryce Eddy Show
21 hours agoDaniel Harmon: The Storytelling Genius Behind Tuttle Twins
415