
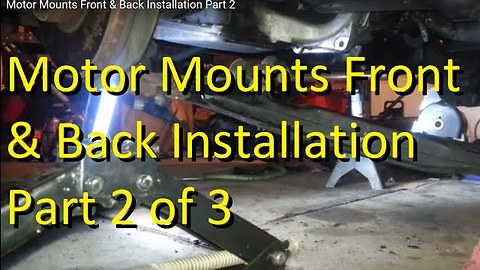
Motor Mounts Front & Back Installation Part 2 of 3
See Motor Mounts Front and Back uninstallation part 1 here:
https://youtu.be/s5MZJ9ge5Sc
Back and front motor mount final installation here:
https://youtu.be/tK3fUsbuVCI It turned out mostly to be about the end link installation.
If my more entertaining version of this video isn't blow by blow enough for you, I did find this picture and text version helpful on a few points I wasn't sure how to proceed. If you're actually going to do this job, this may help, but I feel direction and wisdom on how to get this circus of parts to line up for my video is helpful in a different way:
https://youtu.be/XhtwKGrHkss
Half the mess I cleaned up under the engine was from my timing chain tensioner. Link to the video for installation:
https://youtu.be/pWe-QSyn2to
The article I wrote, which is directly related to these front and rear transmission mounts:
http://carmpg.blogspot.com/2015/12/motor-and-transmission-mounts-on-chevy.html
The article I wrote when I last had my motor mounts changed:
Shocks, struts, and the Steadiness of your Car or Truck:
http://carmilespergallon.blogspot.com/2014/04/struts-shocks-and-steadiness-of-your.html
Chevy Prizms in most mechanical ways are the same from 1998 to 2002 except a few engine parts (the 1ZZ-FE VVT-i ran 2000 and later even up to 2008 in the Pontiac Vibe and Toyota Matrix), and they are in common with the Toyota Corolla for these years for most things, except some interior and exterior trim, most of which is interchangeable, but a few things aren't without customization.
Due to factors beyond the control of DE Nichols/AutoBravado it cannot guarantee against unauthorized modifications of this information, or improper use of this information. DE Nichols/AutoBravado assumes no liability for property damage or injury incurred as a result of any of the information contained in this video. DE Nichols/AutoBravado recommends safe practices when working with power tools, automotive lifts, lifting tools, jack stands, electrical equipment, blunt instruments, chemicals, lubricants, or any other tools or equipment seen or implied in this video. Due to factors beyond the control of DE Nichols/AutoBravado, no information contained in this video shall create any express or implied warranty or guarantee of any particular result. Any injury, damage or loss that may result from improper use of these tools, equipment, or the information contained in this video is the sole responsibility of the user and not DE Nichols/AutoBravado.
If you're still reading, check out this fun: comment with the time stamp on this and you'll get the nitpicking reward!
These longer videos are brutal to edit! You'll have to forgive a few second scene where I repeat myself before and after adding more light to reshoot the scene, lol. You get the nitpicking kudos reward if you can find the scene! lol :)
24.5K
views
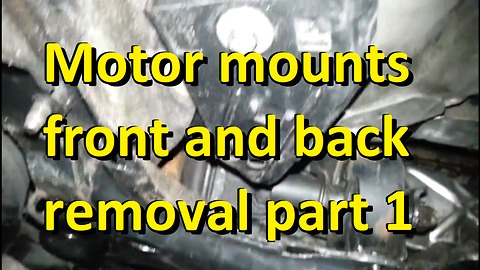
Motor mounts front and back removal part 1
I keep calling these motor mounts what they're normally called, and in fact these are the right words to find them for this car when you buy them; however, there is only 1 true motor mount on a Chevy Prizm. It's the only one easily seen without taking the car or part or having an intake short ram installed. It's on the passenger side top area next to the engine. The rest are actually transmission mounts. Chevy Prizms in most mechanical ways are the same from 1998 to 2002 except a few engine parts, and they are in common with the Toyota Corolla for these years for most things, except some interior and exterior trim, most of which is interchangeable, but a few things aren't without customization.
Motor Mounts Front & Back Installation Part 2:
https://youtu.be/vDStX3GhDYc
Back and front motor mount final installation here:
https://youtu.be/tK3fUsbuVCI It turned out mostly to be about the end link installation.
Actual title, "Motor Mounts Front and Back Installation part III Finishing End links"
An article about motor mounts for your reading pleasure. :)
Motor and Transmission Mounts on a Chevy Prizm or 1998 to 2002 Toyota Corolla:
http://carmpg.blogspot.com/2015/12/motor-and-transmission-mounts-on-chevy.html
1/4" Matco Infinium 12V Ratchet and Impact Screwdriver, first stand alone tool review:
https://youtu.be/0fjJlC8VPTU
Due to factors beyond the control of DE Nichols/AutoBravado it cannot guarantee against unauthorized modifications of this information, or improper use of this information. DE Nichols/AutoBravado assumes no liability for property damage or injury incurred as a result of any of the information contained in this video. DE Nichols/AutoBravado recommends safe practices when working with power tools, automotive lifts, lifting tools, jack stands, electrical equipment, blunt instruments, chemicals, lubricants, or any other tools or equipment seen or implied in this video. Due to factors beyond the control of DE Nichols/AutoBravado, no information contained in this video shall create any express or implied warranty or guarantee of any particular result. Any injury, damage or loss that may result from improper use of these tools, equipment, or the information contained in this video is the sole responsibility of the user and not DE Nichols/AutoBravado.
6.24K
views
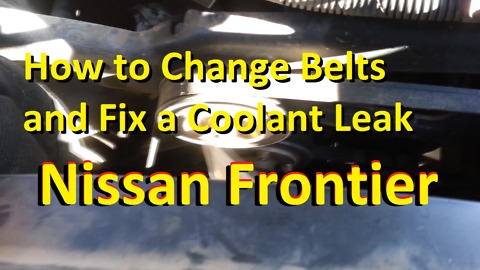
Nissan Frontier How to Change Belts and a Coolant Leak Fix
What's so hard about a belt you might ask? Assuming you're good at a serpentine belt and some experience I get what you mean, but this Nissan Frontier has some hiding bolts that gets 3 different belts adjusted into place. Here's my thorough and complete teaching of a how to on belts for a 2004 or generation 1 Nissan Frontier (Nissan Pathfinders even back to like 98 have very similar tech). I've worked on a lot of Nissans, and even though they're different, many of them use similar designs to make their belt tensions manually adjusted (you'll see similar on even their cars). It takes more experience or more trial and error to get right, but with this and my next video about proper tensioning you'll be in good shape.
Due to factors beyond the control of DE Nichols/AutoBravado it cannot guarantee against unauthorized modifications of this information, or improper use of this information. DE Nichols/AutoBravado assumes no liability for property damage or injury incurred as a result of any of the information contained in this video. DE Nichols/AutoBravado recommends safe practices when working with power tools, automotive lifts, lifting tools, jack stands, electrical equipment, blunt instruments, chemicals, lubricants, or any other tools or equipment seen or implied in this video. Due to factors beyond the control of DE Nichols/AutoBravado, no information contained in this video shall create any express or implied warranty or guarantee of any particular result. Any injury, damage or loss that may result from improper use of these tools, equipment, or the information contained in this video is the sole responsibility of the user and not DE Nichols/AutoBravado.
12.3K
views