hungrycookingstudio
1.34K Followers
Verified
All
Videos
Live
About
13:08
7:32
15:47
9:35
10:04
15:47
14:46
14:00
15:27
6:39
8:26
8:26
11:32
5:55
9:19
7:49
7:49
8:17
12:48
12:48
11:19
8:06
8:06
6:47
6:47
Rumble logo
Go Ad-Free
Sign In
Sign Up
Go Ad-Free
Home
Browse
Editor Picks
Trending
Shop
Latest
Library
Watch History
Watch Later
Featured Channels
Featured
Bannons War Room
24K
Donald Trump Jr.
12.6K
The Jimmy Dore Show
4.04K
Dr Disrespect
2.35K
Akademiks
1.44K
NEWSMAX
1.08K
Dr Steve Turley
174
Lofi Girl
104
The Official Steve Harvey
3
Roseanne Barr
Dr. John Campbell
Off Leash, with Erik Prince
Bitcoin.com
Steven Crowder
Candace Show Podcast
Donald J. Trump
Vivek Ramaswamy
Badlands Media
Awaken With JP
Boho Beautiful Yoga
Hannah Barron
World Poker Tour
Dr. Drew
UFC Fight Pass
The Osbournes
Sean Hannity
Plan ₿ Forum
Rasmussen Reports
Alex Zedra
Iggy Azalea
Matt Kim
New York Post
Michael Malice
Standpoint with Gabe Groisman
Major League Fishing
Redacted News
JoBlo Originals
Robert F. Kennedy Jr.
Glenn Greenwald
Old Man's Ride
Anthony Pompliano
CAMELOT331
Rob Braxman Tech
The Chris Cuomo Project
JustKiddingNews
BFFs: Josh Richards & Bri Chickenfry
Ben Shapiro
Taylor Watch
Steve-O's Wild Ride! Podcast
The StoneZONE with Roger Stone
Theme
System Default
Dark Mode
Light Mode


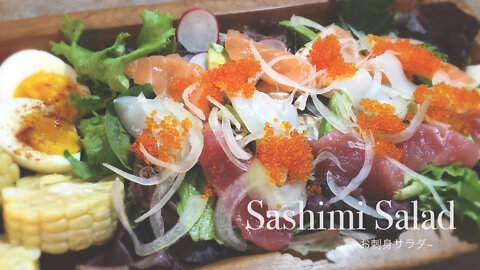
![[ASMR NO MUSIC] How To Make Sashimi Salad With Homemade Wasabi Pietro Dressing](https://1a-1791.com/video/s8/1/-/-/a/J/--aJe.oq1b.2-small-ASMR-NO-MUSIC-How-To-Make-S.jpg)