Handmade universal band saw made of wood
rame and components
Plywood for the tabletop and enclosure
Metal rods or tubes for the guide rails
Bearings for the blade guides
Bandsaw blade
Hardware (screws, bolts, nuts, washers)
Wood glue
Sandpaper
Finish (such as oil or varnish)
Tools Needed:
Table saw or circular saw
Planer or hand planes
Jointer or hand plane
Drill and drill bits
Chisels
Mallet
Router and router bits
Bandsaw (if available)
Measuring tools (tape measure, square, calipers)
Step-by-Step Guide for Part 1:
Design Planning:
Start by creating a detailed design for your universal bandsaw, considering the dimensions, features, and functionality you want to incorporate. Research existing designs for inspiration and guidance.
Frame Construction:
Begin by cutting the hardwood lumber to size for the frame components, including the uprights, horizontal beams, and base. Use a table saw or circular saw to make straight, accurate cuts.
Joinery:
Choose your preferred joinery method for connecting the frame components. Traditional options may include mortise and tenon joints, dowel joints, or pocket hole screws. Ensure that the joints are strong and secure to support the weight and tension of the bandsaw components.
Assembly:
Dry-fit the frame components to ensure everything fits together properly before gluing or fastening. Once satisfied with the fit, apply wood glue to the joints and assemble the frame, clamping it securely until the glue dries. Check for squareness during assembly.
Tabletop and Enclosure:
Cut the plywood to size for the tabletop and enclosure panels. The tabletop should be large enough to support your workpieces, and the enclosure panels will provide support and safety for the blade. Attach the tabletop to the frame using screws or bolts, and attach the enclosure panels to the frame using hinges or brackets.
Guide Rails and Blade Guides:
Install metal rods or tubes along the frame to serve as guide rails for the bandsaw blade. These should be positioned parallel to each other and perpendicular to the tabletop. Install bearings or blade guides to support the bandsaw blade and keep it aligned during operation.
Blade Installation:
Install the bandsaw blade onto the wheels or pulleys of the bandsaw mechanism. Follow the manufacturer's instructions for proper installation and tensioning of the blade. Ensure that the blade tracks properly on the guide rails and wheels.
Test Run:
Once the bandsaw is fully assembled, perform a test run to ensure that it operates smoothly and accurately. Check for any alignment issues, vibrations, or other problems that may need to be addressed. Make any necessary adjustments before proceeding to Part 2 of the project.
By following these steps, you can successfully create the frame and basic components of your handmade universal bandsaw. Stay tuned for Part 2, where we will cover additional features and enhancements to complete the project.
-
 8:24
8:24
DIY Creators
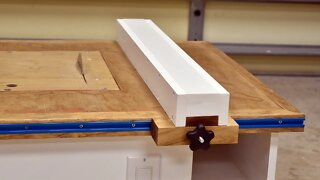
7 years agoMake A Table Saw Fence For Homemade Table Saw
45 -
 23:27
23:27
DIY Creators
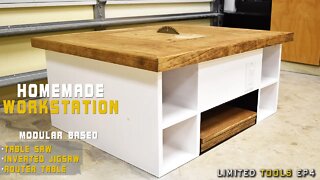
7 years agoHomemade Table Saw 4 in 1 Modular Workstation
25 -
 11:58
11:58
DIY Creators
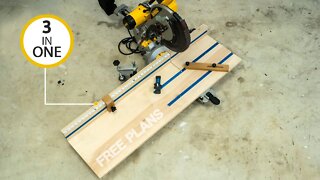
4 years ago3 in 1 miter saw station (must have WOODWORKING jig) DIY Creators
246 -
 4:01
4:01
How You Can Make It
4 years agoHow To Assemble a DW7880 Scroll Saw Stand Instructions | Unboxing and Review | Woodworking
5 -
 32:42
32:42
731woodworks
1 year agoHow to Use the Bandsaw | Beginner Woodworking Tips and Tricks
143 -
 10:13
10:13
731woodworks
1 year agoThe First 5 Hand Tools Every Beginner Woodworker Should Buy
324 -
 4:59
4:59
Wood, Metal, Everything
5 years agoDIY Circular Saw Track | Build with ONE Tool!
16 -
 16:31
16:31
Survivalgyver channel
8 months agoToughBuilt Folding Jab saw
9 -
 22:56
22:56
TheDoItYourselfWorld
9 years agoHow To Make DIY Wood Paneling From Scrap Lumber And A Table Saw S11
36 -
 16:30
16:30
Willwood Diy & Woodworking
2 years ago3 Amazing Accessories for Your Bench Saw – Joinery for Beginners / Woodworking
27